Raspberry Lemon Drop Martini Recipe

Raspberry Lemon Drop Martini Recipe: An Easy, Refreshing Cocktail Anyone Can Make Introduction The Raspberry Lemon Drop Martini is a bright, fruity cocktail that blends the fresh tang of lemon …

Raspberry Lemon Drop Martini Recipe: An Easy, Refreshing Cocktail Anyone Can Make Introduction The Raspberry Lemon Drop Martini is a bright, fruity cocktail that blends the fresh tang of lemon …

Limoncello Lemon Drop Martini Recipe: A Bright, Italian-Inspired Citrus Cocktail Introduction The Limoncello Lemon Drop Martini is a refined twist on the classic Lemon Drop, combining the bold freshness of …

Classic Lemon Drop Martini Recipe: A Bright, Bar-Perfect Cocktail Made Easy Introduction The Classic Lemon Drop Martini is one of the most recognizable and consistently popular vodka cocktails in modern …
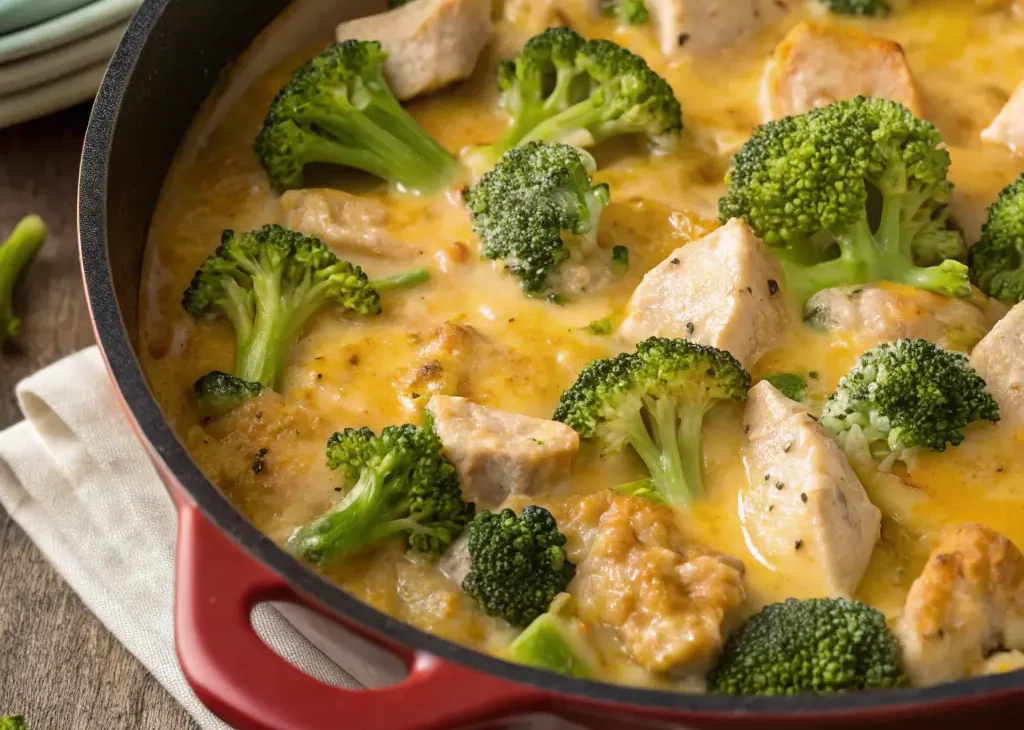
One‑Pot Cheesy Chicken & Broccoli Bake: Creamy, Comforting Dinner Introduction Looking for a creamy, cheesy, and effortless dinner? This One‑Pot Cheesy Chicken & Broccoli Bake brings together tender chicken, fresh …
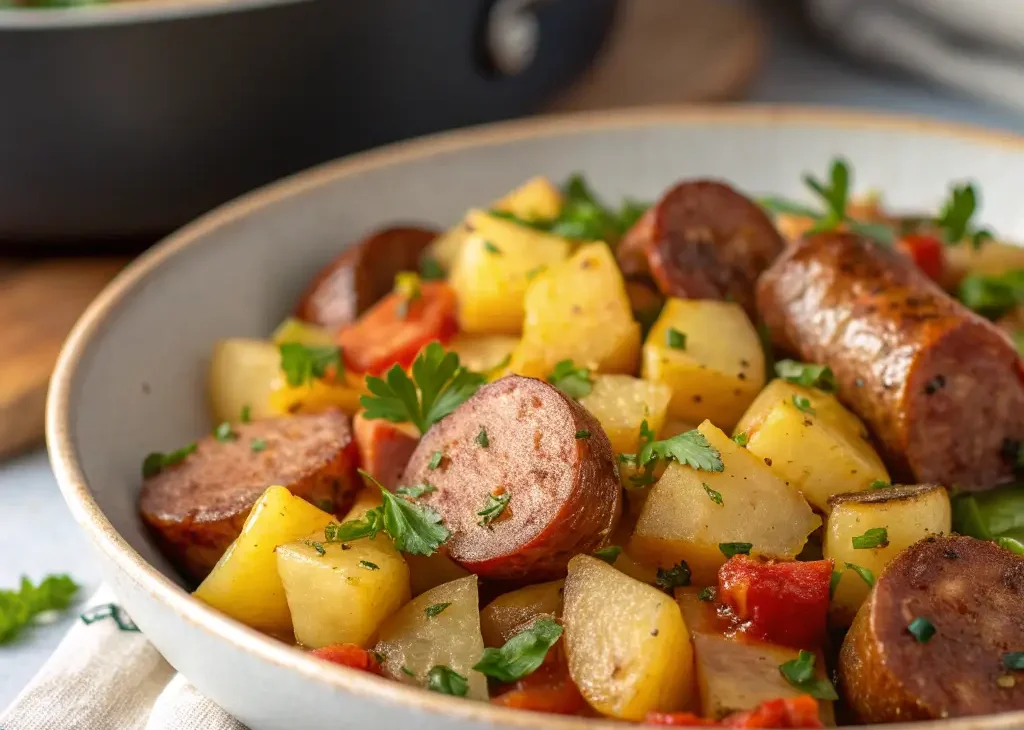
Easy Sausage & Potato Hash: Quick and Hearty Skillet Meal Introduction Looking for a hearty, comforting, and easy-to-make meal? This Easy Sausage & Potato Hash combines savory sausage, tender potatoes, …

Skillet Lemon Chicken with Spinach & Rice: Quick & Flavorful One-Pan Meal Introduction Craving a bright, savory, and comforting meal? This Skillet Lemon Chicken with Spinach & Rice combines tender …
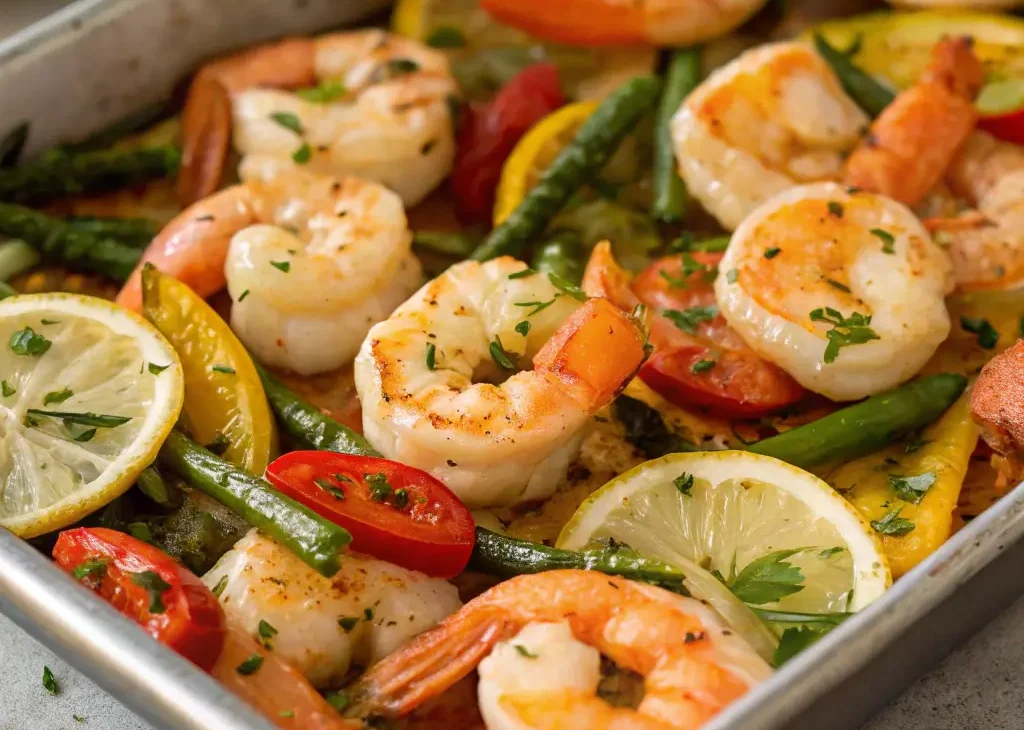
Sheet‑Pan Garlic Butter Shrimp & Veggies: Easy, Flavorful Dinner Introduction Looking for a quick, healthy, and flavorful meal? This Sheet‑Pan Garlic Butter Shrimp & Veggies recipe pairs tender, juicy shrimp …
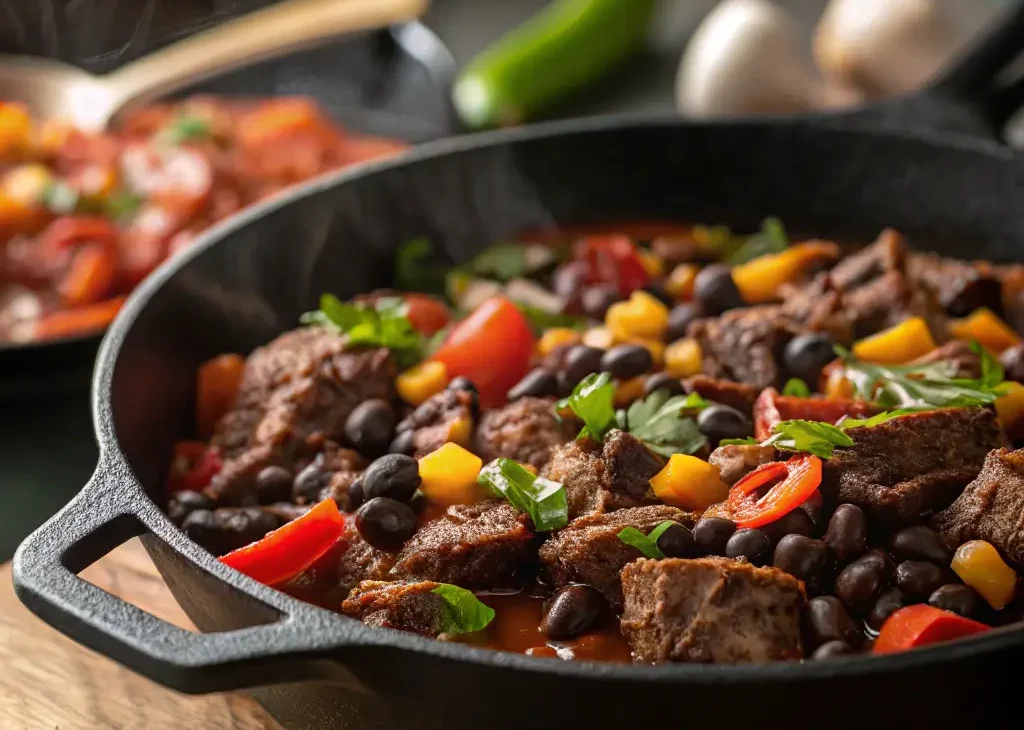
Quick Beef & Black Bean Skillet: Easy Weeknight Dinner Introduction Looking for a hearty, flavorful, and fast dinner? This Quick Beef & Black Bean Skillet combines ground beef, black beans, …
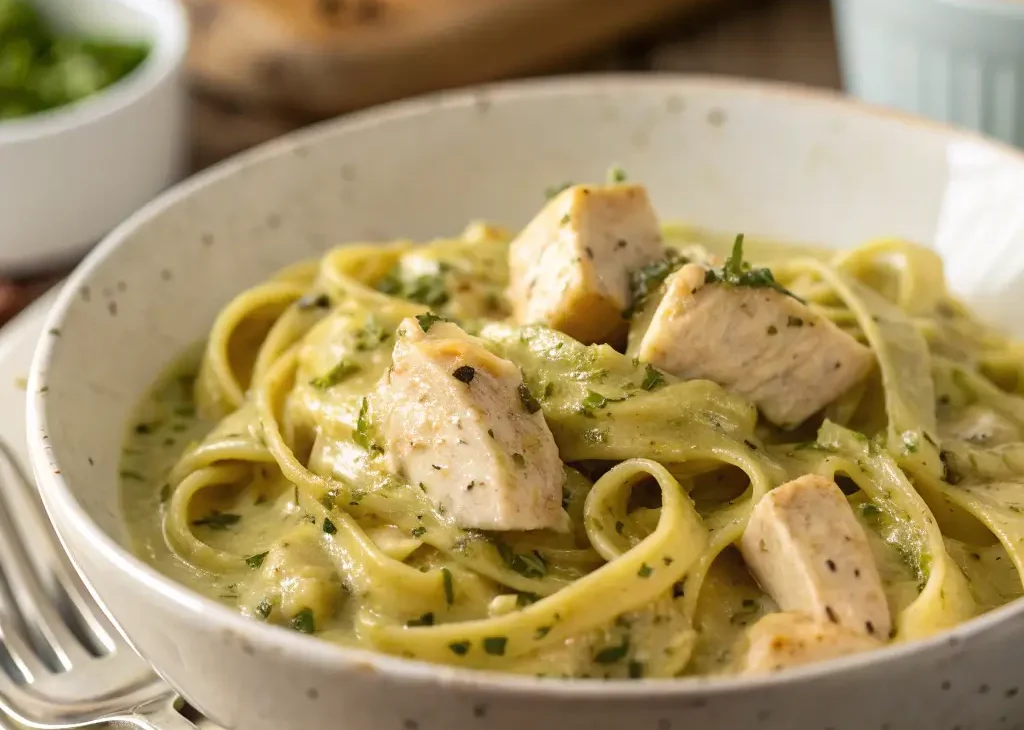
One‑Pot Creamy Pesto Chicken Pasta: Quick & Delicious Dinner Introduction Looking for a simple, comforting, and flavorful meal? This One‑Pot Creamy Pesto Chicken Pasta combines tender chicken, al dente pasta, …

Easy Chicken Curry in a Skillet: Quick & Flavorful Dinner Introduction Craving a warm, comforting, and aromatic meal? This Easy Chicken Curry in a Skillet combines tender chicken pieces with …