Air Fryer Chicken Shawarma Recipe
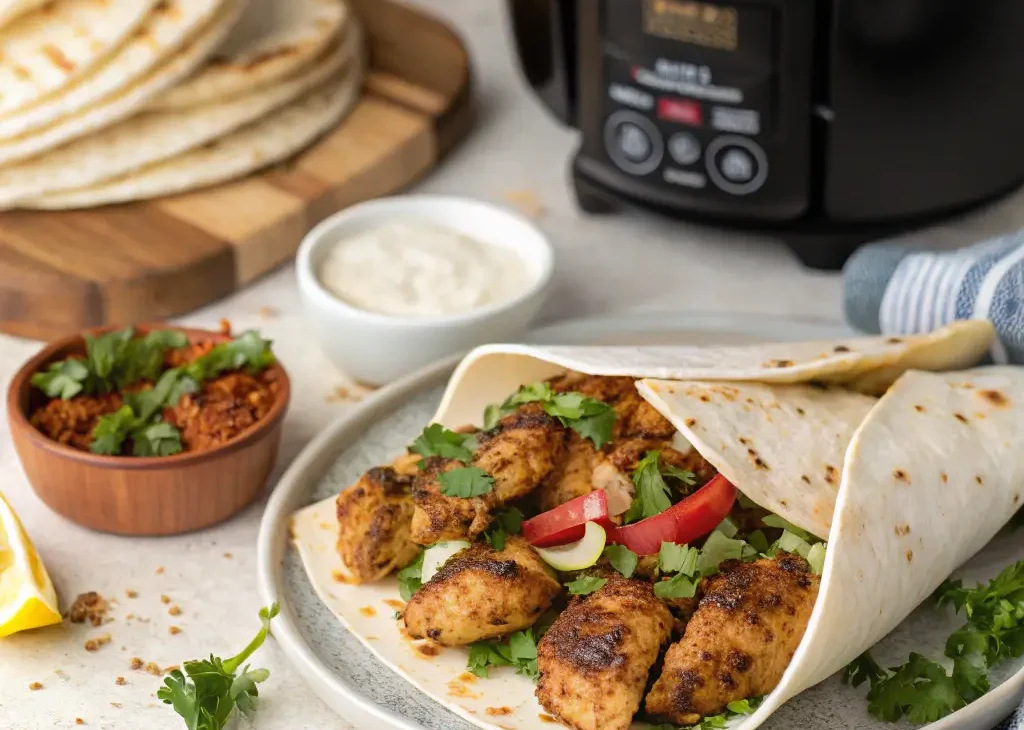
Air Fryer Chicken Shawarma Recipe – Juicy, Spiced & Better Than Takeout Introduction: Authentic Flavor Made Easy at Home If you love bold Middle Eastern flavors wrapped in warm flatbread, …

Air Fryer Chicken Shawarma Recipe – Juicy, Spiced & Better Than Takeout Introduction: Authentic Flavor Made Easy at Home If you love bold Middle Eastern flavors wrapped in warm flatbread, …
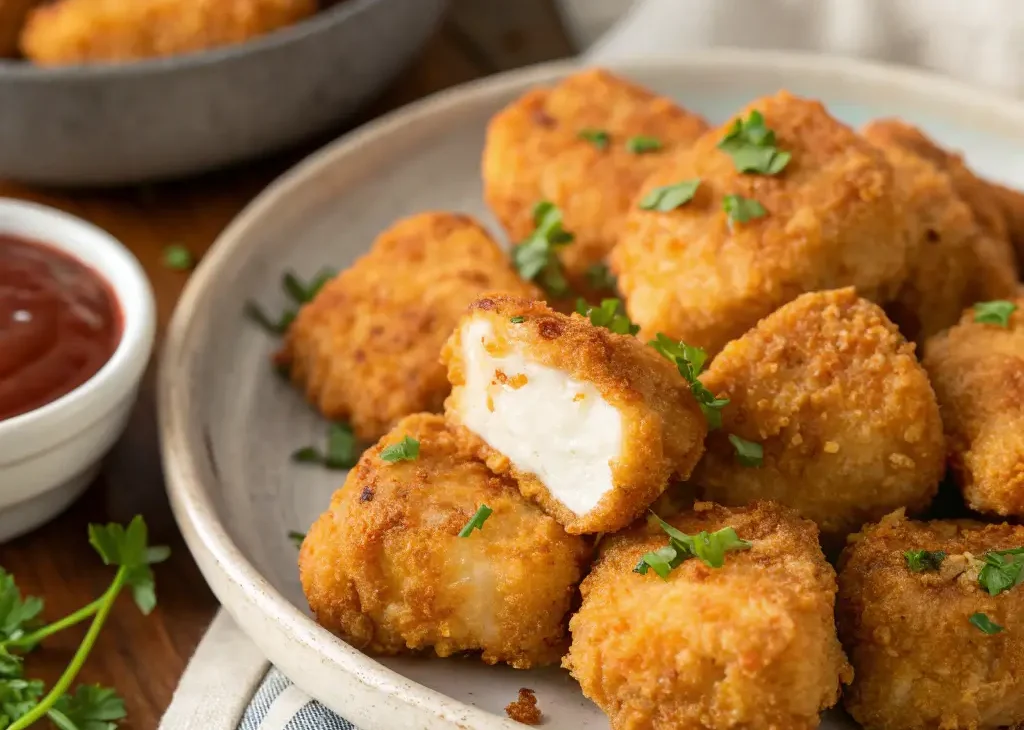
Air Fryer Chicken Nuggets (Better Than Fast Food) – Crispy, Juicy & Kid-Approved Introduction: Homemade Nuggets That Beat Takeout If you love crispy chicken nuggets but want something fresher, healthier, …
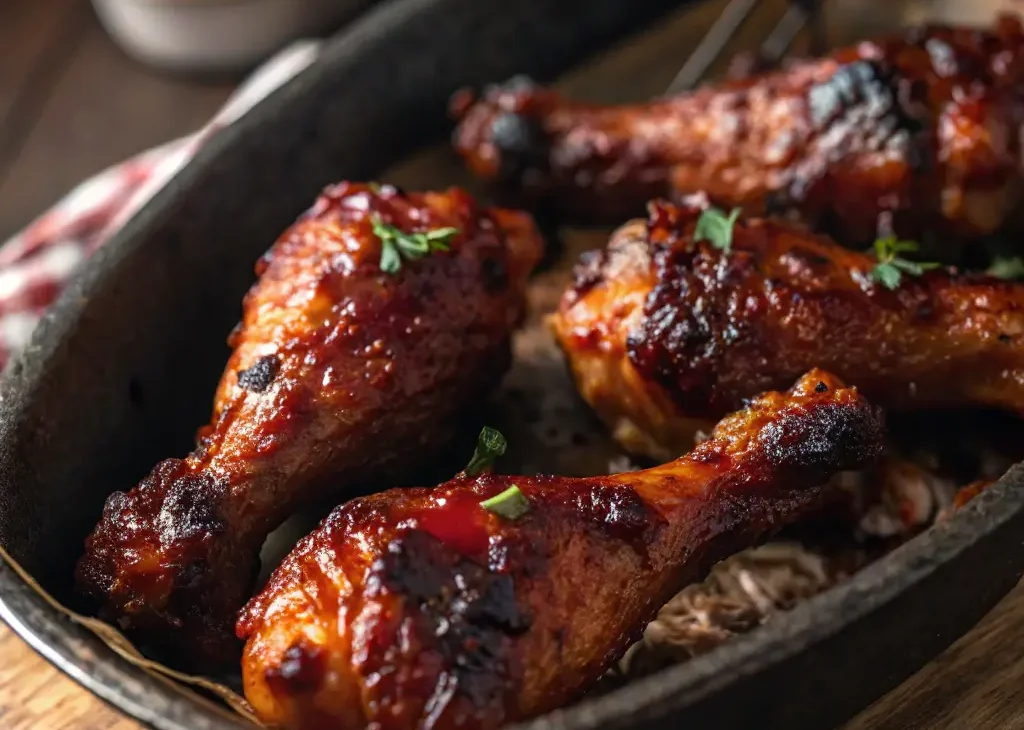
Air Fryer BBQ Chicken Drumsticks – Crispy, Juicy & Sticky-Sweet Perfection Introduction: The Easiest Way to Make BBQ Drumsticks If you’re craving smoky, sticky, finger-licking chicken without firing up the …
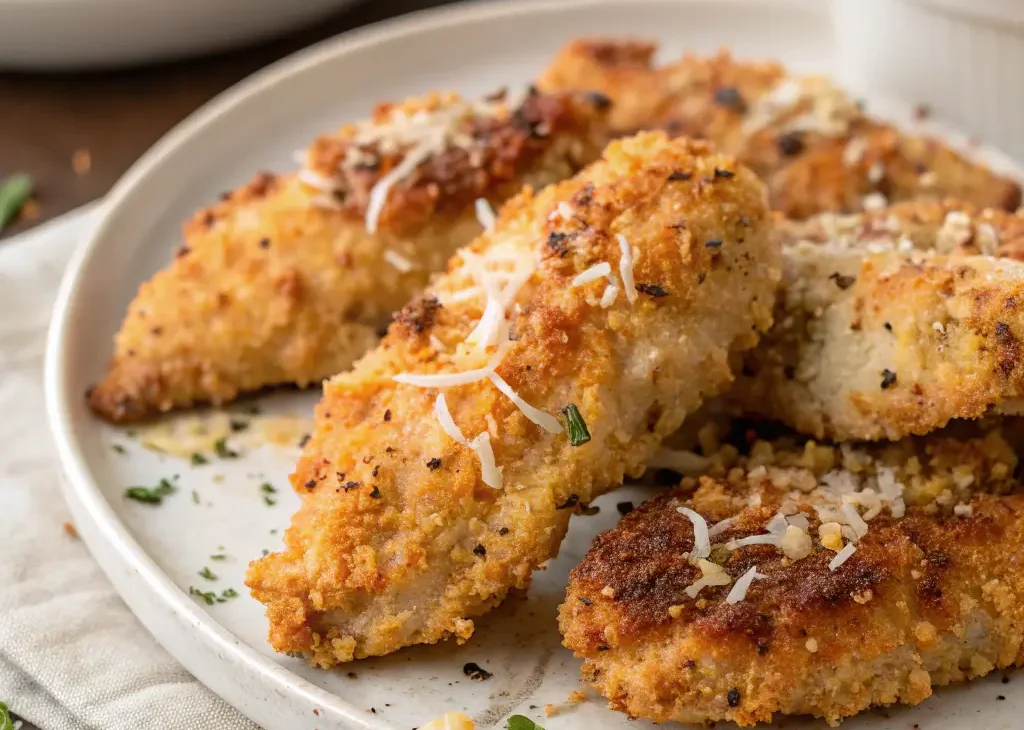
Garlic Parmesan Air Fryer Chicken Tenders – Crispy, Juicy & Packed with Flavor Introduction: The Ultimate Crispy Chicken Tenders Without Deep Frying If you’re craving crispy, golden chicken tenders coated …
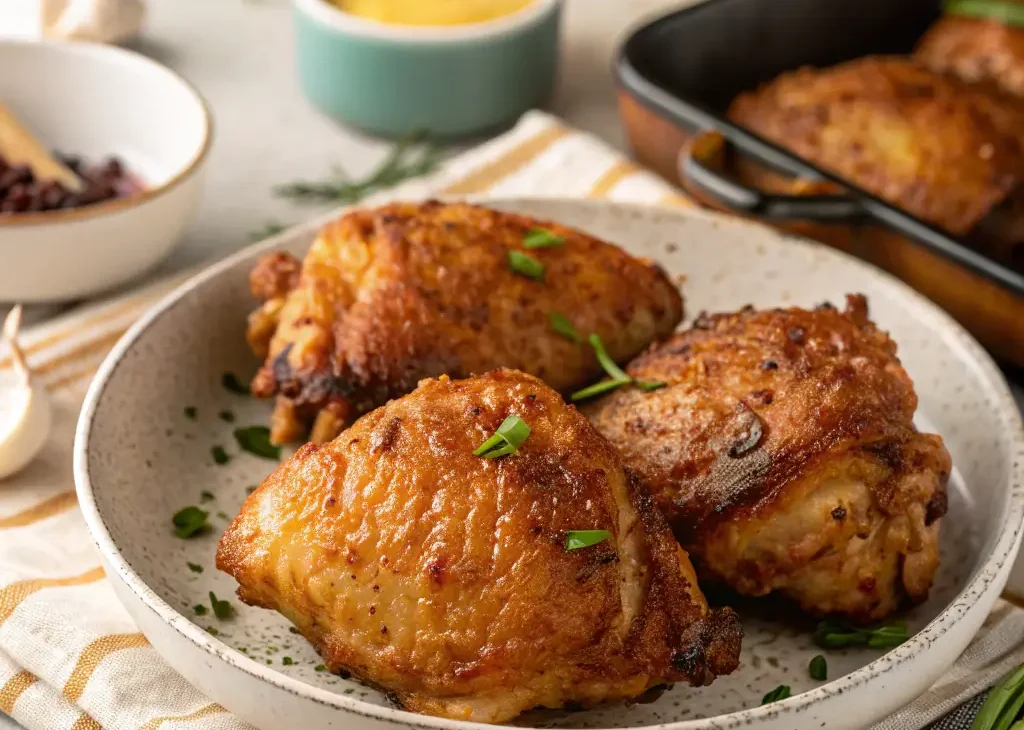
Air Fryer Chicken Thighs with Crispy Skin – Juicy Inside, Golden & Extra Crispy Outside Introduction: The Secret to Perfectly Crispy Chicken Thighs If you love flavorful, juicy chicken with …
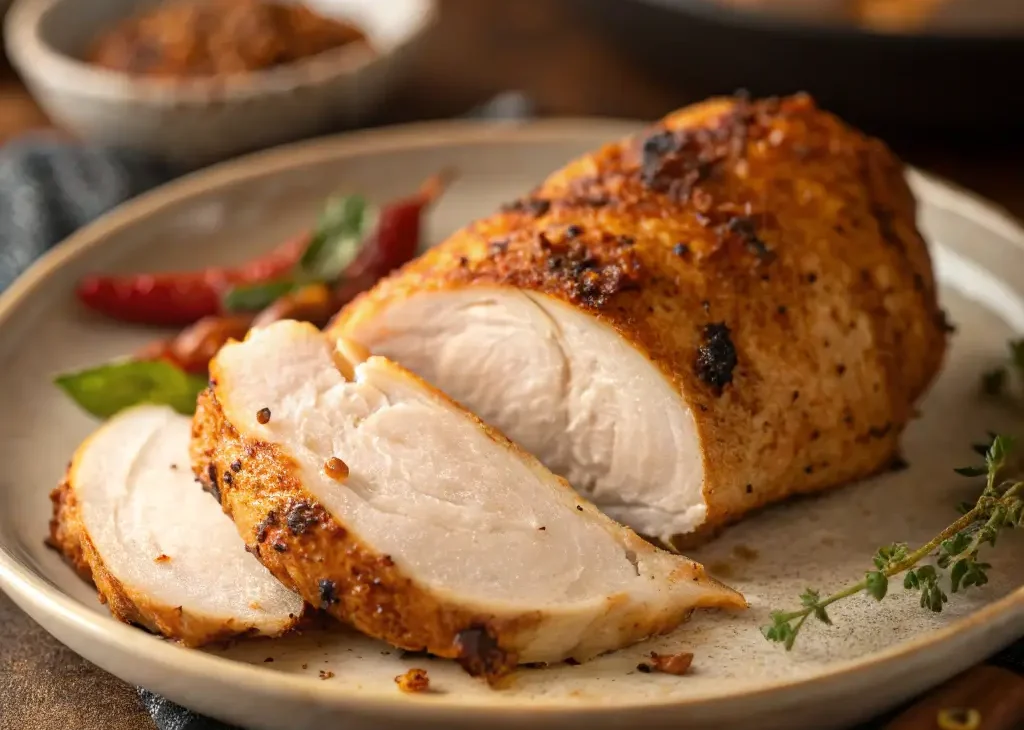
Easy Air Fryer Chicken Breast (Juicy & Tender) – Quick, Healthy & Foolproof Introduction: The Best Way to Cook Chicken Breast in the Air Fryer If you’ve ever struggled with …
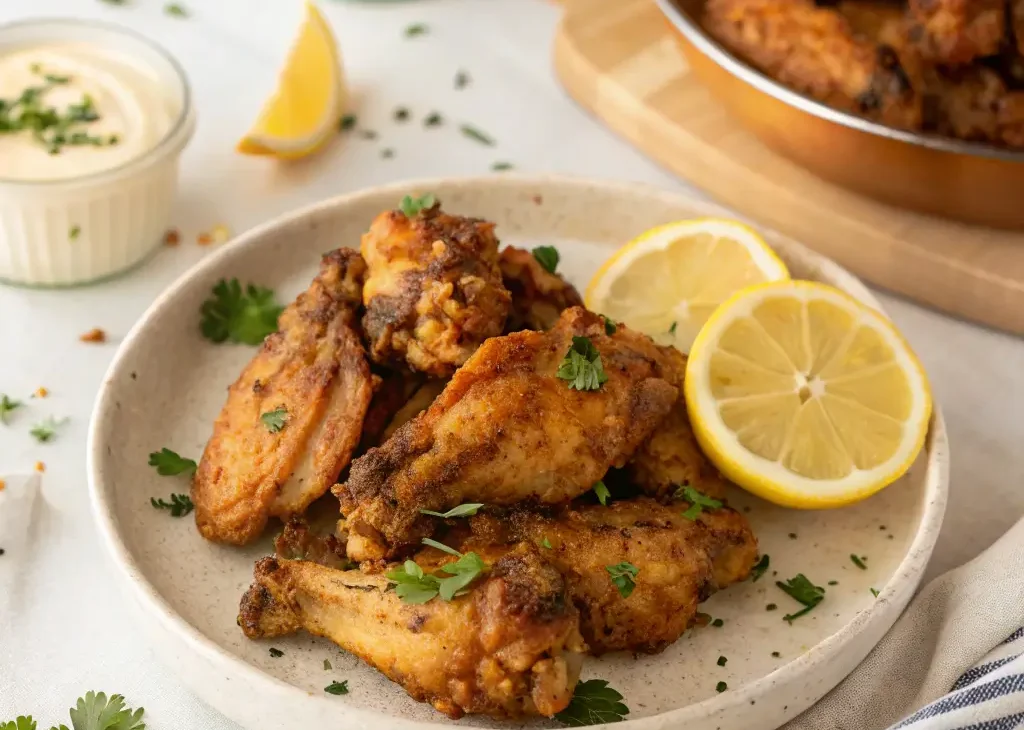
Crispy Air Fryer Chicken Wings Recipe – Extra Crunchy, Juicy & Foolproof Introduction: The Easiest Way to Get Perfectly Crispy Wings If you love crispy, golden chicken wings but don’t …
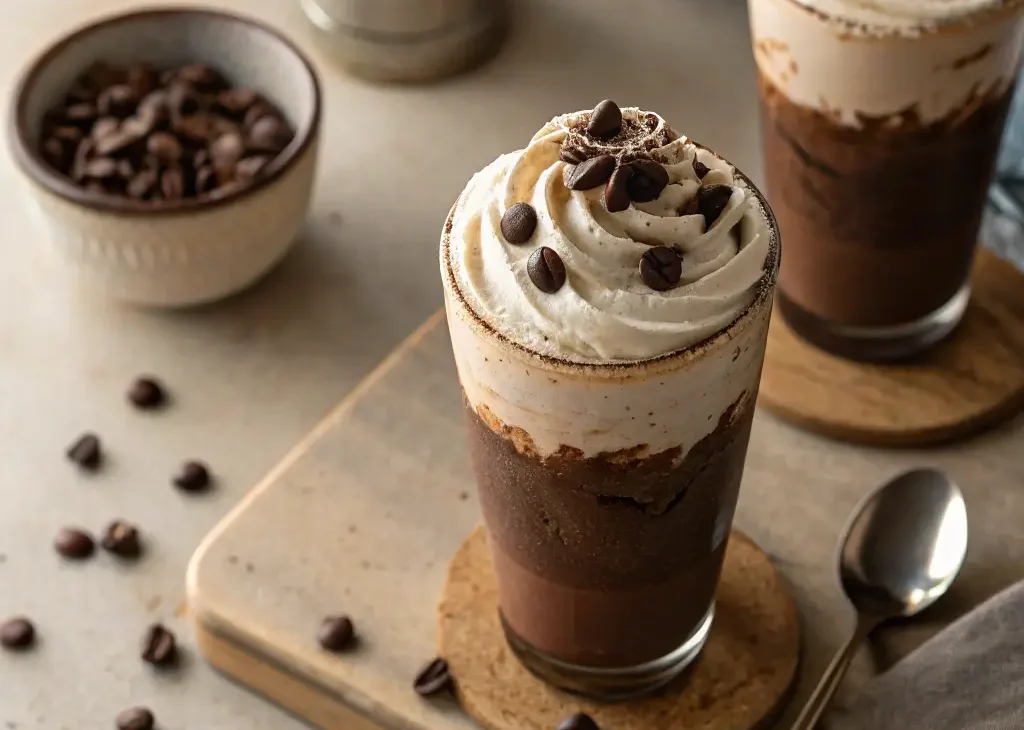
Double Chocolate Chip Frappuccino at Home – Ultra-Rich, Creamy & Coffee-Free Chocolate Treat Introduction: A Chocolate Lover’s Dream in a Glass If you crave thick, icy drinks loaded with chocolate …
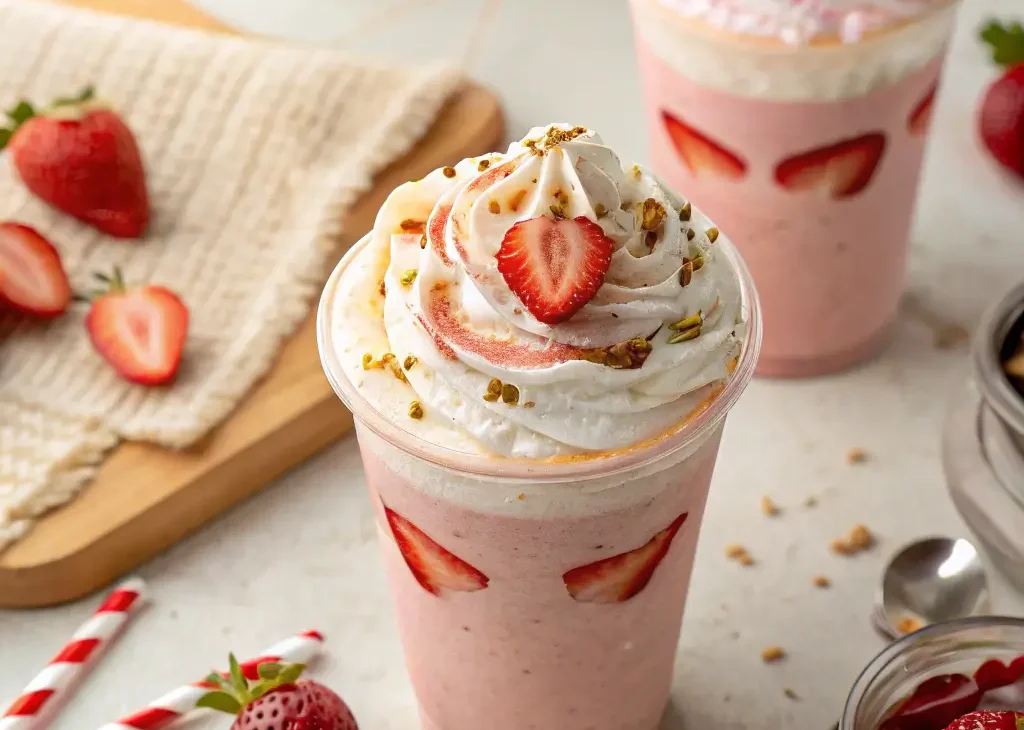
Strawberry Crème Frappuccino Recipe – Creamy, Refreshing & Coffee-Free Café Favorite Introduction: A Sweet Strawberry Treat You Can Make at Home If you’re craving a fruity, creamy frozen drink that …
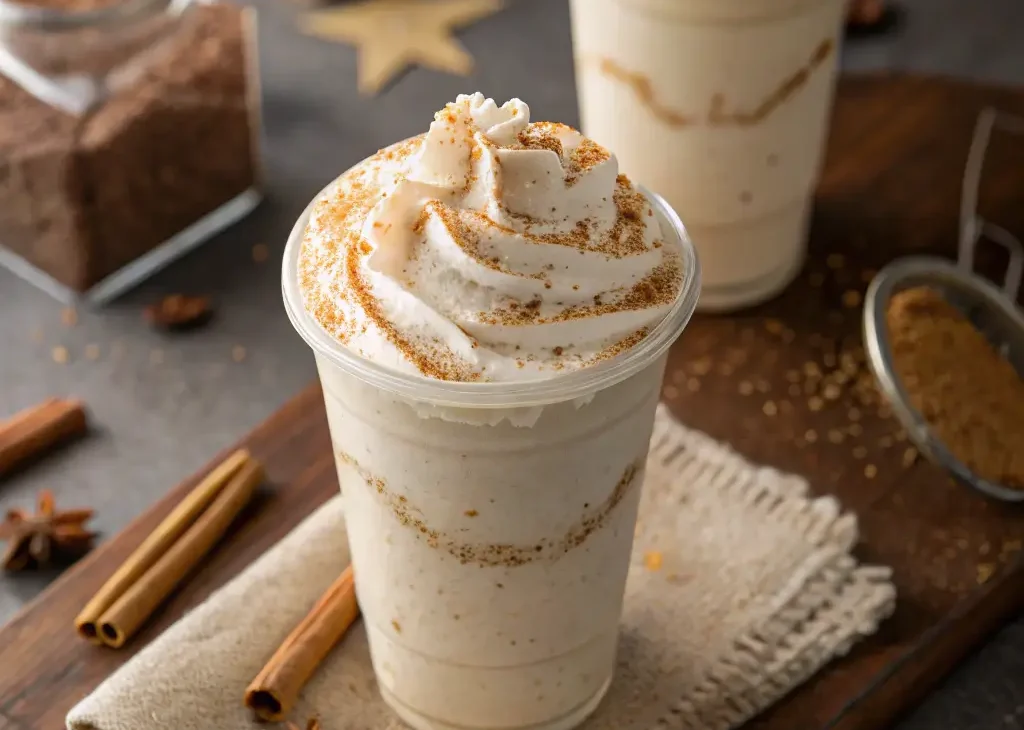
Vanilla Bean Frappuccino Recipe (No Coffee) – Creamy, Smooth & Kid-Friendly Café Treat Introduction: A Coffee-Free Frappuccino Everyone Can Enjoy If you love thick, creamy blended drinks but prefer to …