Korean-Mexican Tacos with Gochujang Slaw
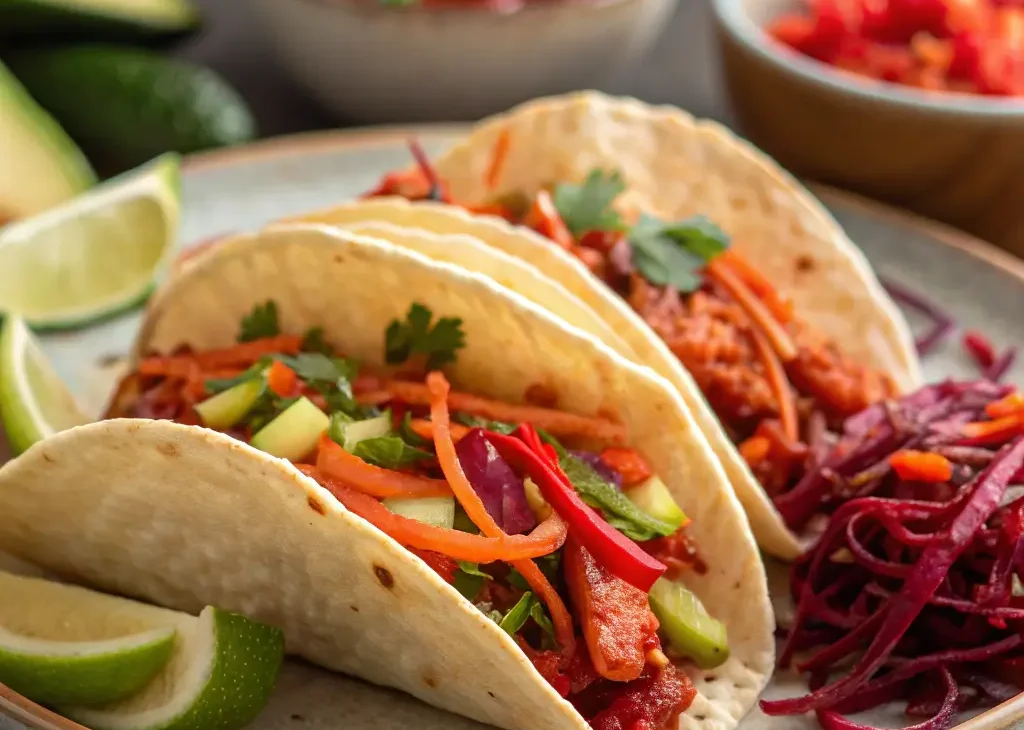
Korean-Mexican Tacos with Gochujang Slaw: Spicy, Tangy, and Flavor-Packed Introduction Korean-Mexican Tacos with Gochujang Slaw are a fusion masterpiece combining the bold flavors of Korean cuisine with the vibrant, fresh …