
Mini Homemade Snowball Donuts: Bite-Sized Powdered Perfection
The Ultimate Guide to Bakery-Quality Donut Holes at Home
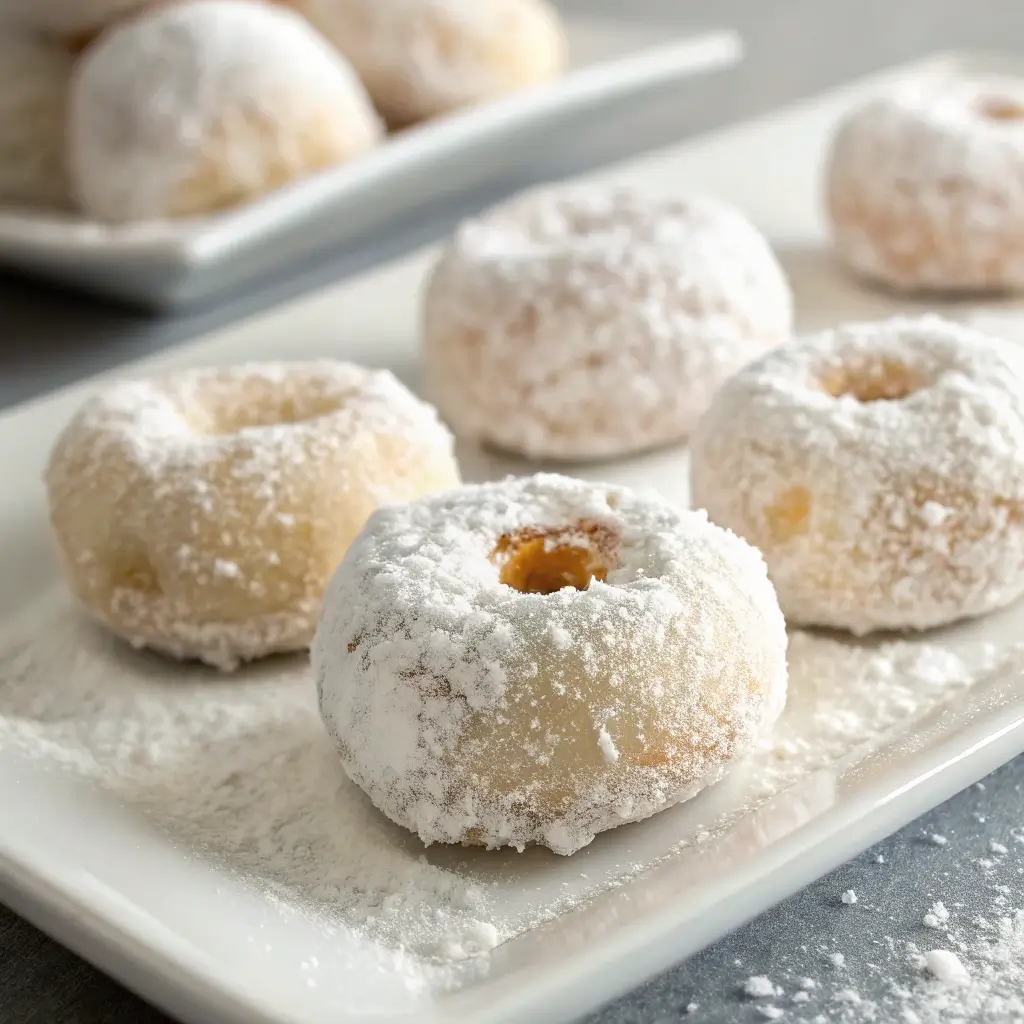
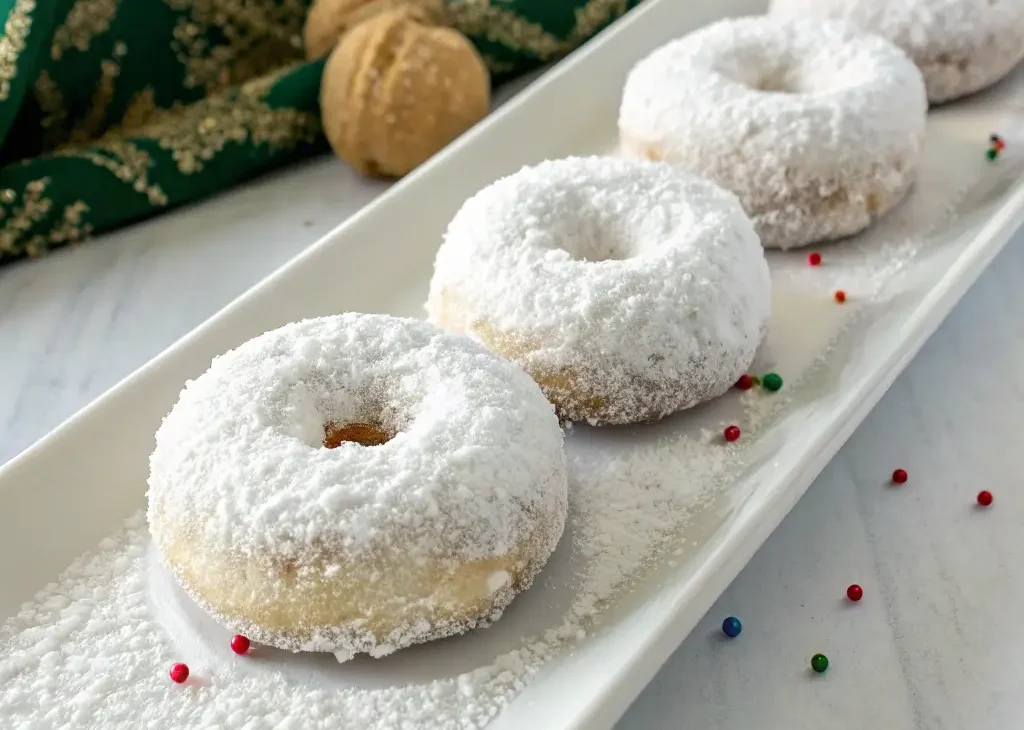
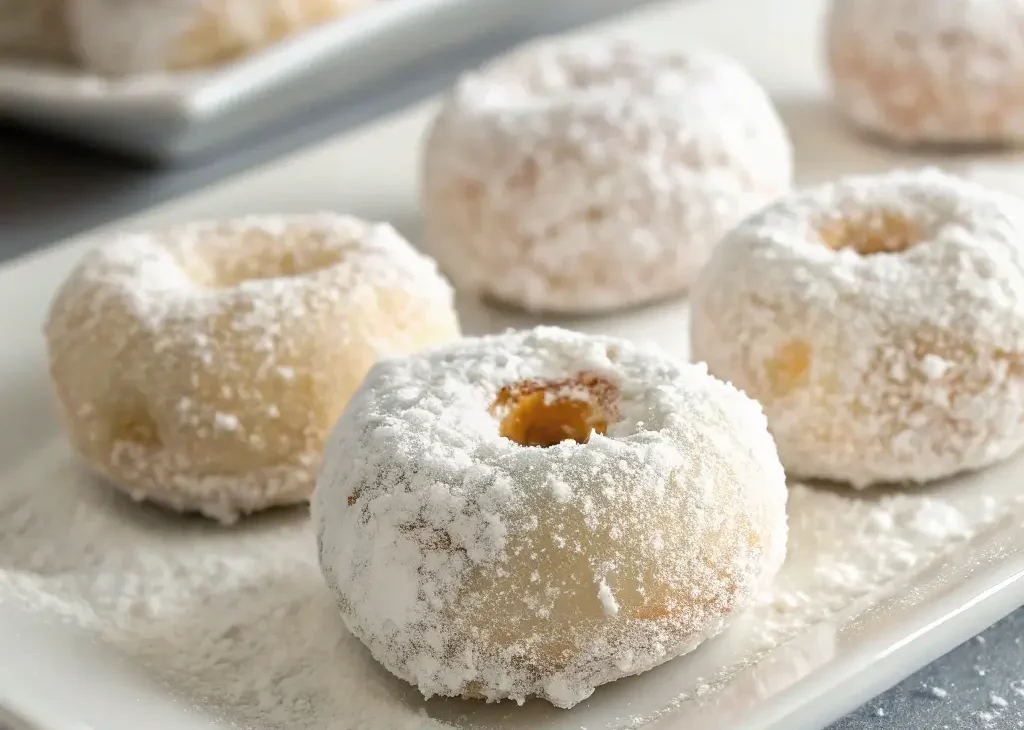
There’s something magical about biting into a cloud-like powdered donut that instantly transports you back to childhood. These Mini Homemade Snowball Donuts capture that nostalgic experience while offering better ingredients, customizable flavors, and the satisfaction of baking from scratch. Unlike store-bought versions loaded with preservatives, these tender, melt-in-your-mouth treats come together quickly with simple pantry staples.
Why These Donuts Deserve a Spot in Your Recipe Box
- Healthier Alternative – Baked not fried, with options for vegan and reduced-sugar versions
- Perfect Portion Control – Bite-sized cuteness that satisfies cravings without overindulging
- Quick Preparation – From mixing bowl to finished donuts in under 30 minutes
- Endless Customization – Easily adapt flavors for different seasons and occasions
- Crowd-Pleasing Appeal – Perfect for brunches, bake sales, or lunchbox treats
The Science Behind Perfect Snowball Donuts
Creating the ideal powdered donut requires understanding three key elements:
1. Texture Engineering
- Cake flour (lower protein than all-purpose) creates a tender crumb
- Precise leavening (baking powder + soda combo) ensures proper rise
- Buttermilk’s acidity tenderizes gluten strands for delicate texture
2. Flavor Development
- Vanilla and nutmeg provide classic bakery notes
- Quality fats (butter or coconut oil) carry flavors
- Double sugar coating enhances sweetness perception
3. Structural Integrity
- Cornstarch in coating prevents moisture absorption
- Proper baking time maintains interior moisture
- Cooling technique prevents sogginess
Comprehensive Ingredients Breakdown
Dry Ingredients (Weight Measurements for Precision)
- 125g (1 cup + 2 tbsp) cake flour (spooned and leveled)
- 2g (½ tsp) baking powder (aluminum-free preferred)
- 1g (¼ tsp) baking soda
- 1g (¼ tsp) fine sea salt
- 50g (¼ cup) granulated sugar (or coconut sugar)
Pro Tip: For professional results, weigh ingredients rather than using cup measurements
Wet Ingredients
- 42g (3 tbsp) melted coconut oil or unsalted butter (cooled slightly)
- 120ml (½ cup) buttermilk (or plant milk + ½ tsp vinegar)
- 5ml (1 tsp) pure vanilla extract
- 1 large egg
Coating Components
- 120g (1 cup) powdered sugar (sifted)
- 8g (1 tbsp) cornstarch or arrowroot powder
- 28g (2 tbsp) melted butter (for adhesion)
Advanced Preparation Techniques
Mise en Place Preparation
- Pre-measure all ingredients before starting
- Bring cold ingredients to room temperature
- Prepare pans by greasing mini muffin tins or donut hole pans
- Set up coating station with melted butter and sugar mixture
Batter Mixing Method
- Sift dry ingredients together twice for aeration
- Whisk wet ingredients until fully emulsified
- Fold gently using the “J” method until just combined
- Rest batter 5 minutes before portioning
Chef’s Note: Overmixing develops gluten, leading to tough donuts
Precision Baking Guide
Oven Calibration
- Use an oven thermometer to verify 350°F (175°C)
- Position rack in center of oven
- Preheat for at least 20 minutes
Baking Process
- Portion batter using #60 scoop (about 1 tbsp)
- Bake 10 minutes, then rotate pan
- Check at 12 minutes – tops should spring back
- Cool in pan 2 minutes before transferring
Troubleshooting Common Issues
| Problem | Cause | Solution |
|---|---|---|
| Dense texture | Overmixed batter | Fold just until combined |
| Dry donuts | Overbaked | Reduce time by 1-2 minutes |
| Flat tops | Old leavening | Test baking powder freshness |
| Sticking | Insufficient greasing | Use baking spray with flour |
Professional Coating Techniques
Two-Stage Coating Method
- First coating (while warm):
- Brush with melted butter
- Toss in sugar mixture
- Let set 5 minutes
- Second coating (for extra snowball effect):
- Lightly respray with butter
- Roll in sugar again
- Tap off excess
Coating Variations
- Matcha powder for green tea flavor
- Freeze-dried fruit powder for colorful options
- Cocoa powder blend for chocolate lovers
Storage and Preservation
Optimal Storage Conditions
- Airtight container at room temperature
- Parchment separators between layers
- Consume within 24 hours for peak freshness
Freezing Instructions
- Freeze uncoated donuts on sheet pan
- Transfer to bags once solid
- Thaw at room temp before coating
- Refresh in 300°F oven for 3 minutes if needed
Creative Serving Presentations
Holiday Variations
- Peppermint (add extract + crushed candy canes)
- Eggnog (spike batter with nutmeg and rum extract)
- Gingerbread (include molasses and spices)
Special Occasion Ideas
- Wedding favors in petite boxes
- Baby shower with pastel-colored sugars
- Graduation parties in school colors
Plating Techniques
- Dusted serving boards with powdered sugar
- Tiered displays with fresh berries
- Mini skewers for easy serving
Nutritional Analysis
Macronutrient Breakdown (Per 3 Donuts)
- Calories: 180
- Fat: 7g (4g saturated)
- Carbohydrates: 28g (15g sugars)
- Protein: 2g
Dietary Adaptations
- Vegan: Use flax egg and plant milk
- Gluten-Free: 1:1 GF flour blend
- Lower Sugar: Erythritol/Powdered monk fruit blend
Expert Q&A Section
Q: Can I use a regular muffin tin for these?
A: Yes, but adjust bake time to 15-18 minutes and cut baked muffins into cubes before coating.
Q: Why do my donuts sometimes have a bitter taste?
A: This typically indicates expired baking soda. Test freshness by mixing ¼ tsp with vinegar – it should bubble vigorously.
Q: How can I achieve professional-level white coating?
A: Use organic powdered sugar (no cornstarch added) and toss while donuts are slightly warm (but not hot).
Q: What’s the best way to transport these?
A: Use cupcake carriers with parchment liners between layers to prevent sticking.
The History of Powdered Donuts
Tracing back to 19th century Europe, powdered sweets gained popularity as sugar became more accessible. The modern “snowball” donut emerged in mid-20th century American bakeries, with Hostess popularizing the mass-produced version. This homemade interpretation brings back the artisanal quality of early recipes while using contemporary techniques.
Comparative Analysis: Homemade vs. Store-Bought
| Factor | Homemade | Commercial |
|---|---|---|
| Ingredients | 7-10 recognizable items | 20+ including preservatives |
| Texture | Light, moist crumb | Often dry or greasy |
| Flavor | Clean, balanced sweetness | Artificial aftertaste |
| Cost | $0.10 per donut | $0.50+ per donut |
| Customization | Endless possibilities | Limited options |
Step-by-Step Visual Guide
[Insert detailed photo guide showing:
- Proper batter consistency
- Correct portioning technique
- Ideal baked color
- Coating application
- Finished presentation]
Professional Baker’s Secrets
- Temperature Control – All ingredients at 68-72°F for even mixing
- Bench Scraper – For clean batter portioning
- Sifting – Always sift powdered sugar for lump-free coating
- Timing – Coat while donuts are warm but not hot (about 95°F)
- Storage – Never refrigerate as it dries out the crumb
Seasonal Flavor Calendar
- Spring: Lemon zest + lavender sugar
- Summer: Coconut + lime coating
- Fall: Pumpkin spice batter
- Winter: Peppermint + dark chocolate drizzle
Final Thoughts
Mastering these Mini Homemade Snowball Donuts opens up a world of baking possibilities. Beyond being an irresistible treat, they represent the joy of from-scratch baking – transforming simple ingredients into something extraordinary. Whether you’re a beginner looking for an achievable challenge or an experienced baker seeking perfect texture, this recipe delivers consistent, professional-quality results.
The true magic lies in their versatility. One base recipe can become countless variations to suit any occasion, dietary need, or flavor preference. They’re proof that great baking doesn’t require complex techniques – just quality ingredients, proper methods, and a dash of creativity.
We’d love to hear about your snowball donut adventures! What creative variations have you invented?
Happy baking! ❄️🍩