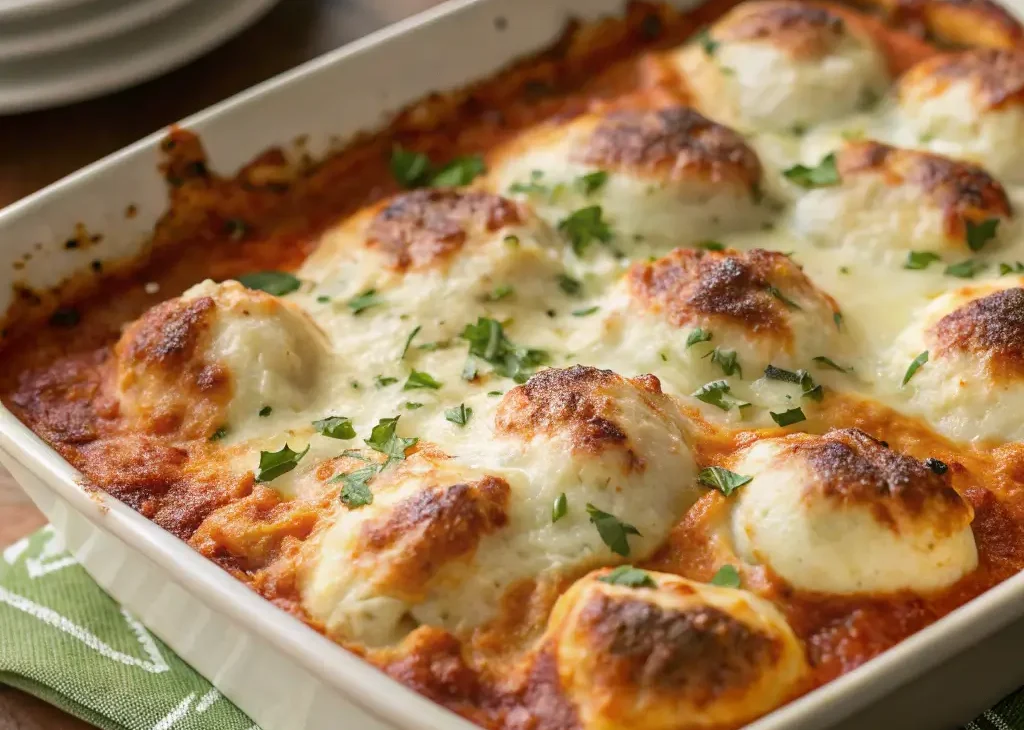
One-Pan Dumpling Lasagna Casserole
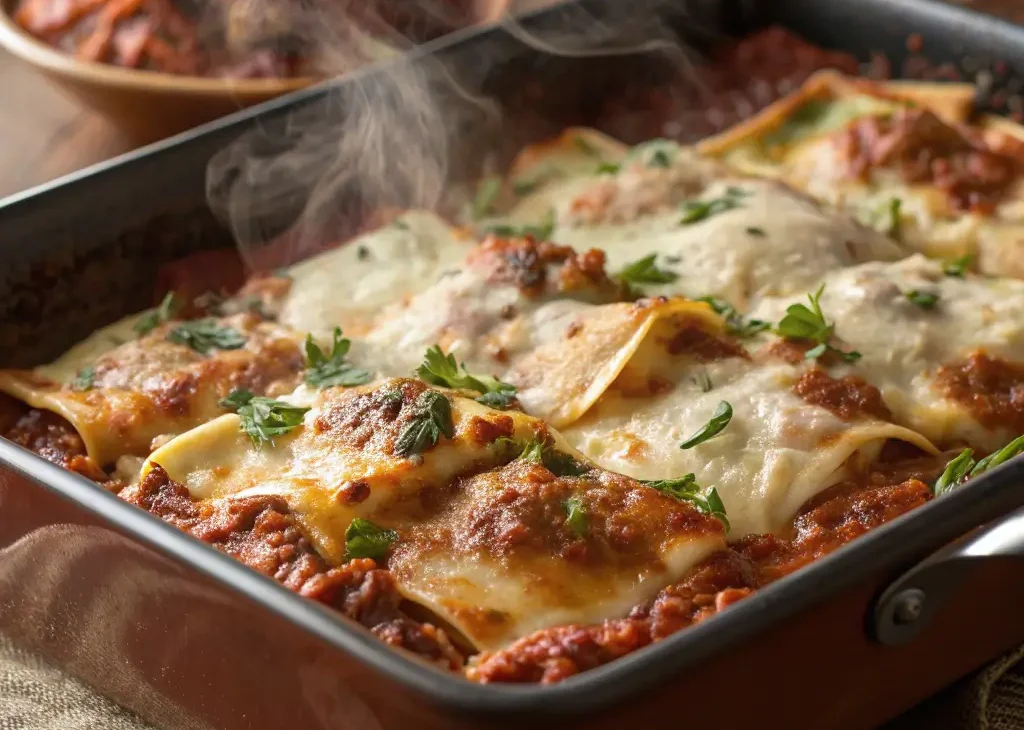
One-Pan Dumpling Lasagna Casserole – Cozy, Cheesy & Weeknight-Easy Introduction When comfort food cravings hit and time is limited, this One-Pan Dumpling Lasagna Casserole delivers everything you want in one …