
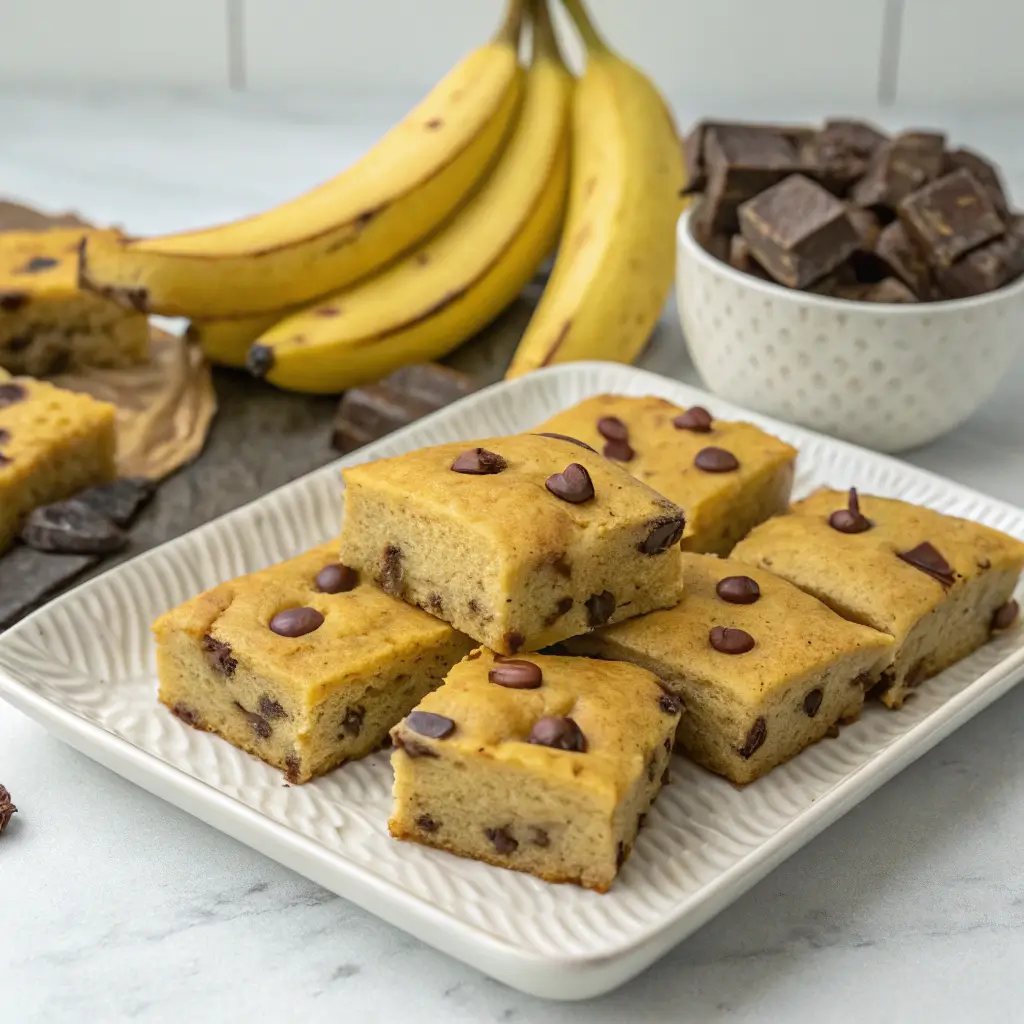
Chocolate Chip Banana Bars: The Ultimate Guide to a Moist, Irresistible Dessert
There’s a reason banana-based desserts have stood the test of time—ripe bananas bring natural sweetness, moisture, and a nostalgic flavor that feels like home. But if you’re tired of the same old banana bread, these Chocolate Chip Banana Bars are here to revolutionize your dessert game. Combining the comforting taste of bananas with pockets of melted chocolate, this recipe is quick, versatile, and guaranteed to disappear from the plate. In this comprehensive guide, we’ll walk you through every detail, from selecting the perfect bananas to creative twists that cater to all dietary needs. Let’s dive in!
Why You Should Try This Recipe
Before we get to the ingredients, let’s explore why this recipe deserves a spot in your baking repertoire:
- Effortless Preparation: Unlike layer cakes or finicky pastries, this recipe requires just one bowl and a baking pan.
- Pantry-Friendly Ingredients: No specialty items needed—everything is likely already in your kitchen.
- Crowd-Pleasing Appeal: Perfect for potlucks, school events, or a cozy family dessert night.
- Adaptable for Dietary Needs: Easily tweaked to be gluten-free, vegan, or lower in sugar.
Pro Tip: If you’ve ever wondered what to do with overripe bananas, this recipe is your answer. Their intense sweetness and soft texture make these bars exceptionally moist.
The Secret to Perfect Chocolate Chip Banana Bars
Ingredients Breakdown
Let’s dissect the ingredients to understand their roles in creating the ideal texture and flavor:
1. Ripe Bananas
- Why They Matter: Overripe bananas (with brown spots) are sweeter and easier to mash, blending seamlessly into the batter.
- How Much to Use: 3 medium bananas yield about 1.5 cups of mashed fruit.
2. Butter vs. Oil
- Butter’s Role: Adds richness and a tender crumb. For a dairy-free version, coconut oil works beautifully.
- Temperature Tip: Melt the butter and let it cool slightly to avoid “cooking” the eggs when mixed.
3. Sugar Duo: Granulated + Brown
- Granulated Sugar: Provides straightforward sweetness.
- Brown Sugar: Adds moisture and a caramel-like depth thanks to its molasses content.
4. Eggs and Vanilla
- Eggs: Bind the ingredients and contribute to the bars’ structure.
- Vanilla Extract: Elevates the flavor with its warm, aromatic notes.
5. Flour and Leaveners
- All-Purpose Flour: Serves as the foundation for the batter. For a healthier twist, substitute half with whole wheat flour.
- Baking Powder & Soda: These leaveners work together to create a light, airy texture.
6. Chocolate Chips
- Semi-Sweet vs. Milk Chocolate: Semi-sweet chips balance the bananas’ sweetness, but milk chocolate caters to a sweeter tooth.
Step-by-Step Instructions for Flawless Results
Follow these steps to ensure your banana bars turn out moist, flavorful, and loaded with chocolate:
1. Prep Work: Setting the Stage
- Preheat the Oven: 350°F (175°C). This ensures even baking from the moment the batter hits the oven.
- Prepare the Pan: Grease a 9×13-inch baking dish or line it with parchment paper for easy removal.
2. Mixing the Batter: Keep It Simple
- Mash Bananas First: Use a fork or potato masher until no large chunks remain.
- Combine Wet Ingredients: Stir in melted butter, sugars, egg, and vanilla. Whisk until smooth.
- Incorporate Dry Ingredients: Gradually add the flour mixture to avoid overmixing, which can lead to dense bars.
- Fold in Chocolate Chips: Reserve a handful to sprinkle on top for a picture-perfect finish.
Pro Tip: For extra-gooey chocolate pockets, toss the chocolate chips in 1 tsp of flour before folding them in. This prevents sinking to the bottom.
3. Baking: Timing Is Everything
- Spread the Batter: Use a spatula to evenly distribute the batter in the pan.
- Bake: 25–30 minutes. The bars are done when the edges pull away from the pan, and a toothpick inserted in the center comes out clean.
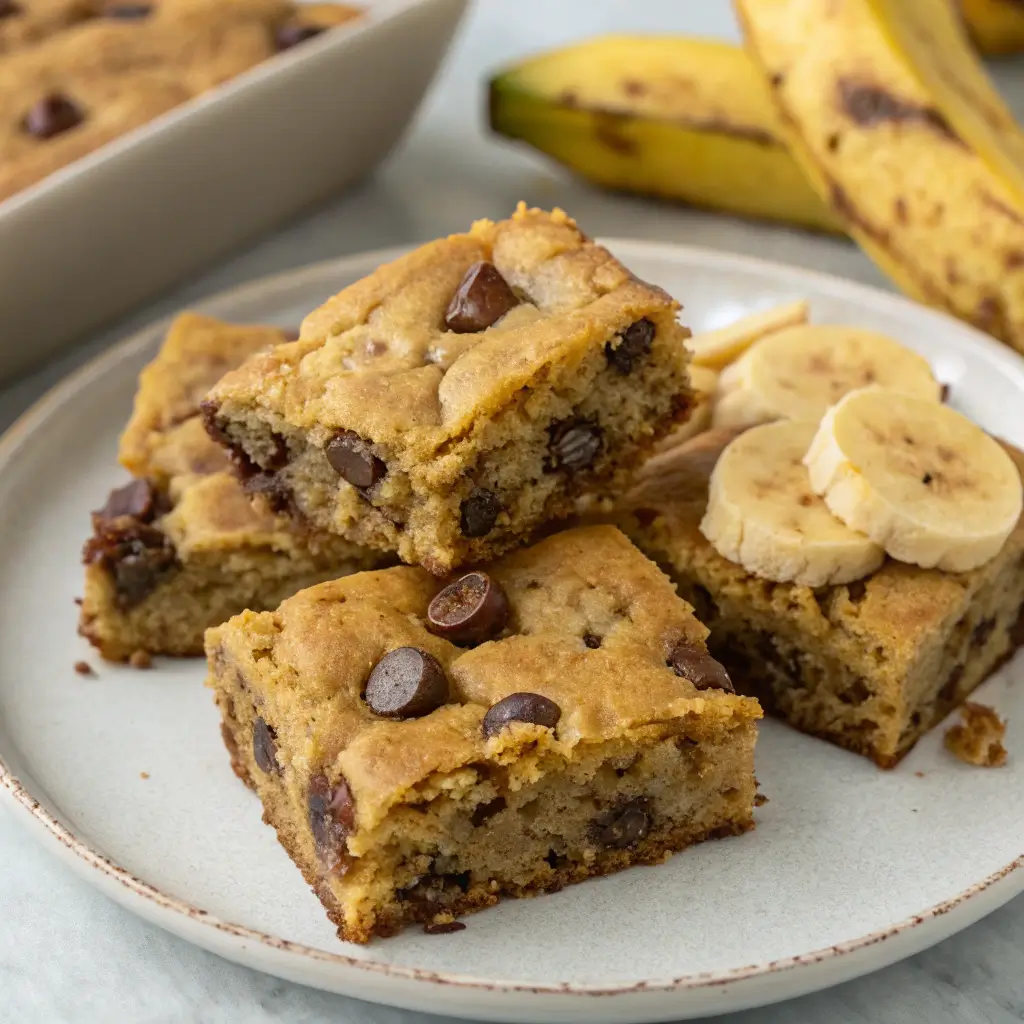
4. Cooling and Slicing: Patience Pays Off
- Cool in the Pan: Let the bars rest for 15 minutes. This allows them to set without becoming dry.
- Slice Neatly: Use a sharp knife dipped in hot water for clean cuts.
7 Pro Tips to Elevate Your Banana Bars
- Boost Banana Flavor: Add 1/2 tsp of banana extract if your fruit isn’t overly ripe.
- Prevent Dryness: Don’t overbake! Remove the bars as soon as the center springs back when lightly pressed.
- Enhance Texture: Mix in 1/2 cup chopped toasted walnuts for a satisfying crunch.
- Go Gourmet: Use high-quality chocolate bars chopped into chunks instead of standard chips.
- Add Warmth: Stir 1 tsp of cinnamon or pumpkin spice into the batter for a seasonal twist.
- Double the Batch: Bake two pans at once and freeze one for later.
- Kid-Friendly Fun: Let children decorate cooled bars with a drizzle of melted chocolate or rainbow sprinkles.
Creative Variations to Suit Every Taste
Gluten-Free Banana Bars
Swap all-purpose flour for a 1:1 gluten-free blend. Ensure your baking powder is gluten-free certified.
Vegan Chocolate Chip Banana Bars
- Butter Substitute: Use coconut oil or vegan butter.
- Egg Substitute: Replace the egg with 1/4 cup unsweetened applesauce or a flax egg (1 tbsp ground flax + 3 tbsp water).
- Dairy-Free Chocolate: Opt for vegan chocolate chips.
Health-Conscious Tweaks
- Reduce Sugar: Cut the granulated sugar to 1/2 cup if using very ripe bananas.
- Add Protein: Stir in 1/2 cup of Greek yogurt for a protein boost.
- Up the Fiber: Substitute 1/2 cup of flour with oats or almond flour.
Decadent Upgrades
- Peanut Butter Swirl: Drop spoonfuls of peanut butter onto the batter and swirl with a knife before baking.
- Salted Caramel Drizzle: Top cooled bars with store-bought or homemade caramel sauce and a pinch of sea salt.
- Berry Bliss: Add 1/2 cup of fresh raspberries or blueberries for a tart contrast.
Serving Suggestions: Beyond the Basics
While these bars shine on their own, pairing them with complementary flavors can take them to the next level:
- À La Mode: Serve warm with a scoop of vanilla ice cream and a sprinkle of cinnamon.
- Brunch-Worthy: Pair with a latte or chai tea for a mid-morning treat.
- Festive Touch: Dust with powdered sugar or cocoa powder before serving at parties.
- Savory Balance: Offer a side of salted nuts or cheese platters to contrast the sweetness.
Storage and Freezing: Keep Them Fresh
Short-Term Storage
- Room Temperature: Keep in a sealed container for a maximum of 2 days.
- Refrigerator: Extend freshness to 5 days. Reheat slices in the microwave for 10 seconds to revive the gooey texture.
Freezing for Longevity
- Individual Portions: Wrap bars in plastic wrap and place them in a freezer-safe bag. Freeze in an airtight container or wrapped tightly for up to 3 months.
- Thawing: Let them sit at room temperature for 1–2 hours or microwave for 20–30 seconds.
Nutritional Insights & Dietary Adjustments
Per Serving (1 Bar):
Calories: 220 | Protein: 3g | Carbs: 32g | Fat: 9g | Fiber: 2g
Healthier Modifications:
- Low-Sugar: Use sugar substitutes like monk fruit or erythritol.
- Nut-Free: Skip nuts and add seeds like sunflower or pumpkin for crunch.
- Egg-Free: As mentioned earlier, applesauce or flax eggs work well.
FAQs: Solving Common Banana Bar Dilemmas
1. Can I Use Frozen Bananas?
Yes! Thaw frozen bananas overnight, drain excess liquid, and mash.
2. Why Did My Bars Turn Out Dry?
Overbaking or overmixing the batter are likely culprits. Stick to the recommended bake time and mix until just combined.
3. Can I Prepare These Bars in Advance?
Absolutely! Bake them a day in advance and store in an airtight container.
4. How Do I Make the Bars More Dense Like Brownies?
Reduce the baking powder to 1/2 tsp and add an extra egg yolk for a fudgier texture.
5. Can I Use a Different Pan Size?
For thicker bars, use a 9×9-inch pan and increase bake time by 5–10 minutes.
Conclusion: Bake a Batch of Happiness
These Chocolate Chip Banana Bars are more than just a dessert—they’re a versatile, crowd-pleasing treat that bridges the gap between simplicity and indulgence. Whether you’re a novice baker or a seasoned pro, this recipe adapts to your needs, preferences, and occasions. From gluten-free tweaks to decadent caramel swirls, the possibilities are endless.
So, the next time those bananas on your counter start to brown, don’t toss them—transform them into these irresistible bars. Share them with loved ones, pack them for lunch, or savor a quiet moment with a warm slice and a cup of coffee. After all, the best recipes are the ones that create lasting memories, one bite at a time.
By blending detailed instructions, creative variations, and practical tips, this guide ensures your banana bars will be a hit every time. Happy baking! 🍌🍫
for more easy dessert recipes checkout : Dessert Recipes
If you want to make some healthy meal : Healthy Recipes