Chocolate Raspberry Tart: A Decadent Dessert Masterpiece
Introduction
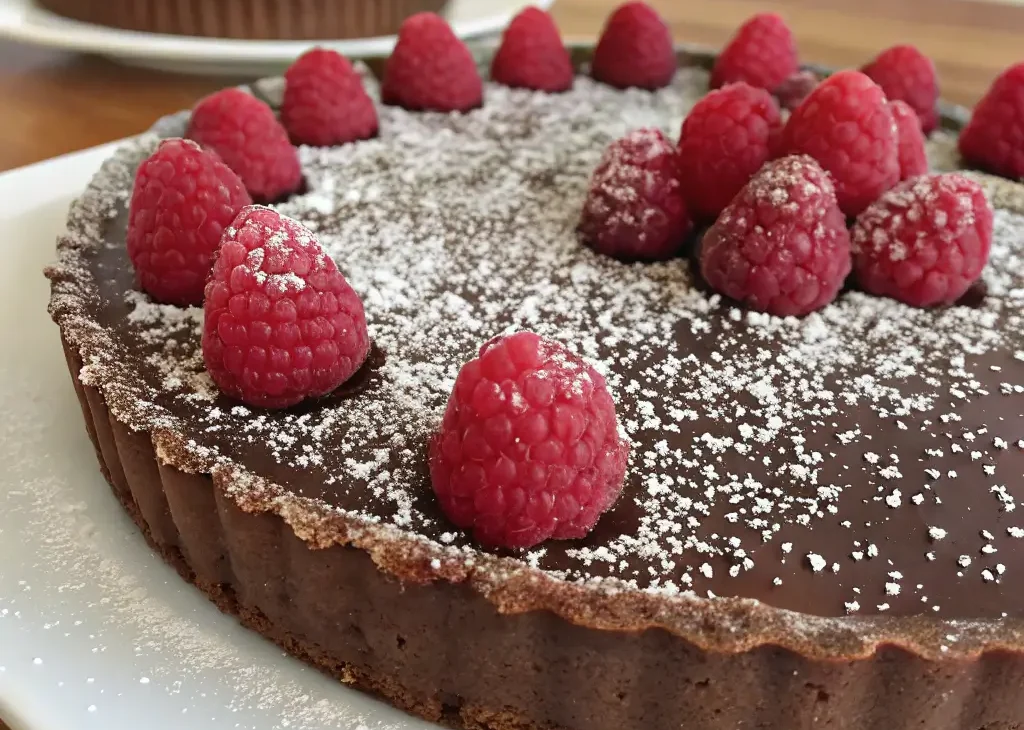
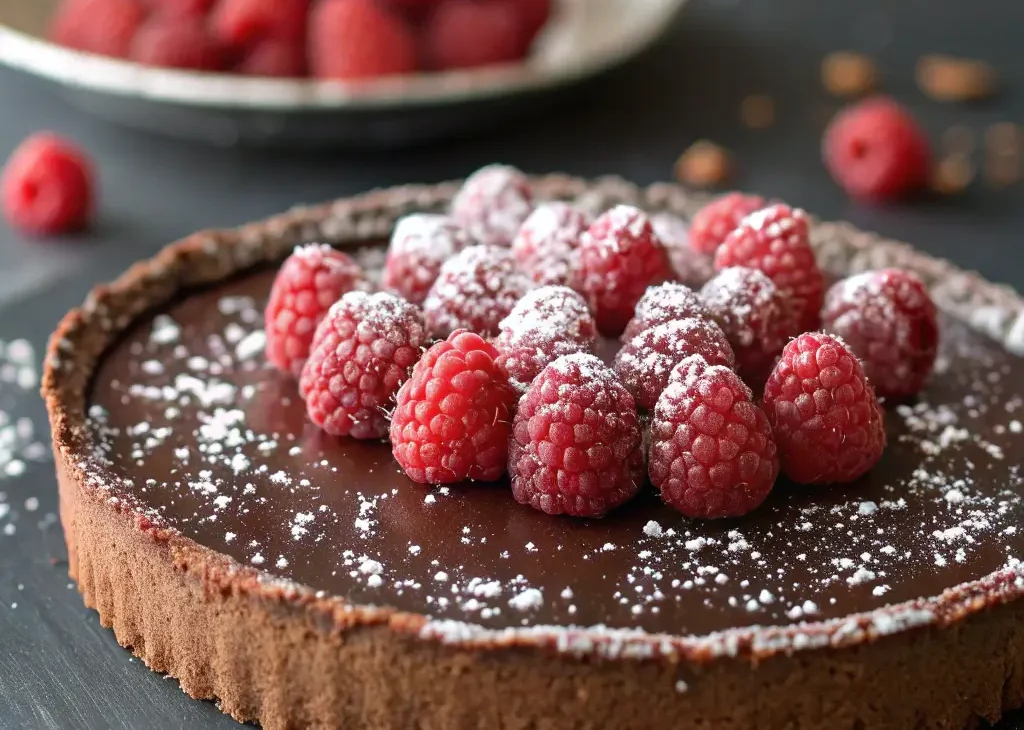
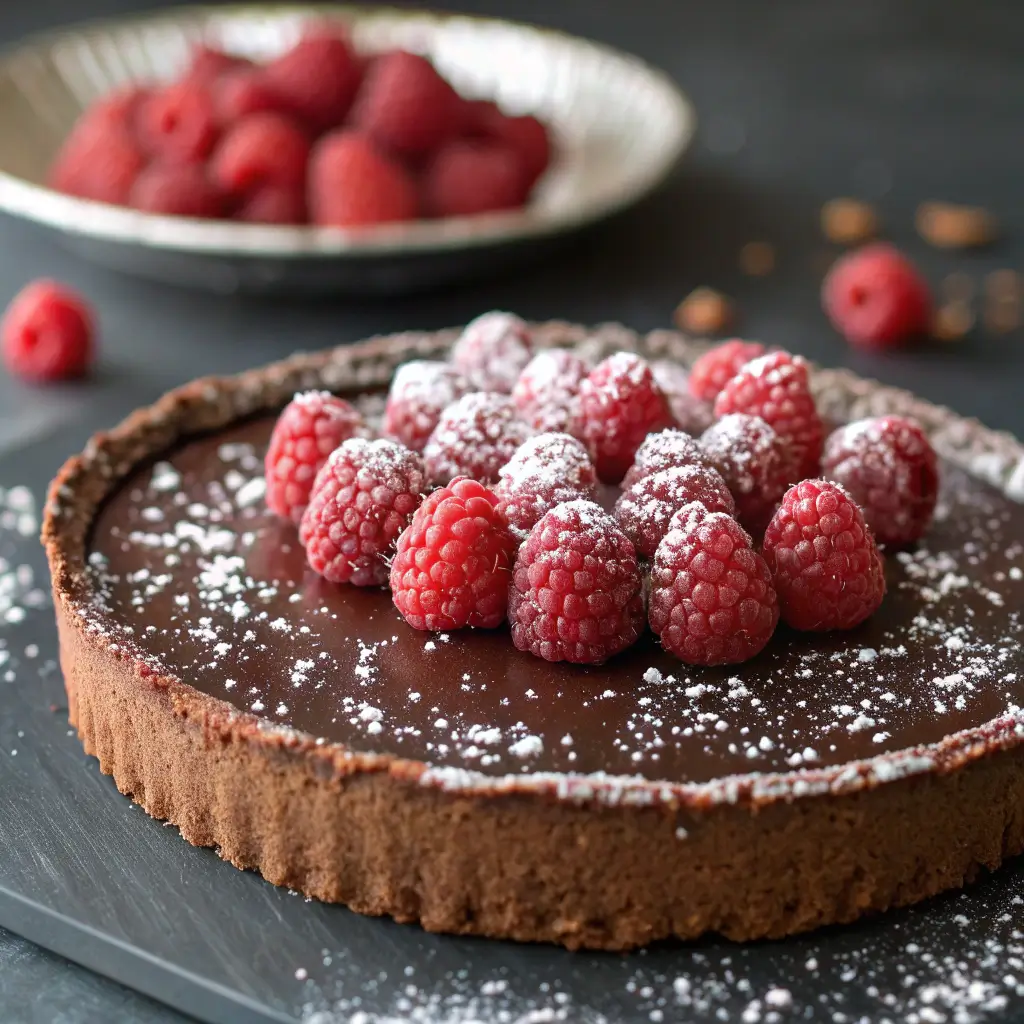
This exquisite chocolate raspberry tart is a symphony of textures and flavors that will elevate any occasion. The rich, velvety chocolate ganache perfectly complements the bright, tangy raspberries, all encased in a crisp cocoa-infused crust that shatters delicately with each bite. What makes this dessert truly special is its elegant presentation that belies its surprisingly simple preparation.
Professional pastry chefs rely on three key techniques that we’ll explore in detail: the reverse creaming method for a more tender crust, proper chocolate tempering for a glossy ganache, and maceration to intensify the raspberry flavor. Whether you’re preparing for a dinner party or simply indulging your sweet tooth, this tart offers restaurant-quality results with home kitchen convenience.

Ingredients
For the Chocolate Crust
The foundation of any great tart begins with its crust. For this recipe, we use a French sablé (sandy) dough enhanced with cocoa powder:
- 1 ¼ cups (150g) all-purpose flour, lightly spooned into measuring cup and leveled off
- ¼ cup (25g) Dutch-process cocoa powder (for deeper color and flavor)
- ½ cup (60g) powdered sugar (finer texture than granulated)
- ½ teaspoon fine sea salt (enhances chocolate flavor)
- 0.5 cup (115g) cold unsalted butter (European-style preferred)
- 1 large egg yolk (room temperature)
- 1-2 tablespoons ice water (only if needed)
For the Chocolate Ganache
The ganache filling requires precision:
- 8 oz (225g) high-quality dark chocolate (63-70% cocoa)
- ¾ cup (180ml) heavy cream (36-40% fat content)
- 2 tablespoons (30g) unsalted butter (adds shine)
- 1 teaspoon vanilla extract (or ½ scraped vanilla bean for intense flavor)
For the Raspberry Topping
Selecting and preparing the berries:
- 2 cups (250g) fresh raspberries (uniform size)
- ¼ cup (80g) seedless raspberry jam
- 1 tablespoon Chambord (optional flavor enhancer)
- 1 teaspoon lemon juice (balances sweetness)
Step-by-Step Instructions
1. Making the Chocolate Crust
(Prep time: 15 min | Chill time: 30 min | Bake time: 25 min)
- Food Processor Method
Pulse dry ingredients 5-7 times to aerate. Add cold butter in three batches, pulsing until mixture resembles coarse sand with some pea-sized pieces remaining. The uneven butter distribution creates flakiness. - Egg Yolk Incorporation
Add yolk and pulse just until dough begins to clump. Test by squeezing a handful – it should hold together without crumbling. If too dry, add ice water ½ tablespoon at a time. - Pressing Technique
Use your fingers to press dough into pan, working from the center outward. For professional edges, use a straight-sided measuring cup to smooth sides. Chill thoroughly to relax gluten. - Blind Baking Secrets
Use parchment and ceramic baking weights for even heat distribution. Bake until edges are set but center appears slightly underdone (about 15 minutes). Remove weights and finish baking until fully crisp.
2. Preparing the Chocolate Ganache
(Prep time: 5 min | Setting time: 1 hour)
- Chocolate Selection
Chop chocolate uniformly (¼-inch pieces) for even melting. Couverture chocolate with 63-70% cocoa content provides ideal viscosity and shine. - Cream Temperature
Heat cream to 185°F (85°C) – steaming but not boiling. This temperature optimally melts chocolate without seizing. - Emulsification Process
Let cream/chocolate sit undisturbed for 2 minutes before stirring from center outward. Add butter in small pieces, stirring gently until completely incorporated but not aerated. - Setting Conditions
Pour ganache at 90°F (32°C) into cooled crust. Refrigerate uncovered for first 15 minutes to set surface, then cover loosely to prevent condensation.
3. Assembling the Tart
- Berry Preparation
Gently rinse and dry raspberries. Macerate with lemon juice and liqueur (if using) for 10 minutes to enhance flavor. Drain excess liquid before arranging. - Glaze Application
Warm jam to 110°F (43°C) for optimal viscosity. Use a pastry brush to apply thin, even layer over set ganache. This acts as flavor bridge and moisture barrier. - Artistic Arrangement
Start from outer edge, placing berries stem-side down at 45° angle. Work inward in concentric circles, slightly overlapping each row. Reserve perfect berries for top center.
Chef’s Secrets for Flawless Execution
✔ Temperature Control
Keep all ingredients cold during crust preparation. Warm butter (above 60°F/15°C) will make dough greasy.
✔ Ganache Troubleshooting
If mixture separates, add 1 teaspoon hot cream and whisk vigorously. For dull finish, polish set ganache with soft cloth.
✔ Knife Technique
Dip sharp knife in hot water and wipe dry between cuts for clean slices. Cut in one smooth motion without sawing.
✔ Flavor Variations
Add orange zest to crust or infuse cream with Earl Grey tea for sophisticated twists.
Serving Suggestions
- Temperature Contrast
Serve chilled tart with warm crème anglaise for temperature play. - Texture Pairings
Add crunch with caramelized hazelnuts or feuilletine flakes. - Plating Styles
Modern: Geometric berry arrangement
Rustic: Free-form berry pile
Classic: Perfect concentric circles

Make-Ahead & Storage
- Component Storage
Dough: 3 days refrigerated or 1 month frozen
Ganache: 1 week refrigerated in airtight container
Assembled: Best within 24 hours but holds 3 days - Reviving Techniques
Refresh crust in 300°F oven for 5 minutes if soggy
Reheat ganache gently over double boiler if too firm
Final Thoughts
This chocolate raspberry tart represents the perfect balance between technique and artistry. By understanding the science behind each component – from gluten development in the crust to chocolate crystallization in the ganache – you can consistently produce professional results. The tart’s visual appeal comes from meticulous berry arrangement, while its flavor profile balances sweet, bitter, and acidic notes.
For those seeking to master French patisserie at home, this recipe provides foundational skills that transfer to countless other desserts. The crust technique adapts to fruit tarts, the ganache knowledge applies to truffles, and the presentation principles elevate all your plating.

