
Sourdough Bread for Beginners: A Step-by-Step Guide
Introduction
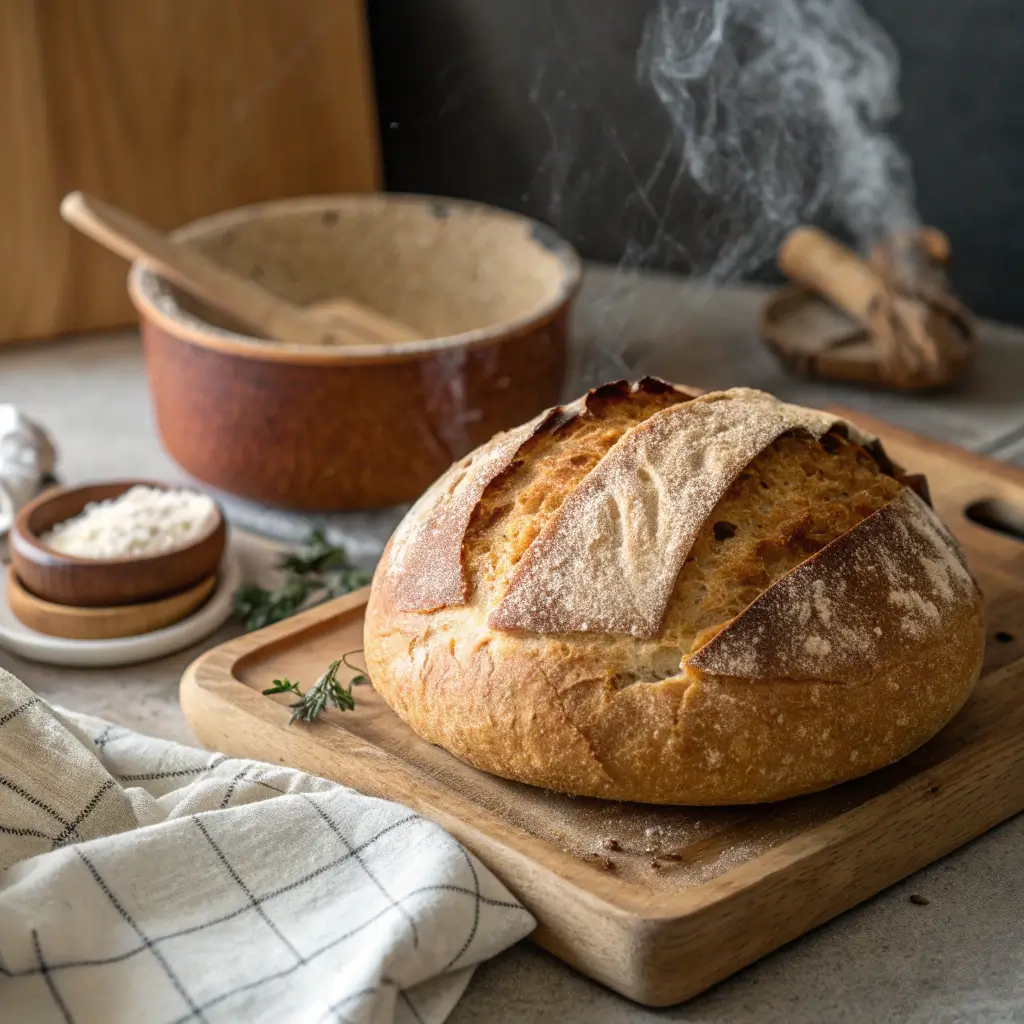
There’s something magical about baking your first loaf of sourdough bread. From the tangy aroma of the starter to the crackling golden crust and airy crumb, sourdough is more than just bread—it’s a tradition, a craft, and a delicious reward for your patience. Unlike bread made with commercial yeast, sourdough relies on a natural starter made of flour and water, teeming with wild yeast and beneficial bacteria.
If you’ve ever been intimidated by sourdough baking, this beginner-friendly recipe and guide will walk you through everything step by step. With just a few simple ingredients and some patience, you can create bakery-style sourdough bread right at home.
Why Make Sourdough Bread?
- Flavorful & Tangy: Natural fermentation develops complex, deep flavors.
- Healthier Choice: The long fermentation makes bread easier to digest and may lower gluten content.
- Beautiful Texture: Crispy crust, soft interior, and those classic air pockets.
- Satisfying Process: Each step connects you with an age-old tradition of breadmaking.
Essential Ingredients
Sourdough bread is wonderfully simple. You’ll only need:
- Active sourdough starter – 100 g (about ½ cup)
- All-purpose flour – 400 g (3 ¼ cups)
- Whole wheat flour – 100 g (¾ cup)
- Water – 375 g (1 ½ cups), lukewarm
- Salt – 10 g (about 2 teaspoons)
That’s it—just flour, water, salt, and starter.
Tools You’ll Need
- Mixing bowl
- Digital kitchen scale (highly recommended for accuracy)
- Bench scraper or spatula
- Dutch oven or cast-iron pot with lid (for baking)
- Proofing basket or bowl lined with a towel
- Sharp knife or bread lame (for scoring)
Step 1: Make or Get a Starter
Before you bake sourdough, you need an active starter. If you don’t already have one, here’s how to make it:
- Mix equal parts flour and water (about ½ cup each) in a clean jar.
- Leave at room temperature, loosely covered.
- Every 24 hours, discard half and feed with fresh flour and water.
- After 5–7 days, the mixture should be bubbly, doubled in size, and smell pleasantly tangy.
Once your starter passes the “float test” (a spoonful floats in water), it’s ready to use.
Step 2: Autolyse (Mix Flour & Water)
- In a large bowl, mix flour and water until no dry bits remain.
- Cover and rest for 30–60 minutes.
- This hydrates the flour and develops gluten, making the dough easier to handle.
Step 3: Add Starter and Salt
- Add your active sourdough starter and salt to the dough.
- Mix well by hand, folding the dough over itself until incorporated.
- Cover the bowl with a damp towel.
Step 4: Bulk Fermentation (Stretch & Fold)
This is where your dough develops strength:
- Let the dough rest at room temperature (ideally 70–75°F or 21–24°C) for 3–5 hours.
- Every 30 minutes during the first 2 hours, perform a “stretch and fold”: grab one edge of the dough, stretch it up, and fold it over. Rotate the bowl and repeat 4 times.
- After 3–5 hours, the dough should look puffy, airy, and slightly domed.
Step 5: Pre-Shape and Bench Rest
- Lightly flour your surface.
- Turn the dough out and gently shape into a round ball.
- Let it rest uncovered for 20–30 minutes.
Step 6: Final Shape and Proof
- Shape the dough into a tight ball or oval loaf.
- Place seam-side up in a proofing basket or towel-lined bowl.
- Cover and refrigerate for 12–18 hours. This slow proof deepens flavor.
Step 7: Bake Your Bread
- Preheat your oven to 475°F (245°C) with a Dutch oven inside.
- Turn the dough out onto parchment paper, seam-side down.
- Score the top with a sharp blade.
- Carefully transfer to the hot Dutch oven, cover, and bake for 20 minutes.
- Remove the lid and bake another 20–25 minutes until golden brown and crusty.
Step 8: Cool and Enjoy
Let your loaf cool on a wire rack for at least 1 hour before slicing. This allows the crumb to set properly. Then slice, spread with butter, and enjoy the fruits of your labor.
Pro Tips for Beginners
- Patience is key: Sourdough takes time but most of it is hands-off.
- Use a scale: Precise measurements make a huge difference.
- Hydration levels matter: Start with a lower hydration dough (70–75%) for easier handling.
- Practice scoring: The cut helps control how your bread expands in the oven.
- Don’t rush cooling: Cutting too soon makes the bread gummy.
Troubleshooting Common Issues
- Flat loaf: Starter may not have been active enough or bulk fermentation was too short.
- Dense crumb: Dough under-proofed; give it more time to rise.
- Sticky dough: Try flouring your hands or using a dough scraper.
- Burnt crust: Reduce oven temp slightly after the lid comes off.
Variations to Try
Once you master the basic sourdough, experiment with:
- Seeded sourdough – Add sesame, sunflower, or flaxseeds.
- Herb sourdough – Mix in rosemary, thyme, or oregano.
- Olive sourdough – Add chopped olives for a Mediterranean twist.
- Whole grain sourdough – Swap some white flour for rye or spelt.
Serving Suggestions
Freshly baked sourdough is versatile:
- Toast slices with butter and jam for breakfast.
- Pair with soups, stews, or salads.
- Use for sandwiches or paninis.
- Cube for homemade croutons.
- Enjoy simply dipped in olive oil and herbs.
Storage Tips
- Room Temp: Store cut-side down on a cutting board for 1–2 days.
- Longer Storage: Wrap in a clean towel or bread bag, keeps up to 4–5 days.
- Freezer: Slice and freeze; reheat in toaster or oven.
FAQ
1. How long does it take to make sourdough?
From mixing to baking, about 24 hours, but most of that is resting time.
2. Can I make sourdough without a Dutch oven?
Yes! Use a baking stone with a pan of water for steam.
3. Do I have to feed my starter daily?
Only if kept at room temperature. If refrigerated, feed once a week.
4. Why is my crust too hard?
Overbaking or not enough steam. Try covering longer.
Conclusion
Baking sourdough bread for the first time may seem daunting, but once you understand the rhythm, it becomes second nature. With just flour, water, salt, and a living starter, you can create artisan bread that rivals your favorite bakery. The process encourages patience, mindfulness, and creativity—qualities that make sourdough baking as rewarding as it is delicious.
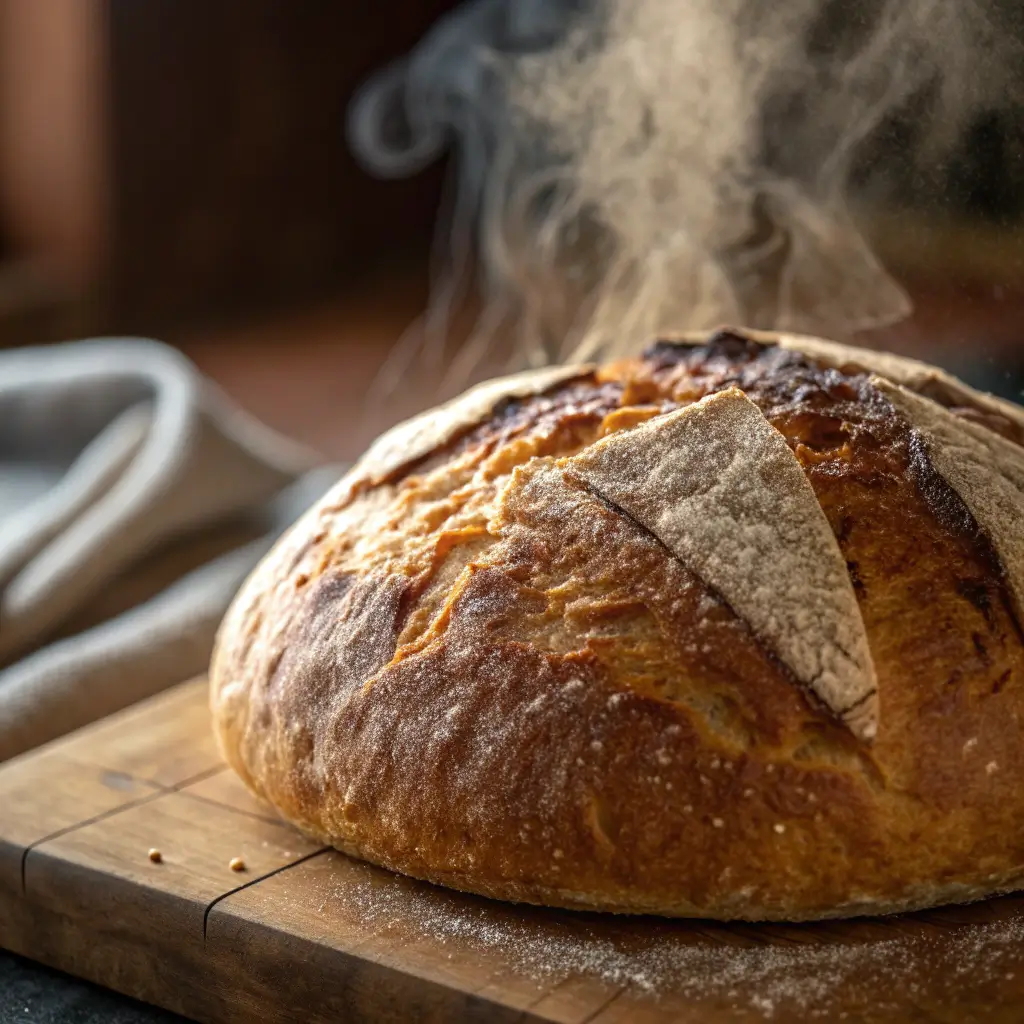
For beginners, this recipe is the perfect starting point: simple steps, reliable results, and plenty of room to grow as you gain confidence. Once you pull your first golden loaf from the oven and hear that crackling crust, you’ll be hooked on the joy of homemade sourdough.