The Best & Easy Keto Kentucky Hot Brown Casserole
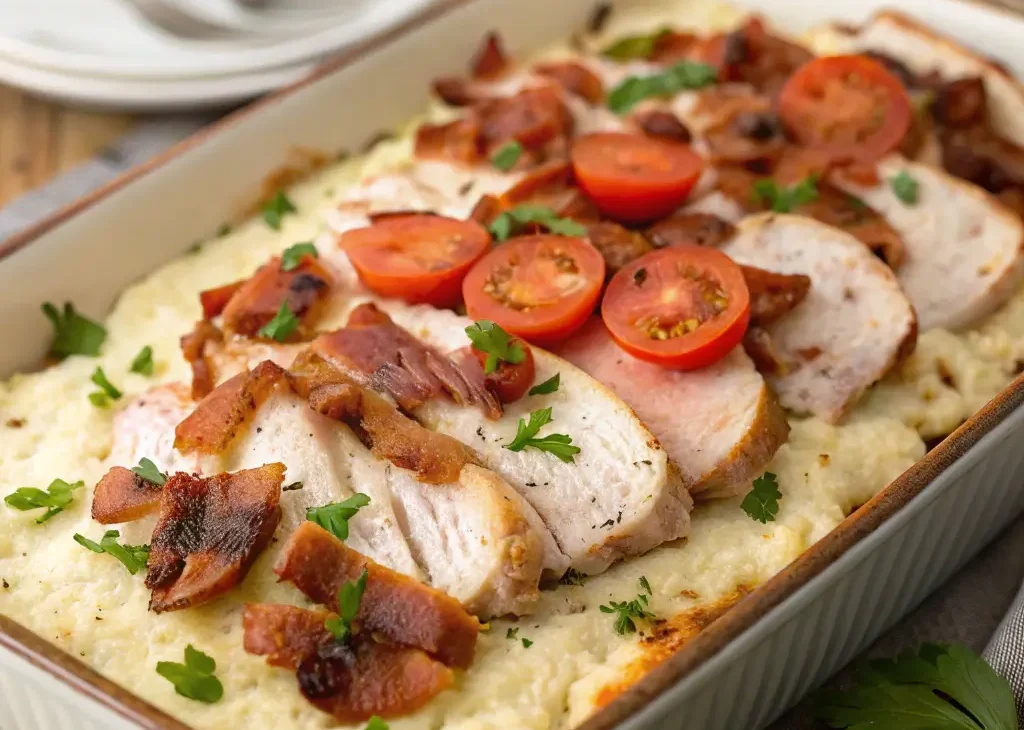
Keto Kentucky Hot Brown Casserole: A Low-Carb Comfort Food Classic If you’re looking for a hearty, comforting dish that fits perfectly into your keto lifestyle, this Keto Kentucky Hot Brown …