
No-Knead Artisan Bread at Home: A Simple Guide to Bakery-Quality Loaves
Introduction
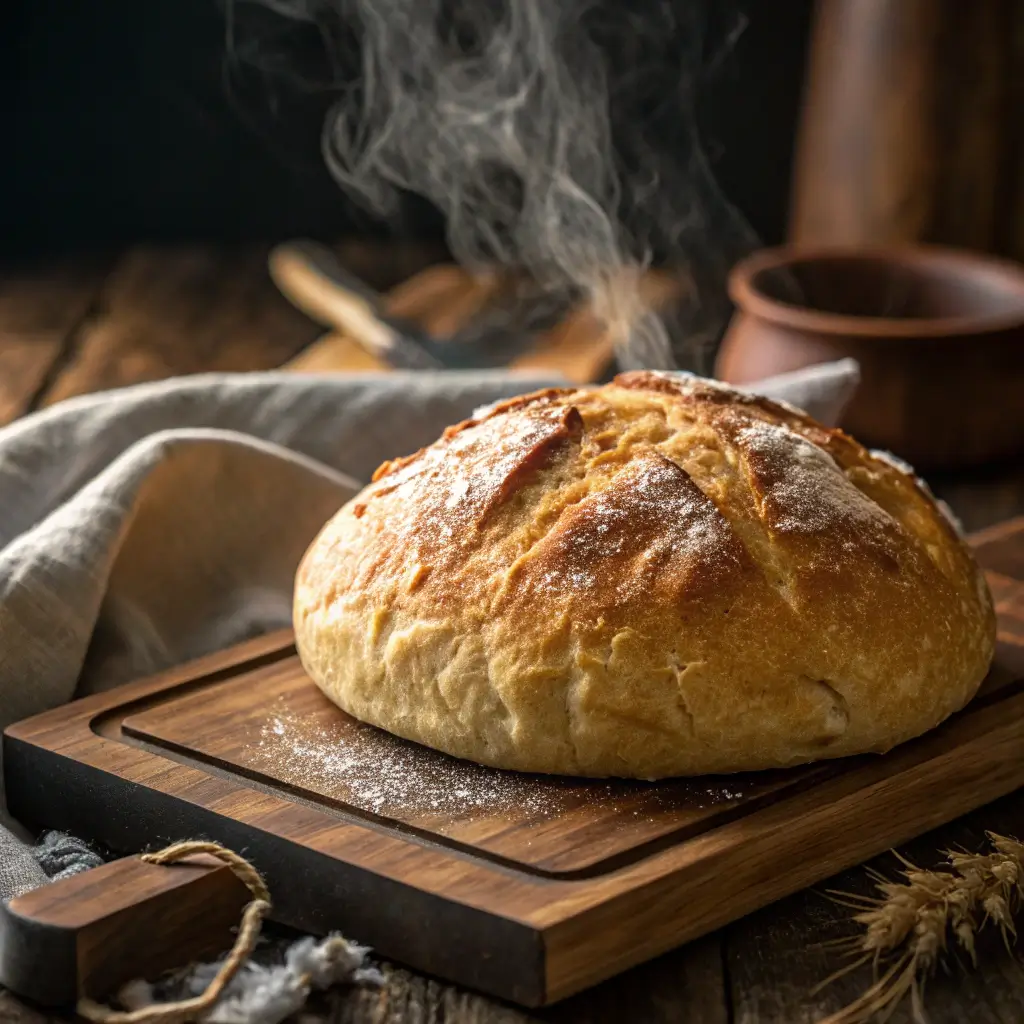
Imagine pulling a rustic, golden-brown loaf from your oven that looks like it came straight from a professional bakery. The crust is perfectly crisp, the inside is soft and airy with beautiful holes, and the aroma fills your entire kitchen. Now imagine achieving all of that without the hard work of kneading. Sounds almost too good to be true, right?
Welcome to the world of no-knead artisan bread—a recipe that has revolutionized home baking. First popularized by baker Jim Lahey, this technique uses time rather than muscle to develop gluten, meaning you don’t need special skills or equipment to bake a gorgeous loaf. All it takes is flour, water, salt, and yeast, plus a bit of patience while the dough rests.
This recipe is perfect for beginner bakers who want bakery-quality bread without stress, and for seasoned cooks who appreciate a foolproof staple to pair with meals. Let’s dive into everything you need to know to master no-knead bread at home.
Why This Bread Works
The secret behind this recipe lies in hydration and fermentation. A high ratio of water keeps the dough soft and pliable, while a long resting period allows natural gluten development. This slow fermentation also deepens the flavor, producing bread with a rich, complex taste that rivals traditional sourdough.
Unlike traditional bread recipes that require constant kneading, folding, and timing, this method is hands-off. Once mixed, the dough essentially does the work for you.
Ingredients You’ll Need
- 3 cups (360 g) all-purpose or bread flour
- 1 ½ teaspoons salt
- ½ teaspoon instant yeast (or active dry yeast)
- 1 ½ cups (360 ml) warm water
Optional:
- Extra flour for dusting
- Cornmeal or parchment paper to prevent sticking
Equipment
- Large mixing bowl
- Wooden spoon or spatula
- Plastic wrap or kitchen towel
- Parchment paper
- Dutch oven (or heavy oven-safe pot with a lid)
Step-by-Step Instructions
Step 1: Mix the Dough
In a large bowl, whisk together flour, salt, and yeast. Add warm water and stir until a sticky, shaggy dough forms. The dough will look rough, and that’s exactly what you want.
Step 2: Let It Rest
Cover the bowl with plastic wrap or a kitchen towel. Leave it at room temperature for 12 to 18 hours. During this time, the dough will double in size, bubble on the surface, and develop a yeasty aroma.
Step 3: Shape the Dough
Once the dough has risen, lightly flour a surface and your hands. Turn the dough out gently and shape it into a ball. Avoid punching down or overhandling, as you want to preserve the air bubbles. Place the dough on parchment paper dusted with flour or cornmeal.
Step 4: Second Rise
Cover the dough loosely with a towel and let it rest for about 30–60 minutes. This short second rise helps give the bread extra volume.
Step 5: Preheat the Oven and Dutch Oven
Place your Dutch oven (with lid) in the oven and preheat to 450°F (230°C). Heating the pot before baking creates a steamy environment that gives bread its signature crust.
Step 6: Bake the Bread
When ready, carefully remove the hot Dutch oven. Lift the dough (using parchment paper) and place it inside. Cover with the lid and bake for 30 minutes. Remove the lid and bake for an additional 10–15 minutes until the crust is golden brown.
Step 7: Cool and Enjoy
Remove bread from the pot and cool on a wire rack for at least 30 minutes before slicing. This resting time allows the crumb to set and ensures the loaf doesn’t become gummy.
Flavor and Texture Profile
- Flavor: Mildly tangy, nutty, and complex thanks to slow fermentation.
- Texture: Crispy, crackly crust with a soft, open crumb.
- Aroma: Warm, toasty, with hints of yeast and grain.
Expert Tips for Success
- Use a Dutch oven: The enclosed environment traps steam, giving the loaf its bakery-style crust.
- Don’t rush fermentation: The long rest develops flavor and structure—overnight is best.
- Hydration is key: The dough will be sticky, but resist the urge to add too much flour.
- Slash the dough (optional): Scoring with a sharp knife before baking allows it to expand gracefully.
- Let it cool: Cutting too early will compress the crumb.
Variations to Try
- Whole Wheat Version – Substitute half the flour with whole wheat flour.
- Seeded Loaf – Add sunflower seeds, sesame seeds, or flaxseeds to the dough.
- Olive & Herb Bread – Mix in chopped olives, rosemary, or thyme.
- Cheese Bread – Fold in shredded cheddar or parmesan for a savory twist.
- Sweet Version – Add cinnamon and raisins for a rustic breakfast loaf.

Serving Ideas
This no-knead bread is as versatile as it is delicious:
- Slice and spread with butter, honey, or jam for breakfast.
- Pair with soups like creamy tomato, mushroom, or lentil.
- Serve alongside roasted meats or vegetable stews.
- Use for sandwiches—its sturdy crust holds fillings beautifully.
- Toast and top with avocado, eggs, or hummus.
Nutritional Snapshot (per slice, based on 12 slices)
- Calories: ~150
- Protein: 4 g
- Fat: 0.5 g
- Carbohydrates: 31 g
- Fiber: 1 g
Storage and Reheating Tips
- Room Temperature: Store in a paper bag or wrapped in a kitchen towel for 2–3 days.
- Freezer: Slice, wrap in foil, and freeze for up to 2 months. Reheat in the oven.
- To Refresh: Place bread in a 350°F (175°C) oven for 5–7 minutes to restore its crisp crust.
FAQs
Q: Can I use active dry yeast instead of instant?
Yes. If using active dry yeast, dissolve it in warm water before mixing with flour.
Q: My dough is too sticky. Should I add more flour?
A sticky dough is normal and necessary for the open crumb. Use floured hands and parchment to handle it instead of adding too much flour.
Q: Can I make this without a Dutch oven?
Yes. Bake on a preheated baking stone or sheet pan with a pan of hot water on the oven floor to create steam.
Why You’ll Love This Recipe
No-knead artisan bread delivers bakery-level results with minimal effort. It’s beginner-friendly, requires no fancy equipment, and makes your kitchen smell heavenly. Best of all, it’s a blank canvas—you can adapt the flavor with herbs, nuts, seeds, or sweet add-ins.
Conclusion
Baking no-knead artisan bread at home is one of the most rewarding cooking experiences. With just a few simple ingredients and plenty of patience, you’ll create a rustic loaf that’s crisp, airy, and full of flavor. It’s proof that sometimes, the simplest recipes bring the most joy.
Whether you’re new to baking or a seasoned home cook, this recipe will quickly become a staple in your kitchen. Slice it warm, savor the crackle of the crust, and enjoy the satisfaction of making homemade bread that looks and tastes like it came from a bakery.