Easy Buttermilk Fried Chicken Recipe
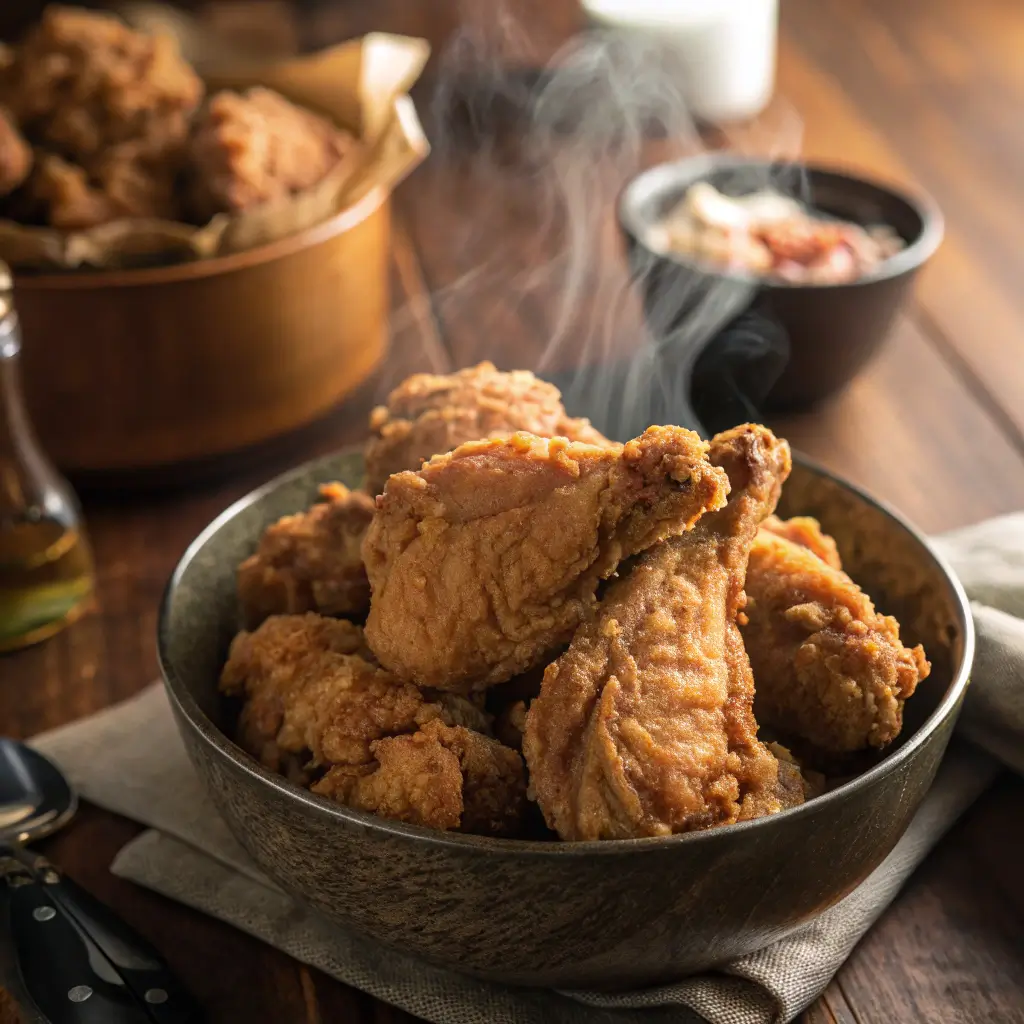
Few dishes capture the essence of comfort food quite like fried chicken. Crispy on the outside, juicy on the inside, and seasoned to perfection, it’s a dish that feels both indulgent and nostalgic. Among all variations, buttermilk fried chicken stands out as a true classic, delivering the perfect balance of crunch and tenderness.
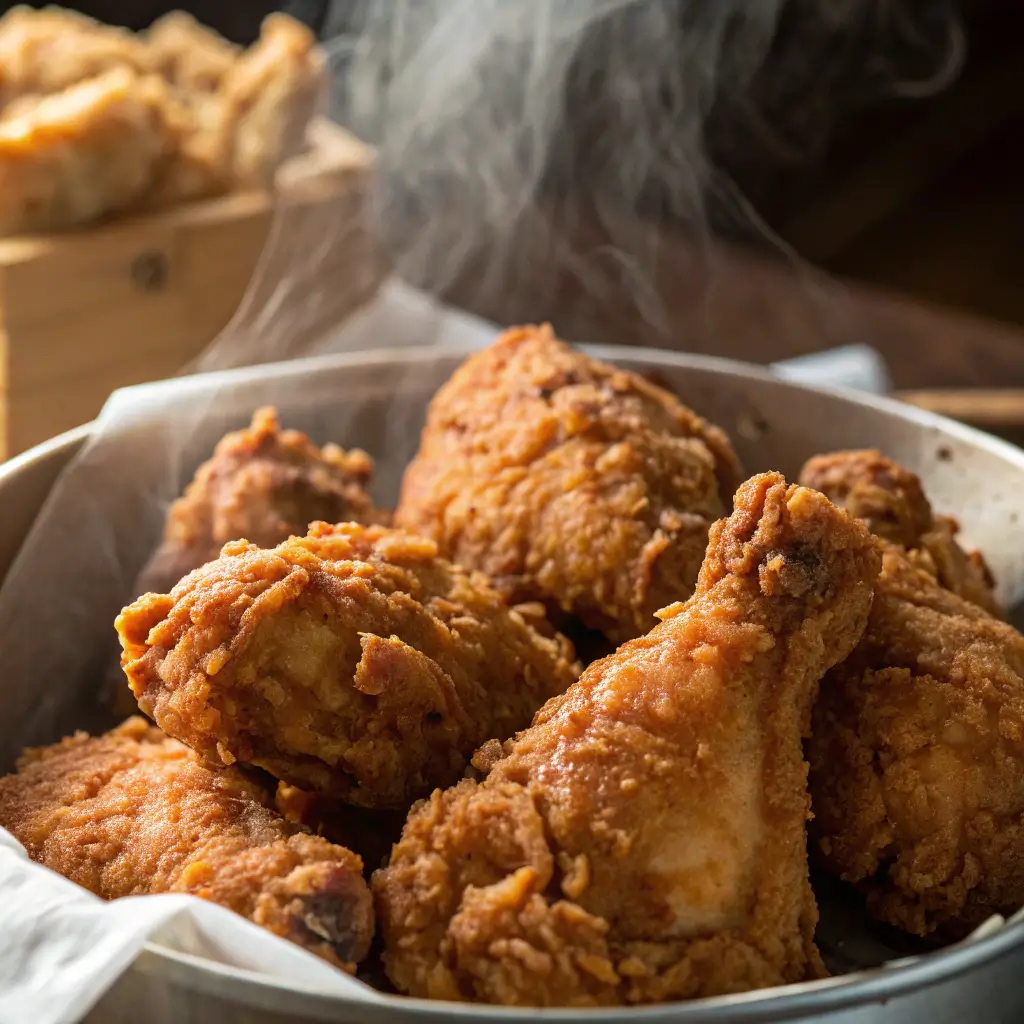
This recipe is designed to give you the best of both worlds: flavorful, juicy chicken with a crispy, golden crust. Whether you’re making it for a family dinner, a picnic, or a weekend treat, this easy buttermilk fried chicken recipe is one you’ll come back to again and again.
Why Buttermilk Makes a Difference
Buttermilk isn’t just a marinade—it’s a game-changer for fried chicken. Its mild acidity works as a natural tenderizer, breaking down the protein in the chicken so it becomes exceptionally juicy. At the same time, it helps the coating stick, ensuring every piece fries up with a shatteringly crisp crust.
The result? Chicken that’s tender, flavorful, and irresistibly crunchy with every bite.

Ingredients You’ll Need
Here’s everything you’ll need to make authentic buttermilk fried chicken at home:
For the Marinade
- 3 lbs chicken pieces (drumsticks, thighs, wings, or breasts)
- 1 tablespoon hot sauce (optional, for a little kick)
- 1 teaspoon garlic powder
- 2 cups buttermilk
- 1 teaspoon onion powder
- 1 teaspoon paprika
- Salt and pepper, to taste
For the Coating
- 1 cup cornstarch (extra crunch)
- 1 teaspoon baking powder
- ½ teaspoon black pepper
- 1 tablespoon paprika
- 1 teaspoon cayenne pepper (adjust to taste)
- 2 cups all-purpose flour
- 1 teaspoon garlic powder
- 1 teaspoon onion powder
- A teaspoon of dried thyme or oregano
- 1 teaspoon salt
For Frying
- Vegetable oil or peanut oil, for frying (enough to fill skillet 2–3 inches deep)
Step-by-Step Instructions
Step 1: Marinate the Chicken
In a large bowl, whisk together buttermilk, hot sauce, garlic powder, onion powder, paprika, salt, and pepper. Submerge chicken pieces completely. Cover and refrigerate for at least 4 hours, preferably overnight.
Tip: The longer the chicken marinates, the more flavorful and tender it becomes.
Step 2: Prepare the Coating
In another large bowl, mix flour, cornstarch, baking powder, and all seasonings. This seasoned flour mix is the secret to achieving a crunchy, golden crust.
Step 3: Dredge the Chicken
Remove chicken from the buttermilk marinade, allowing excess liquid to drip off. Dredge each piece in the seasoned flour mixture, pressing firmly so the coating adheres well. For extra crunch, dip the chicken back in the buttermilk, then dredge again in the flour (a double dredge).
Step 4: Heat the Oil
In a heavy-bottomed pot or cast-iron skillet, heat oil to 350°F (175°C). Use a thermometer for accuracy—too hot and the coating will burn before the chicken cooks through; too low and the chicken will be greasy.
Step 5: Fry the Chicken
Working in batches, carefully place chicken into the hot oil, skin-side down. Fry for 12–15 minutes, turning occasionally, until chicken is golden brown and internal temperature reaches 165°F (74°C).
Transfer cooked chicken to a wire rack or paper towel-lined tray to drain excess oil.
Step 6: Serve and Enjoy
Let the chicken rest for a few minutes before serving. This helps the juices redistribute inside the meat and keeps the crust crisp. Serve hot with your favorite dipping sauces or classic sides.
Tips for Perfect Fried Chicken
- Use dark meat for juiciness – Thighs and drumsticks stay moist and flavorful.
- Keep oil at the right temperature – Between 325°F and 350°F ensures crispiness without greasiness.
- Don’t overcrowd the pan – Frying too many pieces at once lowers the oil temperature.
- Double dredge for crunch – That second dip in flour makes all the difference.
- Rest before serving – Allowing chicken to rest ensures the crust doesn’t steam and soften.
Serving Suggestions
Fried chicken pairs beautifully with classic comfort food sides. Here are some ideas:
- Mashed potatoes and gravy – A traditional pairing for the ultimate comfort meal.
- Coleslaw – Crunchy, tangy, and refreshing alongside fried chicken.
- Cornbread – Sweet and buttery, the perfect complement.
- Biscuits with honey or butter – Soft, flaky, and perfect for dipping.
- Macaroni and cheese – Creamy, cheesy, and indulgent.
Variations of Buttermilk Fried Chicken
- Spicy Fried Chicken: Add more cayenne pepper or hot sauce to the marinade for a fiery kick.
- Herbed Fried Chicken: Mix fresh herbs like rosemary, thyme, or parsley into the flour coating.
- Oven-Fried Chicken: For a lighter version, bake dredged chicken on a wire rack at 400°F (200°C) for about 40–45 minutes.
- Air Fryer Fried Chicken: Cook at 375°F (190°C) for 25–30 minutes, flipping halfway for a healthier option.
Storing and Reheating
- Refrigerate: Store leftovers in an airtight container for up to 3–4 days.
- Freeze: Freeze cooled fried chicken for up to 2 months. Reheat in the oven for best texture.
- Reheat: Warm in a 375°F oven for 15–20 minutes until crispy again. Avoid microwaving, which makes the coating soggy.
Nutritional Information (Approx. Per Serving)
- Calories: 420
- Protein: 28g
- Fat: 20g
- Carbohydrates: 32g
- Fiber: 2g
- Sodium: 580mg
(Values may vary depending on portion size and ingredients.)

Why You’ll Love This Recipe
This Easy Buttermilk Fried Chicken recipe captures everything you love about classic fried chicken—juicy meat, crispy coating, and bold seasoning. It’s simple enough for a weeknight dinner yet special enough for a Sunday gathering.
The buttermilk marinade ensures unbeatable tenderness, while the seasoned flour coating guarantees crunch in every bite. Best of all, you don’t need fancy equipment—just a skillet, oil, and a few basic ingredients.
Final Thoughts
Fried chicken may seem intimidating at first, but with this easy buttermilk recipe, success is guaranteed. The key is in the marinade, the double dredge, and maintaining the right oil temperature. Follow these steps, and you’ll end up with crispy, golden-brown fried chicken that rivals any restaurant.
Whether you’re serving it with sides like mashed potatoes, coleslaw, or cornbread—or simply enjoying it on its own—this dish is a true crowd-pleaser. Try it once, and it may just become your go-to recipe for fried chicken.
