Caramel Ribbon Crunch Frappuccino Recipe
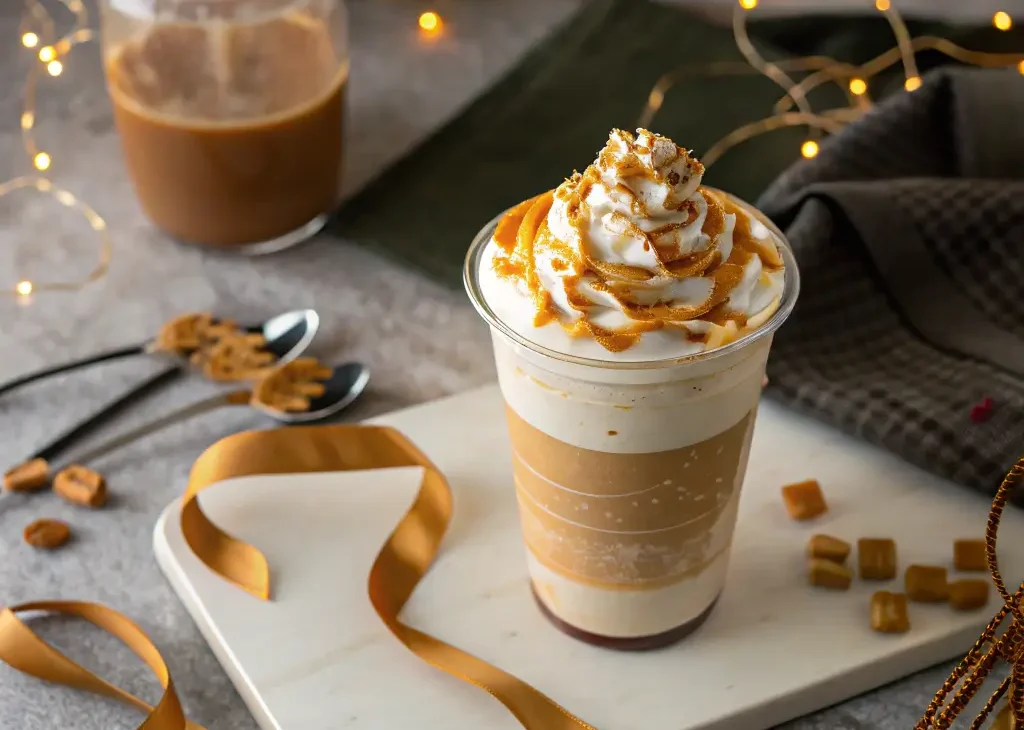
Caramel Ribbon Crunch Frappuccino Recipe – Ultra-Creamy, Crunchy Café-Style Treat at Home Introduction: A Decadent Caramel Frappuccino You Can Make Yourself If you love thick blended coffee drinks layered with …