
Blackstone Garlic Parmesan Chicken: The Ultimate Griddle Masterpiece
Why This Recipe Deserves a Spot in Your Regular Rotation
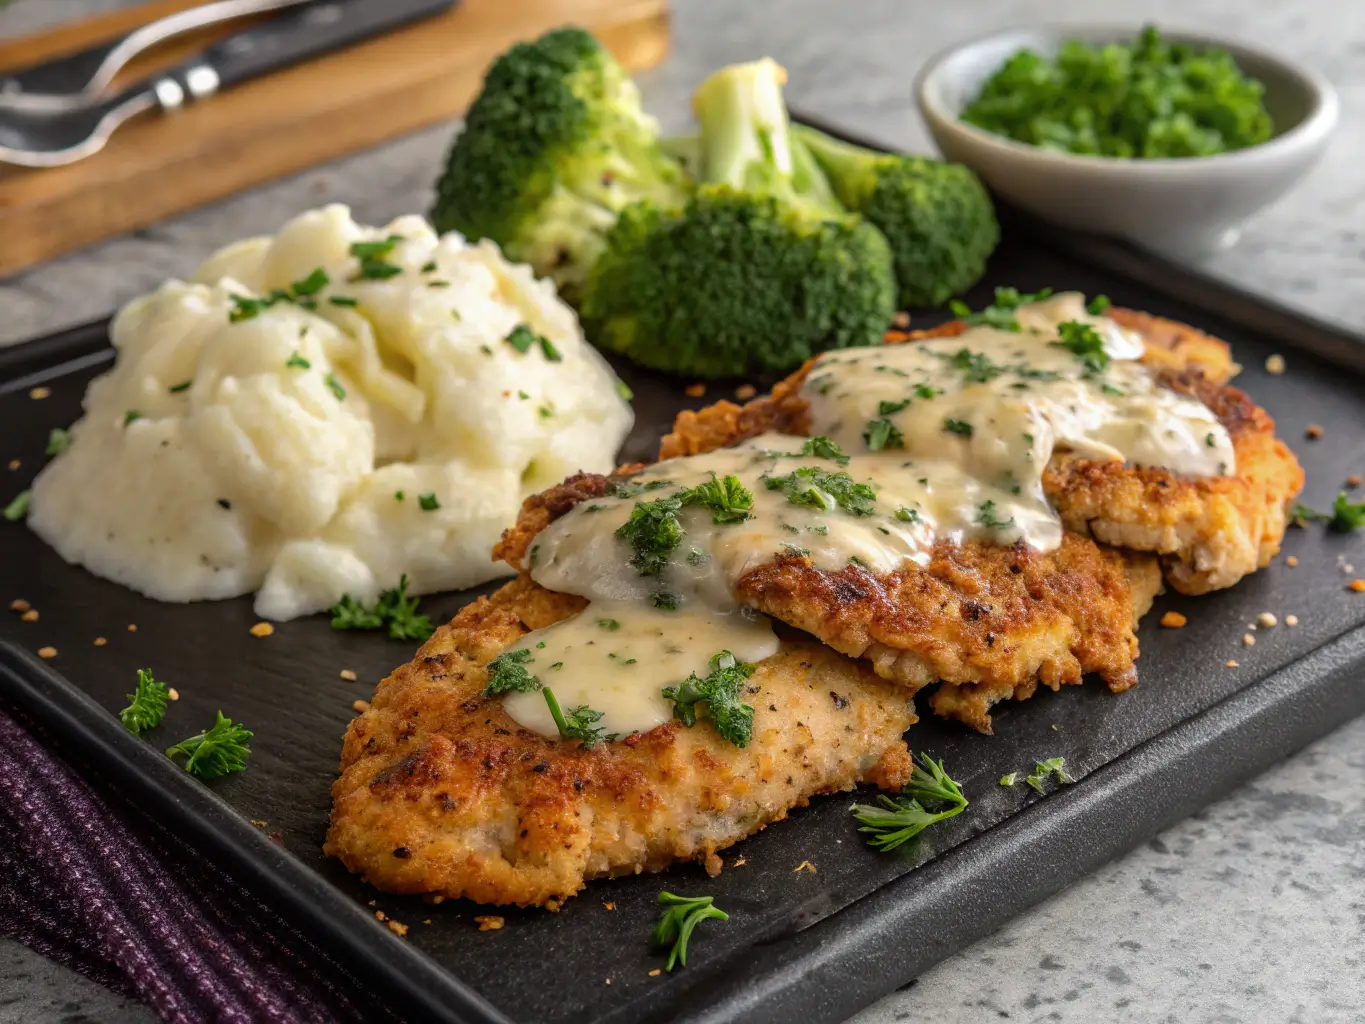
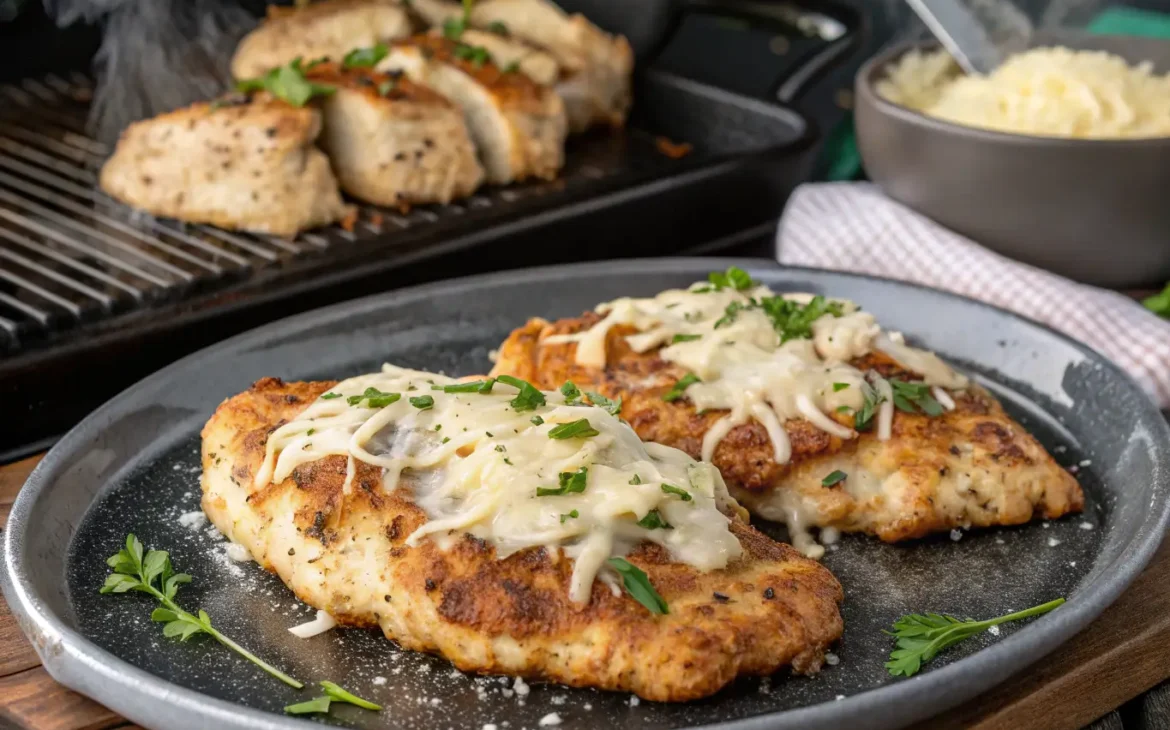
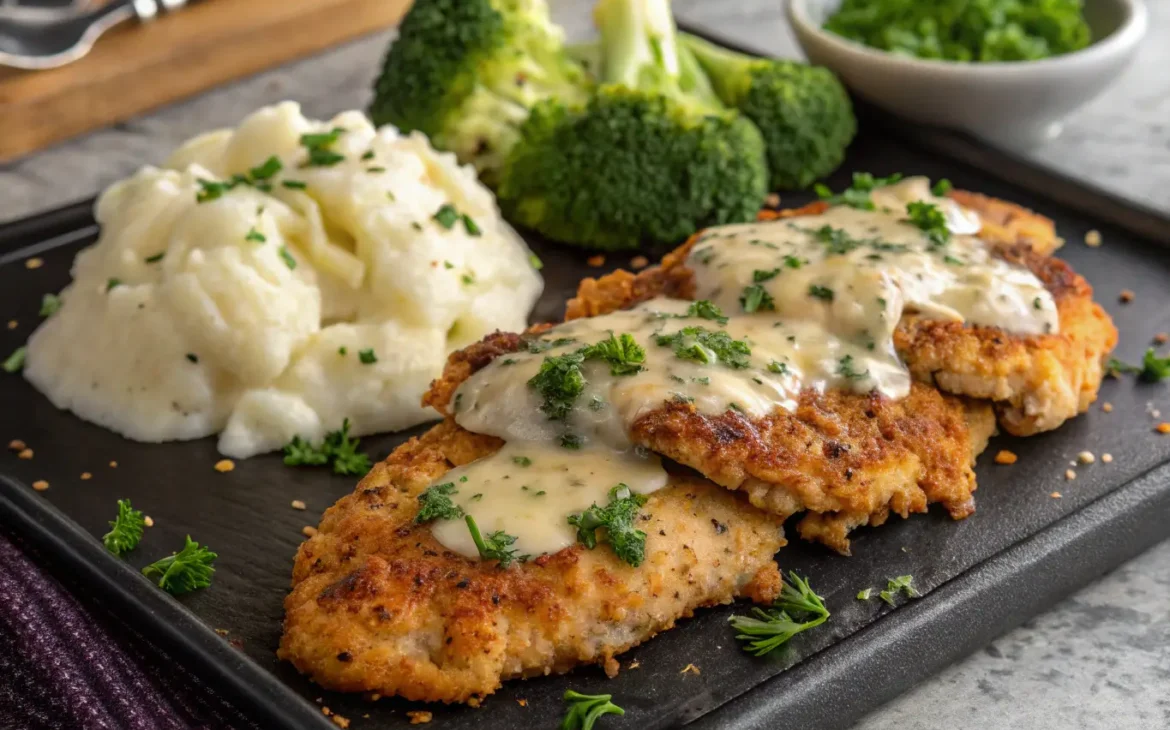
In the world of outdoor cooking, few dishes deliver as much flavor with as little effort as this Blackstone Garlic Parmesan Chicken. This recipe represents the perfect marriage of texture and taste – crispy, golden-brown chicken smothered in a luxuriously creamy garlic parmesan sauce that will have your taste buds singing.
What makes this version stand out from other garlic parmesan chicken recipes?
🔥 The Blackstone Advantage: That flat-top griddle surface creates unmatched caramelization while locking in juices better than any traditional grill or skillet. The even heat distribution means no hot spots and perfectly cooked chicken every time.
🧄 Sauce Science: Our carefully developed sauce ratio ensures the ideal balance of rich parmesan, pungent garlic, and bright acidity. Unlike many recipes that turn out greasy or broken, ours stays velvety smooth.
⏱ Efficiency Expert: From prep to plate in under 30 minutes, this is weeknight-friendly cooking at its finest. The one-surface cooking means minimal cleanup too.
🍽 Endless Adaptability: While incredible on its own, this chicken serves as the perfect base for countless meal variations – from pasta dishes to salads to sandwiches.
The History Behind Garlic Parmesan Chicken
While the exact origins are unclear, garlic parmesan sauce likely evolved from Italian-American cuisine in the mid-20th century. The combination draws inspiration from:
- Northern Italian fonduta (cheese fondue)
- French beurre blanc (emulsified butter sauce)
- American steakhouse compound butters
The Blackstone griddle revolution of the 2010s provided the perfect cooking surface to elevate this classic combination, allowing for superior browning and sauce integration that home cooks couldn’t previously achieve without professional equipment.
Ingredient Deep Dive: Quality Matters
Selecting Your Chicken
- Breasts: Look for air-chilled, organic if possible (less water retention)
- Optimal Size: 6-8 oz breasts, uniform thickness
- Pro Tip: “Butterfly” thicker breasts for even cooking
Parmesan Selection Guide
| Type | Best For | Melting Quality |
|---|---|---|
| Freshly Grated | Premium results | Excellent |
| Pre-Grated Bagged | Convenience | Good (contains anti-caking agents) |
| Parmigiano-Reggiano | Authentic flavor | Best |
| Domestic Parmesan | Budget option | Fair |
Garlic Preparation Methods
- Minced: Maximum flavor dispersion
- Pressed: More intense garlic punch
- Sliced: Milder, textural element
- Roasted: Sweet, complex undertones
Essential Equipment Checklist:
- Blackstone griddle (36″ recommended)
- High-heat spatulas (angled edge preferred)
- Infrared thermometer (for precise temp control)
- Squeeze bottles (for oil application)
- Grill press (optional for extra sear)
Mastering the Cooking Process
Step 1: Chicken Preparation (The Foundation)
- Dry Brining: Salt chicken 1 hour ahead and refrigerate uncovered for:
- Better seasoning penetration
- Drier surface for superior searing
- Juicier final product
- Pounding Technique:
- Place between parchment or plastic wrap
- Use smooth side of meat mallet
- Target ½” uniform thickness
- Work from center outward
- Seasoning Strategy:
- Oil coating first (helps spices adhere)
- Season just before cooking
- Underside gets extra seasoning
Step 2: Griddle Setup & Science
- Preheating: 10-15 minutes at medium-high
- Temperature Zones: Create cooler area for sauce making
- Oil Application: Use “V” pattern for even coverage
- Surface Check: Water droplet test (should skitter, not sit)
Step 3: Cooking the Chicken (Art & Science)
Phase 1: The Sear (Minutes 1-3)
- Should hear immediate sizzle
- No touching! Develop crust
- Look for 30% opacity up sides
Phase 2: The Flip (Minutes 4-6)
- Release naturally when ready
- Look for golden-brown color
- Reduce heat slightly if needed
Phase 3: The Finish (Minutes 7-8)
- Internal temp check (155°F carryover to 165°F)
- Resting period is crucial (5 minutes minimum)
Step 4: Sauce Alchemy
The Emulsion Process:
- Melt butter slowly
- Garlic bloom (30 seconds max)
- Cream incorporation (temper first)
- Cheese addition (off heat prevents clumping)
- Final adjustments (acidity, thickness)
Troubleshooting Common Sauce Issues:
- Too thin: Add more parmesan or ½ tsp cornstarch slurry
- Too thick: Stir in warm cream 1 tbsp at a time
- Separating: Remove from heat, whisk vigorously with ice cube
Next-Level Variations
Global Flavor Twists
- Tuscan Style: Add sun-dried tomatoes and spinach
- Mexican Inspired: Blend in chipotle and cotija cheese
- Asian Fusion: Substitute miso for some parmesan
Dietary Adaptations
- Keto: Increase fat with cream cheese addition
- Dairy-Free: Nutritional yeast + coconut cream base
- Lower-Cal: Greek yogurt sauce alternative
Professional Presentation Techniques
Plating Styles:
- Rustic: Piled high with sauce cascading down
- Fine Dining: Precision slices with sauce dots
- Family Style: Large platter with garnish border
Garnish Ideas:
- Lemon zest ribbons
- Fried garlic chips
- Microgreens
- Edible flowers
Advanced Tips from Chef’s Kitchen
Flavor Boosters:
- Anchovy paste (umami depth)
- White wine reduction
- Truffle oil finish
- Fresh herb oil drizzle
Texture Enhancers:
- Toasted panko topping
- Crispy prosciutto bits
- Roasted pine nuts
Time-Saving Hacks:
- Pre-mix dry seasoning blends
- Freeze individual portions
- Batch-prep garlic butter
Complete Nutritional Breakdown
Per Serving Analysis:
- Calories: 420
- Protein: 38g
- Carbs: 4g
- Fat: 28g
- Key Nutrients: Calcium (35% DV), Vitamin A (20% DV)
Macro Ratios:
- 75% protein-dominant
- 20% healthy fats
- 5% complex carbs
Storage & Reheating Mastery
Meal Prep Guide:
- Chicken Only: 5 days refrigerated
- With Sauce: 3 days maximum
- Freezing: Up to 3 months (sauce separately)
Reheating Methods Compared:
| Method | Time | Quality Retention |
|---|---|---|
| Skillet | 3 mins | 90% |
| Oven | 10 mins | 85% |
| Microwave | 2 mins | 70% |
| Air Fryer | 4 mins | 95% |
Frequently Asked Questions (Expanded)
Q: Can I use frozen chicken?
A: Yes, but must thaw completely first. Consider:
- Refrigerator thaw (24 hours)
- Cold water bath (2 hours)
- Never microwave thaw
Q: How to prevent sauce from breaking?
A: Maintain proper temperature control:
- Keep below 180°F
- Add cheese gradually
- Use full-fat dairy
Q: Best sides to pair?
A: Consider texture contrasts:
- Creamy polenta
- Crispy roasted Brussels
- Light citrus salad
Q: Can I make this indoors?
A: Cast iron skillet method:
- Preheat in 500°F oven
- Then stove top high heat
- Reduce sauce separately
The Science Behind Why This Recipe Works
Maillard Reaction: The Blackstone’s consistent high heat promotes optimal browning at 300°F+, creating hundreds of new flavor compounds.
Emulsion Stability: The combination of dairy fat (cream), water (lemon juice), and cheese proteins creates a stable suspension that resists separation.
Carryover Cooking: Removing chicken at 155°F allows residual heat to bring it to 165°F safely while preventing dryness.
Final Thoughts: More Than Just a Recipe
This Blackstone Garlic Parmesan Chicken represents the perfect intersection of technique and flavor. It’s a dish that teaches fundamental cooking principles while delivering spectacular results that will impress even discerning palates.
The beauty lies in its adaptability – it’s equally at home on a casual weeknight table as it is at a dinner party. Once you master the basic formula, you’ll find yourself creating endless variations based on seasons, occasions, and cravings.
Most importantly, it demonstrates how the right equipment (Blackstone) combined with solid technique can elevate simple ingredients into something extraordinary. This isn’t just chicken – it’s a culinary experience that will change how you think about outdoor cooking.