
Vintage Heart Birthday Cake Recipe – Romantic, Retro & Beautifully Piped
Introduction
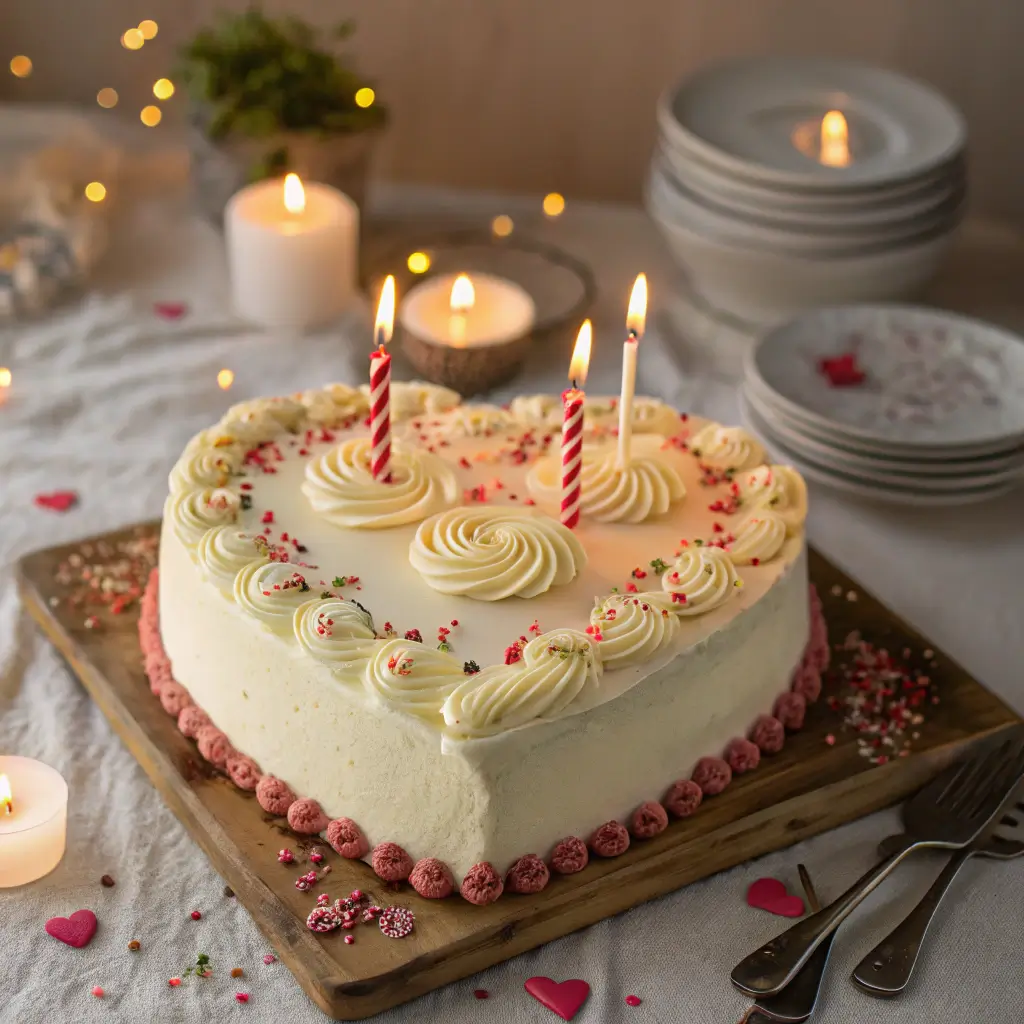
A Vintage Heart Birthday Cake is the perfect blend of nostalgia and elegance. Inspired by classic Lambeth-style piping and retro bakery designs, this cake features delicate borders, soft pastel colors, and intricate frosting details arranged on a charming heart-shaped base. It feels romantic, celebratory, and timeless—making it perfect for birthdays, sweet sixteen parties, or aesthetic-themed celebrations.
The beauty of a vintage heart cake lies in its decoration. While the inside can be classic vanilla, chocolate, or even strawberry, the outside becomes a canvas for ornate buttercream piping. Ruffles, shells, rosettes, and swags combine to create texture and dimension, giving the cake its signature old-school charm.
Despite its intricate appearance, you can recreate this trending cake at home with the right piping tips, steady hands, and a bit of patience. The result is a stunning, photo-worthy birthday cake that tastes just as delightful as it looks.
What Is a Vintage (Lambeth-Style) Cake?
Vintage cakes, often called Lambeth-style cakes, are decorated with layered buttercream piping techniques that create ornate patterns and raised borders. Popular in the mid-20th century, this decorating style has recently returned as a trendy celebration cake aesthetic.
The heart shape adds softness and romance, making it especially popular for birthdays, themed parties, and special milestones.
Why You’ll Love This Recipe
- Beautiful heart-shaped presentation
- Soft, moist cake layers
- Smooth, pipe-friendly buttercream
- Customizable pastel colors
- Perfect for aesthetic or retro parties
- Social-media-worthy design
Ingredients and Equipment
For the Vanilla Cake Layers
- 3 cups (375 g) all-purpose flour
- 2 ½ teaspoons baking powder
- ½ teaspoon salt
- 1 cup (225 g) unsalted butter, softened
- 1 ¾ cups (350 g) granulated sugar
- 4 large eggs, room temperature
- 1 tablespoon vanilla extract
- 1 ¼ cups (300 ml) whole milk, room temperature
(You may substitute chocolate or strawberry cake if preferred.)
For the Buttercream Frosting
- 2 cups (450 g) unsalted butter, softened
- 6 cups (720 g) powdered sugar
- 4–5 tablespoons milk
- 1 tablespoon vanilla extract
- Pinch of salt
- Gel food coloring (pink, pastel purple, baby blue, or white)
Essential Equipment
- Heart-shaped cake pan (8 or 9 inch)
- Electric mixer
- Offset spatula
- Bench scraper
- Piping bags
- Piping tips (star tip, round tip, shell tip)
Buttercream should be smooth but firm enough to hold detailed piping.
Step-by-Step Instructions
Step 1: Bake the Cake
Preheat the oven to 350°F (175°C). Grease and line the heart-shaped pan.
Whisk flour, baking powder, and salt together.
In a separate bowl, beat butter and sugar until light and fluffy (3–4 minutes). Add eggs one at a time, then vanilla.
Alternate adding dry ingredients and milk. Mix until smooth.
Pour batter into the prepared pan and bake for 30–35 minutes, or until a toothpick inserted in the center comes out clean.
Cool completely before decorating.
Step 2: Prepare the Buttercream
Beat butter until creamy.
Gradually add powdered sugar on low speed.
Add vanilla, salt, and milk. Beat until smooth and fluffy.
Divide frosting and tint with pastel colors if desired.
Step 3: Apply Crumb Coat
Place the cooled cake on a serving board.
Apply a thin crumb coat of buttercream over the entire cake.
Chill for 20–30 minutes to set.
Step 4: Smooth Final Base Layer
Spread a smooth layer of buttercream over the cake.
Use a bench scraper for clean edges while maintaining the heart shape.
Chill briefly before piping decorations.
Step 5: Create Vintage Piping Design
Using piping bags fitted with decorative tips:
- Pipe shell borders around the edges.
- Add ruffled swags along the sides.
- Pipe rosettes or star bursts on top.
- Layer borders for that signature vintage look.
For a traditional design, keep piping symmetrical and evenly spaced.
Expert Tips for Perfect Vintage Piping
- Use medium-stiff buttercream for clean details.
- Practice piping on parchment paper before decorating.
- Chill cake between decorating steps if frosting softens.
- Keep pressure consistent while piping.
- Layer multiple borders for authentic Lambeth style.
If frosting becomes too soft, refrigerate briefly to firm up.
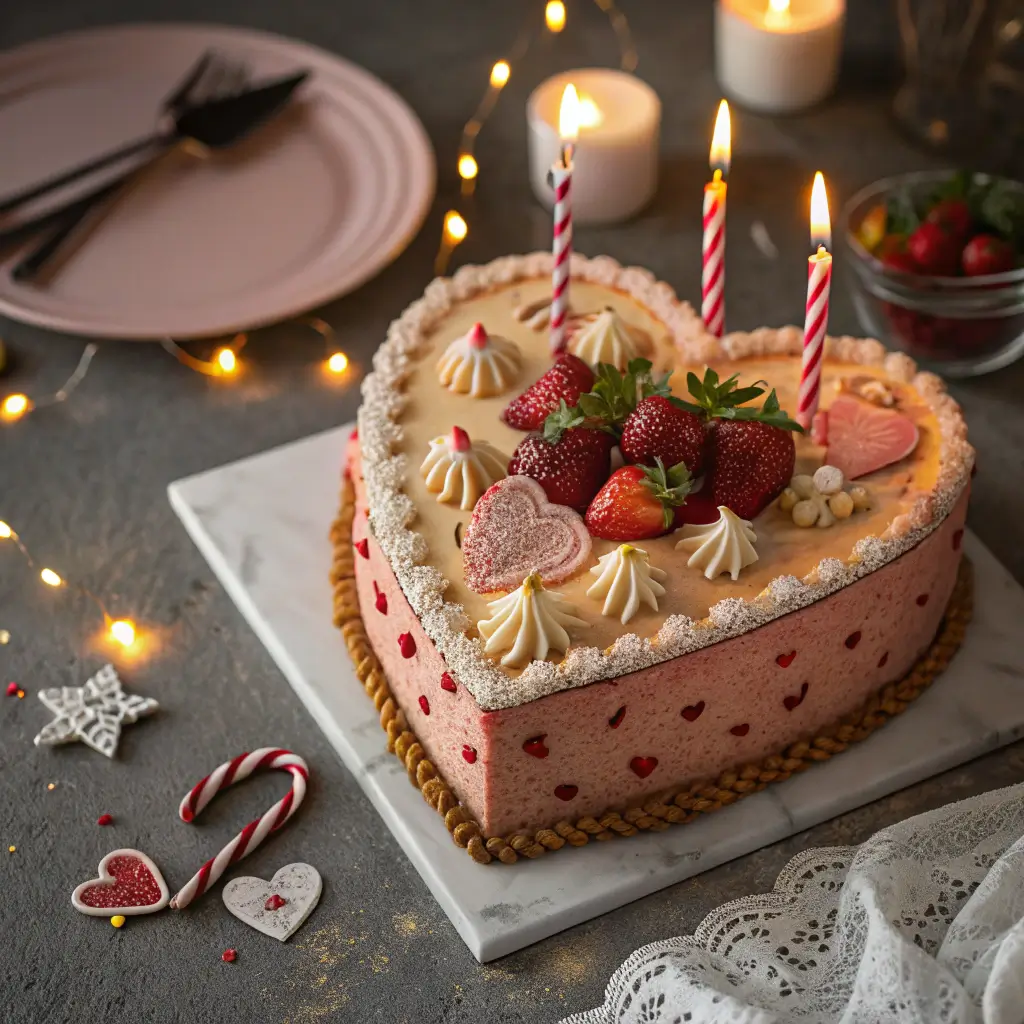
Creative Decoration Ideas
You can customize your vintage heart cake in many ways:
- Add a piped birthday message in the center.
- Use contrasting pastel colors for borders.
- Add edible pearls or small sugar beads.
- Create a monochrome look with all-white piping.
For a bold version, use deep red or hot pink instead of pastel shades.
Serving and Presentation
Serve on a decorative cake board or vintage-style stand.
Slice carefully with a sharp knife and wipe between cuts to preserve clean layers.
This cake pairs beautifully with tea, lemonade, or light party drinks.
Storage and Make-Ahead Tips
Store in an airtight container at room temperature for up to 2 days, or refrigerate for up to 5 days.
Cake layers can be baked and frozen up to 2 months in advance.
Allow cake to come closer to room temperature before serving for best flavor.
Frequently Asked Questions
Do I need a heart-shaped pan?
It’s recommended, but you can carve a heart shape from a round cake if needed.
Is this design difficult?
It requires patience, but the piping techniques are beginner-friendly with practice.
Can I use whipped cream instead of buttercream?
Buttercream works best for detailed piping.
Can I make it smaller?
Yes, use a 6-inch heart pan for a smaller version.
Conclusion
This Vintage Heart Birthday Cake Recipe brings retro charm and romantic elegance to any celebration. With soft cake layers and beautifully layered buttercream piping, it transforms a simple birthday cake into a nostalgic masterpiece.
Charming, decorative, and full of personality, this heart-shaped cake makes every birthday feel extra special 🎂💗✨