
Unicorn Birthday Cake Recipe for Kids – Magical, Colorful & Fun to Make
Introduction
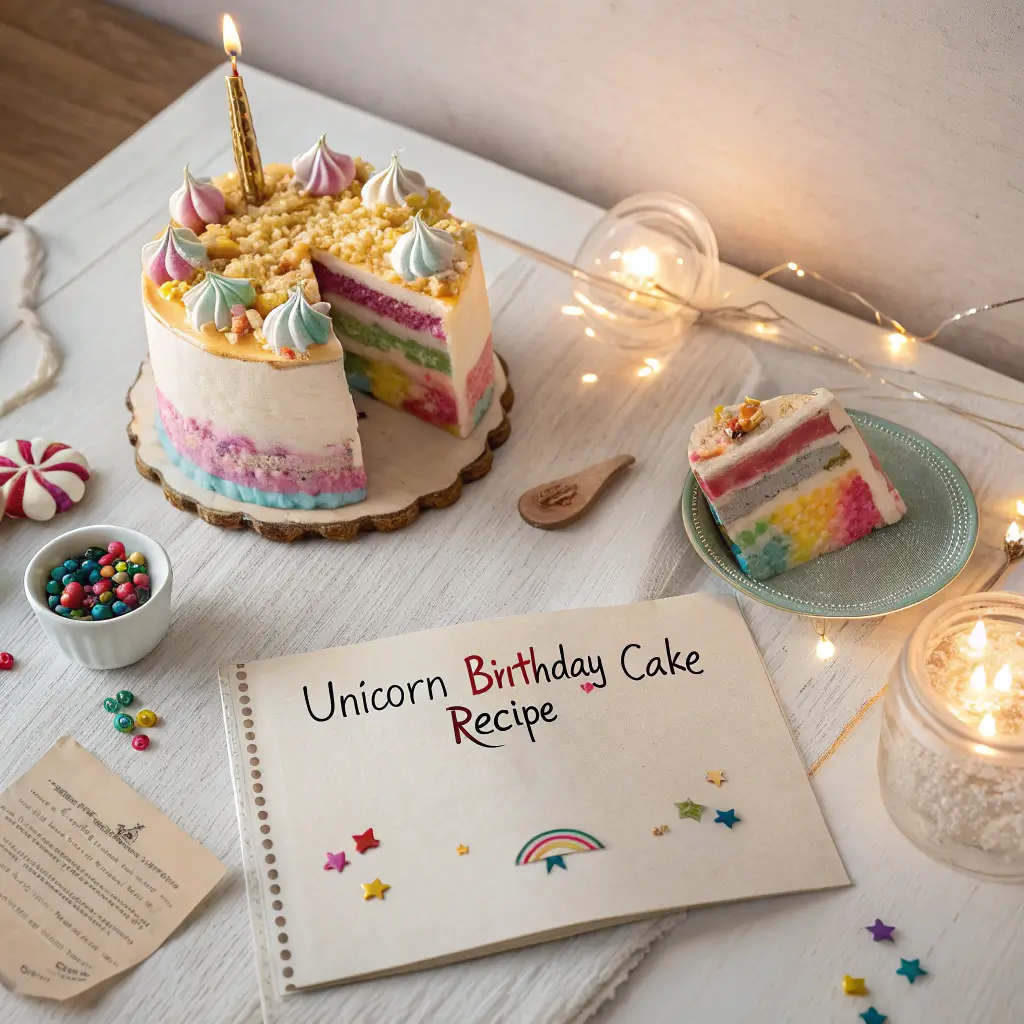
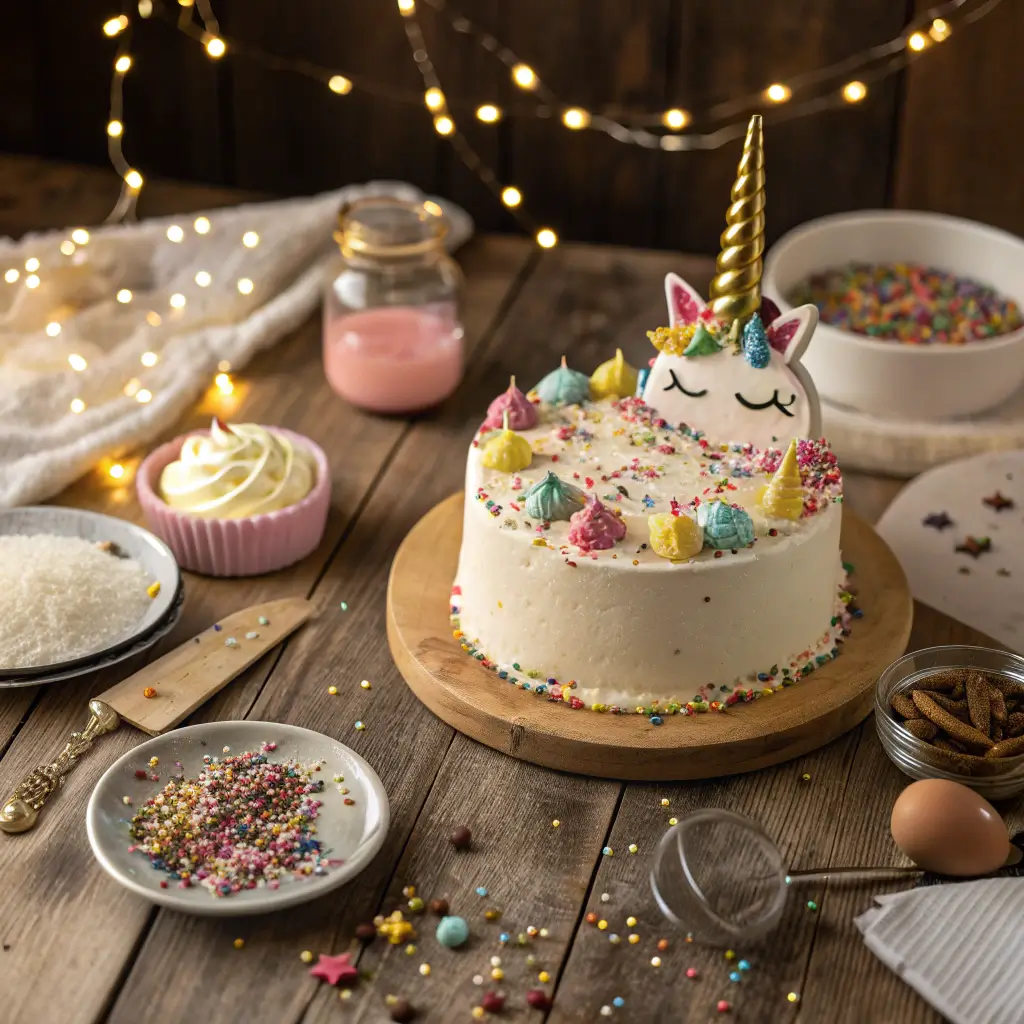
A Unicorn Birthday Cake for Kids is pure magic in dessert form. With its pastel colors, sparkling decorations, and iconic golden horn, this cake transforms any birthday party into a whimsical celebration. Kids instantly fall in love with its playful design, while adults appreciate the soft, fluffy cake layers and creamy frosting underneath all that charm.
The beauty of a unicorn cake is that it combines classic vanilla flavor with creative decoration. The outside becomes a canvas for colorful swirls, piped rosettes, and shimmering accents, while the inside can remain a simple vanilla or funfetti cake. Despite its impressive appearance, this cake is completely achievable at home with basic baking skills and a little patience.
This recipe guides you step by step—from baking moist cake layers to assembling and decorating your unicorn masterpiece. Whether you’re planning a themed party or simply want to surprise a child with something unforgettable, this unicorn birthday cake delivers both flavor and fantasy.
Why Kids Love Unicorn Cakes
Unicorn cakes have become popular because they represent imagination, color, and celebration. The soft pastel mane, bright eyes, and shimmering horn create a playful character that feels magical. Unlike standard birthday cakes, a unicorn cake doubles as both dessert and party centerpiece.
The design is customizable, allowing you to choose your child’s favorite colors. You can keep the cake simple with pastel tones or make it bold with bright rainbow shades. Either way, the result is joyful and eye-catching.
Why You’ll Love This Recipe
- Soft, moist vanilla cake layers
- Smooth, easy-to-work-with buttercream
- Customizable pastel color scheme
- Fun decorating project for parents
- Perfect centerpiece for kids’ birthdays
- Beginner-friendly baking instructions
Ingredients and Equipment
For the Vanilla Cake Layers
- 3 cups (375 g) all-purpose flour
- 2 ½ teaspoons baking powder
- ½ teaspoon salt
- 1 cup (225 g) unsalted butter, softened
- 2 cups (400 g) granulated sugar
- 4 large eggs, room temperature
- 1 tablespoon pure vanilla extract
- 1 ¼ cups (300 ml) whole milk, room temperature
For the Buttercream Frosting
- 2 cups (450 g) unsalted butter, softened
- 6 cups (720 g) powdered sugar, sifted
- 4–5 tablespoons milk
- 1 tablespoon vanilla extract
- Pinch of salt
For Decoration
- Gel food coloring (pink, purple, blue, yellow)
- White fondant (for horn and ears)
- Edible gold paint or gold dust
- Black icing (for eyes)
- Piping bags with star tips
Essential Equipment
- Two or three 8-inch (20 cm) round cake pans
- Mixing bowls
- Electric hand mixer or stand mixer
- Offset spatula
- Piping bags and decorating tips
Gel food coloring is recommended because it provides vibrant color without thinning the frosting.
Step-by-Step Instructions
Step 1: Prepare the Oven and Pans
Preheat the oven to 350°F (175°C). Grease and line cake pans with parchment paper. Lightly flour the sides.
Step 2: Mix the Dry Ingredients
In a medium bowl, whisk together flour, baking powder, and salt. This ensures even rising.
Step 3: Cream Butter and Sugar
Beat butter and sugar on medium speed for 3–4 minutes until light and fluffy. This step helps create a soft cake texture.
Step 4: Add Eggs and Vanilla
Add eggs one at a time, mixing well after each addition. Stir in vanilla extract.
Step 5: Combine Wet and Dry Ingredients
Add dry ingredients in three additions, alternating with milk. Begin and end with dry ingredients. Mix just until smooth.
Step 6: Bake the Cake Layers
Divide batter evenly between prepared pans. Bake for 25–30 minutes, or until a toothpick inserted in the center comes out clean.
Cool in pans for 10 minutes, then transfer to a wire rack to cool completely.
Step 7: Make the Buttercream Frosting
Beat butter until creamy. Gradually add powdered sugar on low speed. Add vanilla, salt, and milk. Beat on high for 2–3 minutes until fluffy.
Divide frosting into small bowls and tint with pastel gel colors for the unicorn mane.
Step 8: Assemble the Cake
Place one cake layer on a cake stand. Spread frosting evenly on top. Add remaining layers, frosting between each.
Apply a thin crumb coat over the entire cake and chill for 20–30 minutes. Then apply a final smooth white layer of frosting.
Step 9: Create the Unicorn Decorations
Roll white fondant into a long rope and twist to form the unicorn horn. Insert a skewer inside for support and allow it to firm up. Paint with edible gold.
Shape small fondant ears and attach to the top of the cake.
Pipe closed eyes using black icing on the front of the cake.
Step 10: Pipe the Mane
Using tinted frosting and star piping tips, pipe rosettes and swirls around the top and side of the cake to create the unicorn’s colorful mane.
Mix and match colors for a magical effect.
Expert Tips for a Perfect Unicorn Cake
- Chill cake layers before decorating for easier assembly.
- Use a crumb coat to keep final frosting smooth.
- Keep colors soft and pastel for a classic unicorn look.
- Allow fondant horn to firm before placing on cake.
- Practice piping rosettes on parchment paper first if needed.
If you’re short on time, you can prepare the horn and ears one day in advance.
Decoration Variations
You can customize the unicorn cake with glitter sprinkles, edible pearls, or rainbow sprinkles for extra sparkle. For a more vibrant theme, use bold rainbow colors instead of pastel tones.
You can also make the inside of the cake colorful by dividing batter and tinting layers for a surprise rainbow effect when sliced.
Serving and Presentation
Slice carefully with a sharp knife and wipe between cuts for clean edges. Serve with milk, juice, or light party drinks.
Place the cake on a simple stand so the unicorn design remains the focal point. It makes a beautiful centerpiece for themed party tables.
Storage and Make-Ahead Tips
Store the cake in an airtight container at room temperature for up to 2 days, or refrigerate for up to 5 days.
Cake layers can be baked in advance and frozen for up to 2 months. Thaw fully before decorating.
Fondant decorations can be made 1–2 days ahead and stored in a cool, dry place.
Frequently Asked Questions
Can I use a boxed cake mix?
Yes, but from-scratch cake offers better flavor and texture.
Is this cake difficult to decorate?
It looks impressive, but the steps are simple and manageable with patience.
Can I make it smaller?
Yes, use 6-inch pans for a smaller version.
Can I use whipped cream instead of buttercream?
Buttercream is recommended for stability and structure, especially when supporting decorations.
Conclusion
This Unicorn Birthday Cake Recipe for Kids combines soft vanilla cake with colorful frosting and magical decorations to create a show-stopping celebration dessert. Fun to bake and even more fun to decorate, it’s guaranteed to bring smiles and excitement to any birthday party.
With its playful design and delicious flavor, this unicorn cake turns an ordinary celebration into a magical memory 🎂🦄✨