
Tigger Tails: The Ultimate Disney-Inspired Marshmallow Treats
Introduction to a Magical Treat
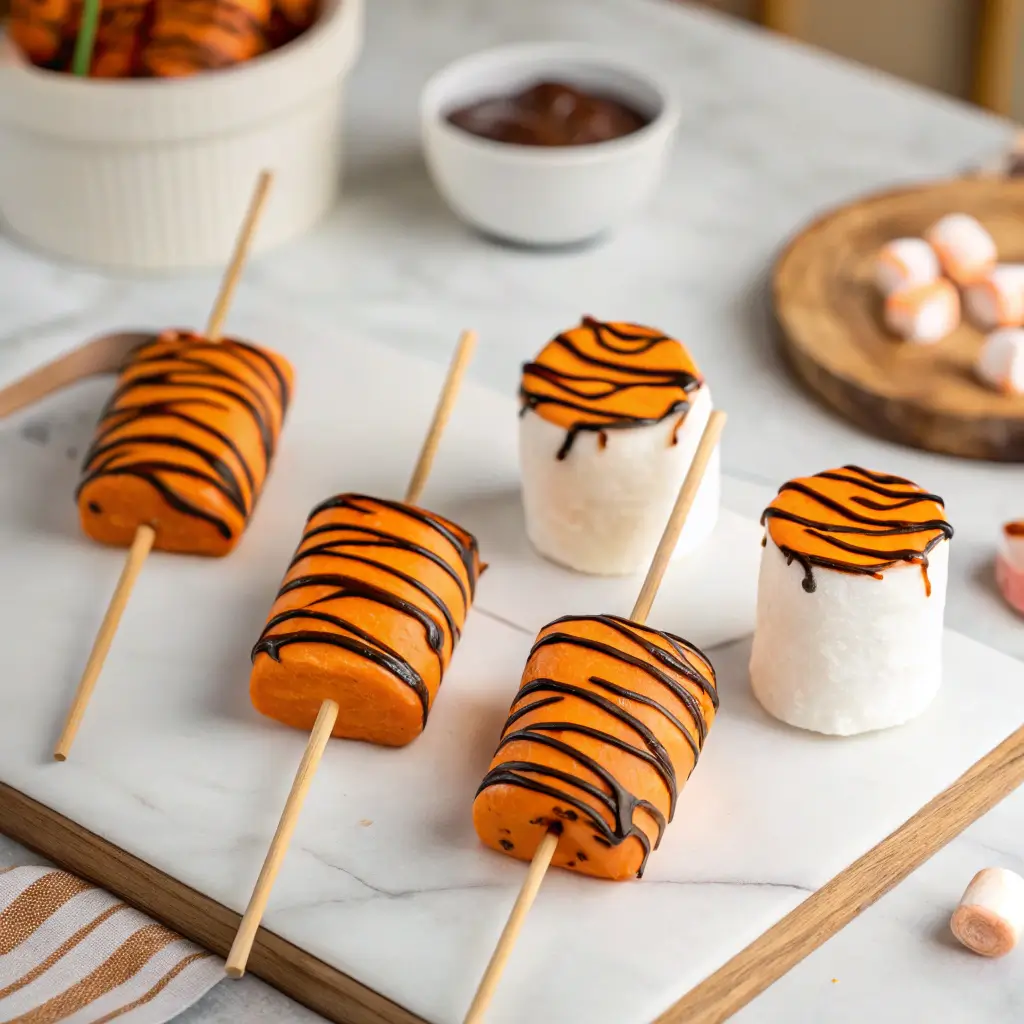
Bring the magic of Disney’s Hundred Acre Wood to your kitchen with these Tigger Tails – cheerful, striped marshmallow treats inspired by Winnie the Pooh’s bouncy friend. These delightful confections combine fluffy marshmallows, rich chocolate, and colorful candy stripes to create a treat that’s as fun to make as it is to eat. Perfect for birthday parties, Disney-themed events, or just adding some whimsy to your dessert table, Tigger Tails are guaranteed to make everyone smile.
Why You’ll Love This Recipe
Before we jump into the recipe, let’s explore what makes these treats so special:
- No-Bake Simplicity – No oven required, perfect for kitchen novices
- Disney Magic at Home – Bring the parks to your pantry
- Customizable Colors – Match any party theme or character
- Kid-Friendly Fun – Great for little helpers to assist with
- Make-Ahead Convenience – Prepare days before your event
Ingredient Breakdown
The Foundation
- Large marshmallows (about 24) – Fresh ones work best for smooth dipping
- Lollipop sticks (6-inch) – Find these in baking/craft stores
- Orange candy melts (12 oz) – The perfect Tigger color
- Vegetable oil (1 tsp) – For thinning chocolate if needed
The Signature Stripes
- Black candy melts (4 oz) – For authentic Tigger stripes
- White candy melts (optional) – For contrast stripes
- Piping bags – Or small plastic bags with corner snipped
Optional Enhancements
- Sprinkles – For extra festive flair
- Edible glitter – For magical sparkle
- Flavored extracts – Add orange or vanilla to candy melts
Step-by-Step Instructions
1. Assemble Your Tigger Tails (10 minutes)
- Prepare workspace with parchment paper
- Insert sticks into marshmallows (about ¾ way through)
- Space them out on baking sheet
- Freeze for 10 minutes (helps chocolate adhere better)
Pro Tip: Use mini marshmallows between large ones for extra-long tails!
2. Melt the Orange Coating (5 minutes)
- Microwave method:
- Orange candy melts go in a microwave-safe bowl.
- Heat in 30-second bursts, stirring between each interval, until fully melted.
- Stop when mostly melted (residual heat will finish)
- Stir in ½ tsp oil if too thick
- Double boiler method:
- Heat over simmering water
- Stir constantly until smooth
3. Dip Your Tails (15 minutes)
- Remove marshmallows from freezer
- Holding stick, dip each marshmallow in orange coating
- Let excess drip off by gently tapping
- Place on parchment to set
- Repeat until all coated
Troubleshooting: If coating gets thick, reheat briefly
4. Create the Stripes (10 minutes)
- Melt black candy melts as above
- Transfer to piping bag (or plastic bag with tiny corner cut)
- Pipe stripes diagonally across each tail
- Add optional white stripes between black for contrast
- Immediately add sprinkles if using (before stripes set)
5. Set and Serve (30 minutes)
- Let dry completely at room temperature
- Speed setting: 10 minutes in refrigerator
- Store in airtight container at room temperature
- Best consumed within 3 days for freshest texture
Professional Tips for Perfect Tigger Tails
Coating Secrets
- Temperature matters: Candy melts should be warm but not hot
- Smooth moves: Rotate while dipping for even coverage
- Drip control: Angle marshmallow when removing from coating
Striping Techniques
- Practice first: Pipe stripes on parchment to test consistency
- Consistent pressure: Squeeze bag evenly for uniform stripes
- Creative variations: Try zigzags or wavy lines
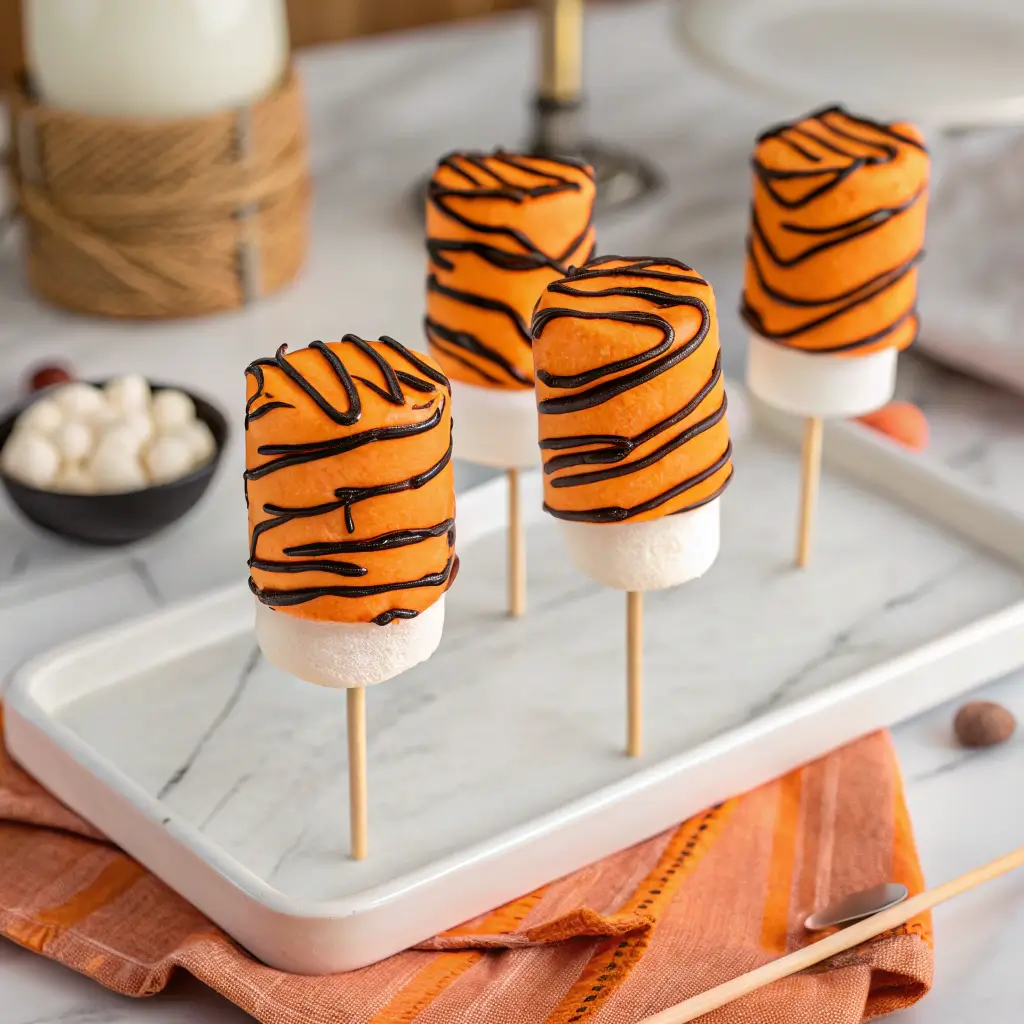
Presentation Perfection
- Stand them up: Use foam block or upside-down colander to dry
- Wrap individually: Cellophane bags with ribbon for gifts
- Display creatively: Stick in floral arrangement or themed centerpiece
Variations to Try
Character-Themed Versions
- Eeyore Tails: Gray coating with black stripes
- Piglet Tails: Pink coating with darker pink stripes
- Pooh Tails: Yellow coating with red stripes
Special Occasion Adaptations
- Holiday: Red/green stripes with sprinkles
- Birthday: Rainbow stripes
- Baby Shower: Pastel colors with delicate stripes
Flavor Twists
- Mint: Add peppermint extract to coating
- Orange: Add orange oil to candy melts
- Cookies & Cream: Mix in crushed Oreo pieces
Make-Ahead & Storage Guide
Room Temperature Storage
- Best within: 3 days
- Container: Airtight with parchment between layers
- Avoid: Humid environments (can cause stickiness)
Refrigeration
- Not recommended: Can cause condensation
- Exception: Very hot climates (then bring to room temp before serving)
Freezing
- Not ideal: Marshmallows can become tough
- If necessary: Freeze uncoated marshmallows only
Serving Suggestions
Party Presentation Ideas
- Standing display: Insert in foam block covered with decorative paper
- Centerpiece: Arrange in vase with tissue paper “grass”
- Place settings: One at each plate with name tag
Perfect Pairings
- Hot chocolate: For a cozy treat
- Ice cream: As a festive topping
- Fruit platter: Balance the sweetness
Disney Park Secrets
While the exact recipe for Disney’s version is proprietary, we know:
- They use special marshmallows that stay fresh longer
- The coating formula is designed for warm Florida weather
- Professional tempering gives that perfect snap
- Cast members make thousands daily during peak seasons
Frequently Asked Questions
Q: Can I use real chocolate instead of candy melts?
A: Not recommended – candy melts are formulated for coating and set better
Q: Why are my stripes bleeding?
A: Orange coating wasn’t fully set before striping – wait longer next time
Q: Can I make these nut-free for allergies?
A: Yes! Just ensure all ingredients are from nut-free facilities
Q: How many days ahead can these be prepared?
A: 2-3 days max for best texture and appearance
Q: Where can I find the exact colors Disney uses?
A: Wilton’s orange and black candy melts are very close matches
Final Pro Tips
- Work quickly – Candy melts set fast
- Have everything ready – Prep all tools before starting
- Embrace imperfections – Each tail’s uniqueness adds charm
- Double the recipe – They disappear surprisingly fast
- Have fun! – Channel your inner Tigger energy while making them
Conclusion: Bounce Into the Kitchen!
These Tigger Tails bring pure Disney magic to your home kitchen. With their cheerful orange coats and signature stripes, they’re guaranteed to add bounce to any occasion. Whether you’re preparing for a Disney-themed party, looking for a fun kitchen project with kids, or just craving a taste of the parks, this recipe delivers happiness on a stick.
Ready to create your own Hundred Acre Wood treats? Gather your ingredients, put on some Winnie the Pooh music, and get ready for a wonderfully bouncy baking adventure! Don’t be surprised if these become your most-requested treats – after all, the most wonderful thing about Tigger Tails is that they’re the only ones!