
Delightful Pistachio & Blackberry Cheesecake Towers: An Elegant No-Bake Dessert
Introduction
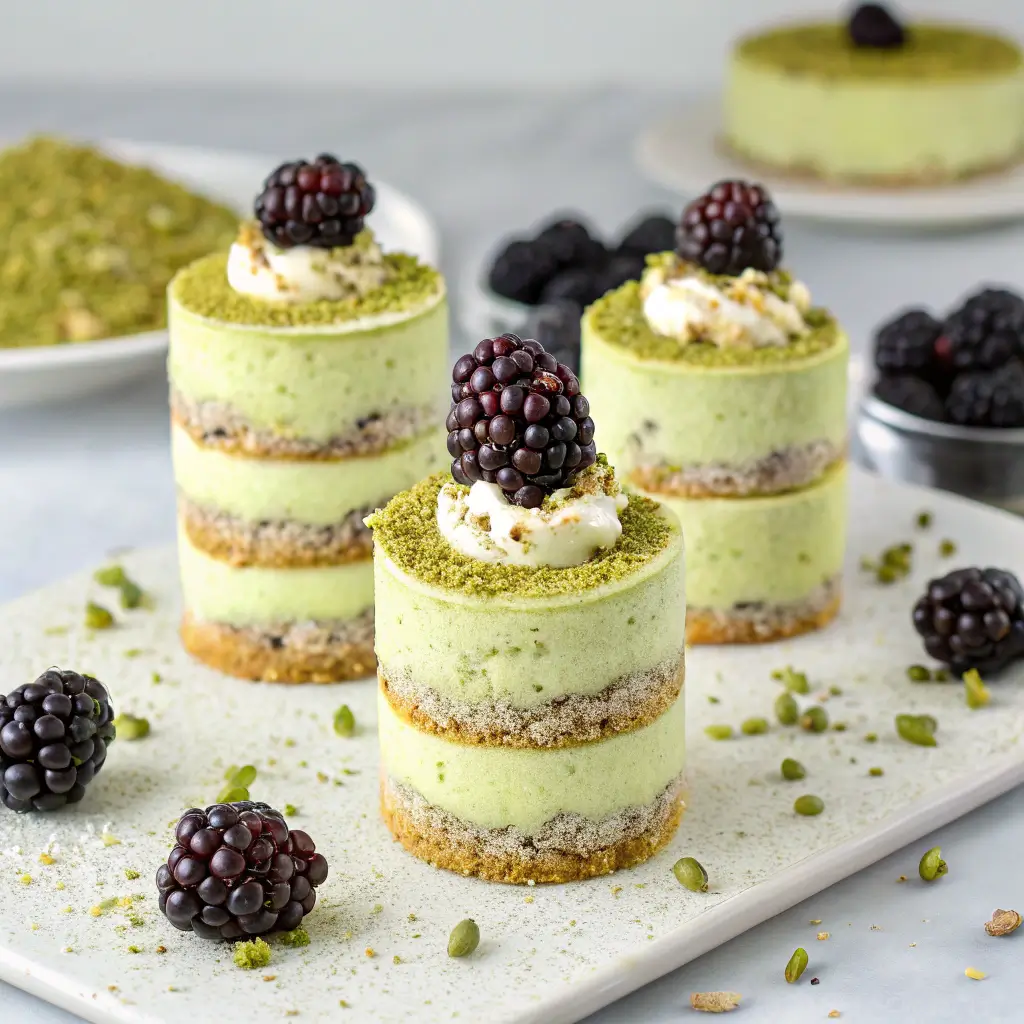
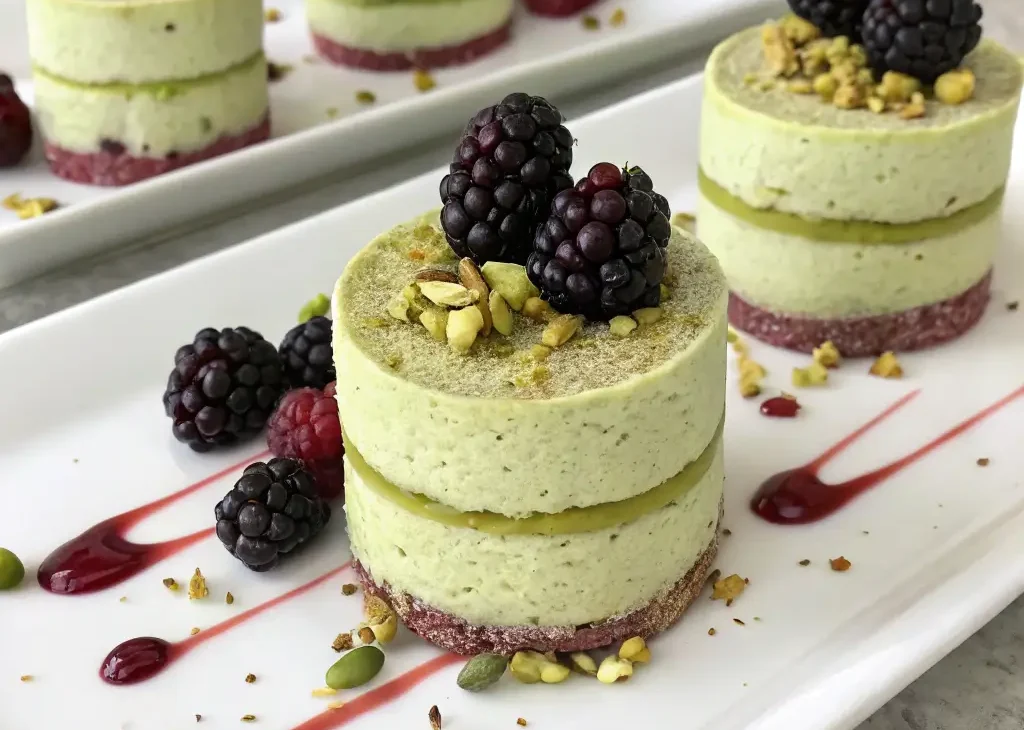
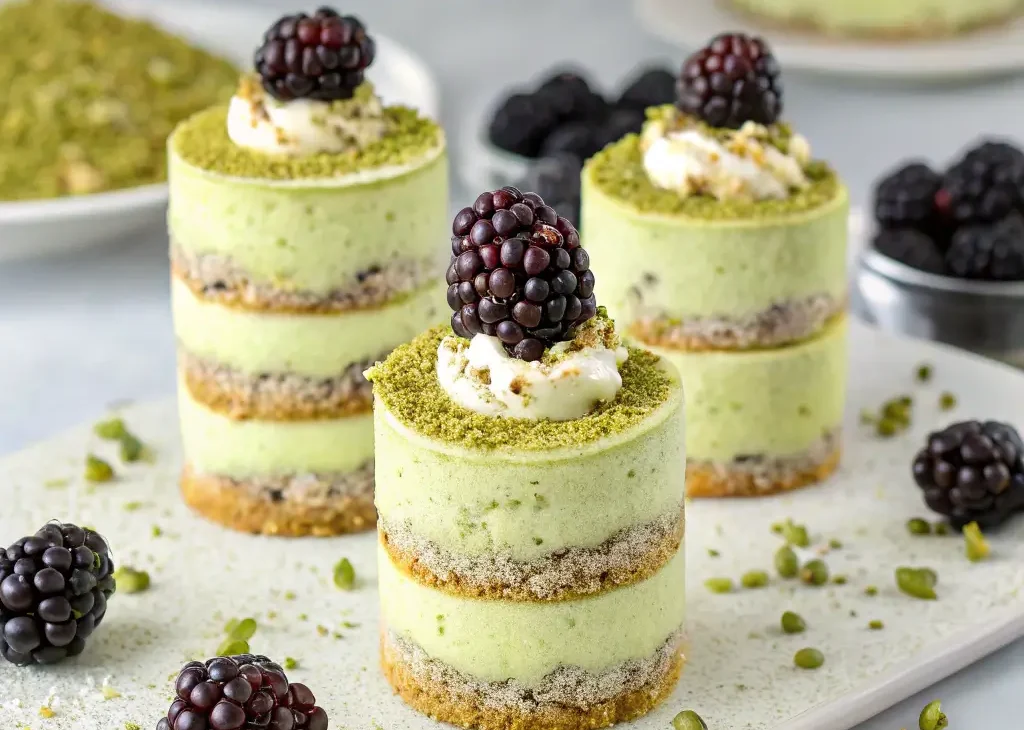
Elevate your dessert game with these stunning Pistachio & Blackberry Cheesecake Towers – a perfect harmony of nutty richness and fruity brightness. These individual desserts combine a crunchy pistachio crust, velvety no-bake cheesecake, and vibrant blackberry glaze for an impressive yet approachable treat.
What makes these towers special is their restaurant-quality presentation with home kitchen simplicity. The no-bake method ensures foolproof results while allowing for creative variations. Perfect for dinner parties or special occasions, they offer the ideal balance of creamy, crunchy, and fruity elements in every bite.
The Perfect Flavor Combination
The marriage of pistachio and blackberry creates a sophisticated flavor profile that delights the senses. Pistachios bring their signature delicate nuttiness and subtle sweetness, while blackberries contribute a bright, tangy counterpoint that cuts through the richness. This dynamic duo offers:
- Perfect Balance
- Pistachios provide an earthy, buttery foundation
- Blackberries add refreshing acidity
- Together they create a sweet-tart harmony that keeps each bite interesting
- Textural Symphony
- Crunchy biscuit-pistachio base for satisfying bite
- Silky smooth cheesecake filling that melts luxuriously
- Slightly jammy blackberry glaze for luscious contrast
- Visual Drama
- Vibrant purple glaze against pale green cheesecake
- Elegant layered presentation in clear glasses or towers
- Garnish possibilities with whole berries and crushed nuts
Key Ingredients & Equipment
Essential Ingredients Breakdown
For the Base:
- Digestive biscuits or graham crackers (150g) – provides neutral, buttery foundation
- Roasted, unsalted pistachios (65g) – roasting enhances flavor; avoid pre-salted
- Unsalted butter (85g) – allows salt control; European-style adds richness
For the Filling:
- Full-fat cream cheese (450g) – essential for proper texture
- Powdered sugar (60g) – dissolves more easily than granulated
- Heavy cream (240ml) – must have at least 36% fat to whip properly
- Pistachio paste (120g) – look for 100% pistachio without additives
- Vanilla extract – use pure for superior flavor
For the Glaze:
- Fresh blackberries (150g) – in-season berries have best flavor
- Granulated sugar (25g) – adjusts tartness to preference
- Lemon juice – brightens the berry flavor
Recommended Equipment
- 6-8 ring molds (7cm diameter) or small dessert glasses
- Food processor for crushing biscuits
- Stand mixer or electric hand mixer
- Piping bag (optional but helpful for neat layers)
- Fine mesh sieve for straining glaze
Step-by-Step Recipe Instructions
1. Preparing the Base (20 minutes + chilling)
- Line a baking tray with parchment and arrange ring molds
- Process biscuits and pistachios to fine crumbs in food processor
- Mix with melted butter until resembling wet sand
- Press 2 tablespoons firmly into each mold using the back of a spoon
- Chill for at least 15 minutes to set
Pro Tip: For extra stability, bake the bases at 180°C (350°F) for 8 minutes, then cool completely before adding filling.
2. Making the Cheesecake Filling (15 minutes active time)
- Whip cream to stiff peaks and set aside
- Beat cream cheese and powdered sugar until completely smooth (about 3 minutes)
- Fold in whipped cream gently in three additions to maintain airiness
- Add pistachio paste, vanilla, and lemon juice, mixing until uniform
Texture Check: The filling should be thick but pipeable—like softly whipped cream.
3. Assembling the Layers (30 minutes + setting time)
- Transfer filling to piping bag fitted with large round tip
- Pipe over chilled bases, filling molds nearly to top
- Smooth tops with offset spatula
- Freeze for 1 hour (or refrigerate 4 hours) until firm
Presentation Idea: For taller towers, use deeper molds and create multiple alternating layers.
4. Preparing the Blackberry Glaze (15 minutes)
- Simmer blackberries, sugar, and lemon juice for 5 minutes until berries break down
- Strain through fine mesh sieve, pressing to extract maximum pulp
- Return to heat and simmer until slightly thickened (about 3 minutes)
- Cool to room temperature before using
Chef’s Note: For extra shine, add 1/2 teaspoon gelatin dissolved in cold water to warm glaze.
Expert Tips for Flawless Execution
Achieving Perfect Texture
- Room temperature ingredients are crucial—cold cream cheese causes lumps
- Don’t overwhip the cream—stop at firm peaks to prevent graininess
- Chill adequately between steps to maintain clean layers
Presentation Perfection
- Use blowtorch to lightly warm mold sides for easy release
- Alternate piping tips for decorative effects—try star tip for ruffled edges
- Edible gold leaf adds luxurious accent for special occasions
Troubleshooting Common Issues
- If filling is too soft: Add 1 tsp gelatin dissolved in 2 tbsp hot water
- glaze is too thin: Simmer longer or add 1/2 tsp cornstarch mixed with water
- bases crumble: Add 1 extra tbsp melted butter to crumb mixture
Creative Variations to Explore
Seasonal Fruit Adaptations
- Summer: Substitute raspberries or peaches for blackberries
- Autumn: Use spiced pear compote instead of berries
- Winter: Cranberry-orange glaze makes festive alternative
Dietary Adaptations
- Gluten-free: Use almond flour cookies for base
- Vegan: Replace cream cheese with cashew cream
- Lower sugar: Reduce sugar by 25% and use naturally sweet fruits
Flavor Twists
- Chocolate-pistachio: Add 2 tbsp cocoa powder to base
- Matcha variation: Replace half pistachio paste with matcha powder
- Boozy adult version: Add 1 tbsp Chambord to glaze
Serving and Pairing Suggestions
Presentation Ideas
- Serve on mirrored trays for dramatic effect
- Individual slate boards create restaurant-style presentation
- Glass pedestal stands showcase beautiful layers
Beverage Pairings
- Tea: Earl Grey or jasmine tea complement nutty flavors
- Coffee: Smooth latte balances dessert’s richness
Perfect Occasions
- Bridal or baby showers
- Anniversary dinners
- Holiday gatherings
- Afternoon tea parties
Storage and Make-Ahead Tips
Short-Term Storage
- Refrigerate assembled towers up to 24 hours covered
- Store components separately up to 3 days for best texture
Freezing Instructions
- Freeze un-glazed towers up to 1 month
- Thaw overnight in refrigerator before adding glaze
Reviving Leftovers
- Let refrigerated towers sit at room temperature 15 minutes
- Refresh crust crispness with quick 5-minute bake at 160°C
Final Thoughts
These Pistachio & Blackberry Cheesecake Towers represent the perfect intersection of approachable technique and impressive results. The balance of flavors and textures ensures each component shines while working together harmoniously.
Beyond their visual appeal, these towers offer endless opportunities for creativity. Once you’ve mastered the basic formula, you can experiment with different nuts, fruits, and presentation styles to make the recipe uniquely yours.
Most importantly, they prove that elegant desserts don’t require professional skills—just quality ingredients, proper technique, and a little patience. Whether you’re an experienced baker or dessert novice, this recipe will give you the tools to create something truly special.
Have you tried making cheesecake towers? Share your experiences and creative variations in the comments below!