
No-Bake Pink Velvet Cheesecake Bites – Easy, Creamy & Perfectly Elegant
Introduction
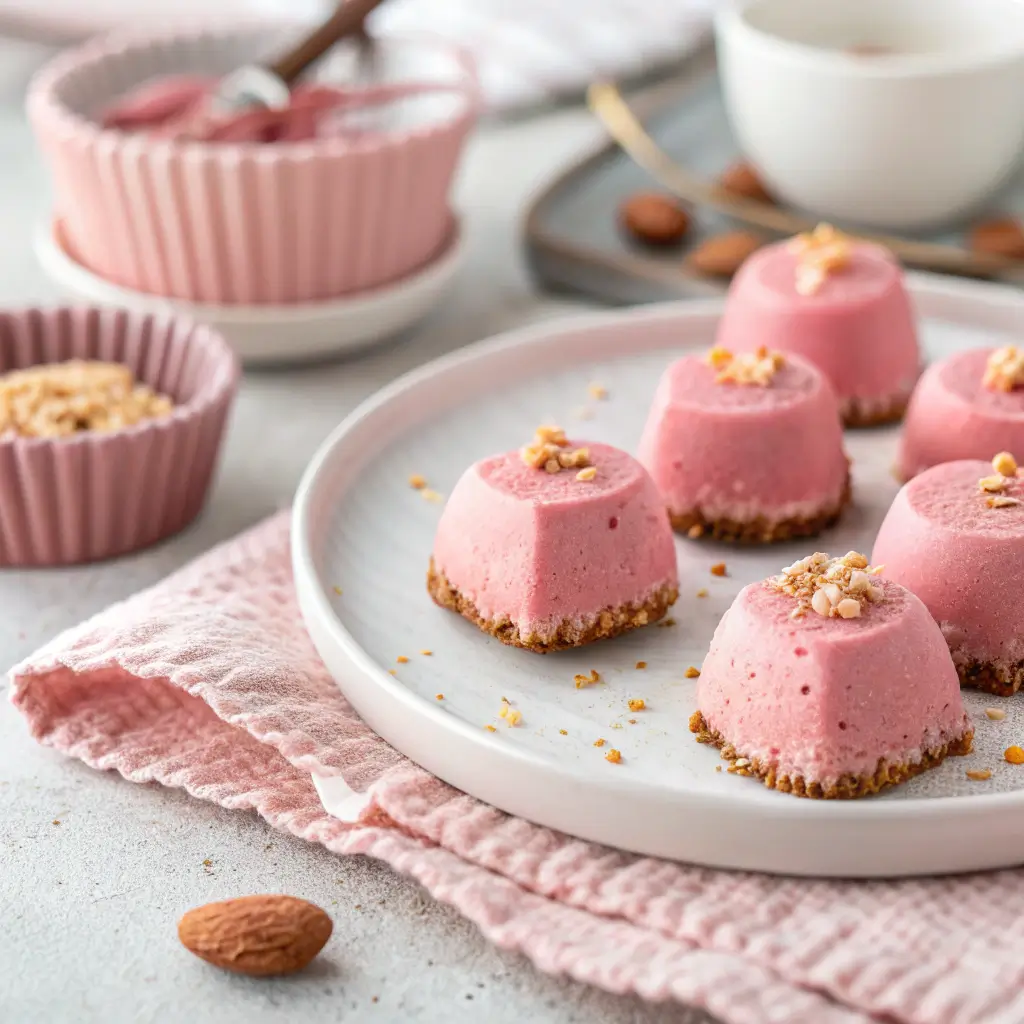
If you’re looking for a dessert that is visually stunning, irresistibly creamy, and incredibly easy to make, No-Bake Pink Velvet Cheesecake Bites are exactly what you need. These bite-sized treats combine the smooth richness of cheesecake with a delicate pink velvet flavor, all without turning on the oven. They are elegant enough for special occasions yet simple enough for beginners, making them a reliable go-to dessert for any time you want something impressive with minimal effort.
What makes these cheesecake bites especially appealing is their balance. They are rich but not heavy, sweet without being overwhelming, and soft with just the right amount of structure. The pink velvet element adds a subtle cocoa undertone and a beautiful pastel color that instantly catches the eye. Whether you’re preparing a dessert table for a celebration, planning a make-ahead treat, or simply craving something creamy and chilled, these cheesecake bites fit the moment perfectly.
Another major advantage is convenience. Since this is a no-bake recipe, there’s no worrying about cracks, water baths, or oven temperatures. Everything comes together smoothly, chills in the refrigerator, and sets into perfectly portioned bites that are easy to serve, store, and enjoy.
Background & Inspiration
No-bake cheesecakes have long been loved for their simplicity and reliability. Unlike baked cheesecakes, which rely on eggs and precise baking times, no-bake versions depend on chilling to achieve structure. This makes them ideal for warm weather, busy schedules, and anyone who prefers stress-free desserts.
Pink velvet desserts are inspired by the classic velvet-style cakes, known for their tender texture and subtle cocoa flavor. The pink variation adds a playful, modern twist while keeping the flavor profile gentle and refined. By combining these two ideas, pink velvet cheesecake bites deliver the charm of a celebratory dessert in a compact, effortless form.
These bites were designed with versatility in mind. They can be shaped into neat squares, rolled into truffle-style balls, or molded into silicone trays for a polished finish. No matter how you present them, they always look intentional and inviting.
Why You’ll Love This Recipe
- No oven required and no complicated steps
- Smooth, creamy texture that melts in your mouth
- Perfect for parties, gifting, and dessert tables
- Easy to portion and serve
- Can be made ahead with consistent results
Ingredients & Equipment
For the Cheesecake Base
- Cream cheese – 400 g (14 oz), softened
- Powdered sugar – ¾ cup (90 g)
- Vanilla extract – 1 teaspoon
- Lemon juice – 1 tablespoon
For the Pink Velvet Flavor
- White chocolate – 150 g (5 oz), melted and cooled slightly
- Unsweetened cocoa powder – 1 tablespoon
- Pink food coloring – a few drops (gel preferred)
For the Binding & Texture
- Whipping cream – 1 cup (240 ml), cold
- Powdered gelatin – 1 teaspoon
- Cold water – 2 tablespoons
Optional Coating or Decoration
- White chocolate, melted
- Crushed biscuits or cake crumbs
- Freeze-dried strawberry powder
- Sprinkles or edible pearls
Equipment
- Mixing bowls
- Hand mixer or stand mixer
- Spatula
- Small saucepan or microwave-safe bowl
- Square pan or silicone molds
- Parchment paper
Pro Tip: Make sure all dairy ingredients are at room temperature before mixing to ensure a perfectly smooth texture.
Step-by-Step Instructions
Prepare the Gelatin
In a small bowl, sprinkle the gelatin over cold water and let it bloom for 5 minutes. Once swollen, gently heat it until fully dissolved. Set aside to cool slightly but do not let it set.
Visual cue: The gelatin should be clear and liquid, not grainy.
Whip the Cream
In a chilled bowl, whip the cold whipping cream until soft peaks form. Be careful not to overwhip. Place it in the refrigerator while preparing the cheesecake mixture.
Make the Cheesecake Filling
In a large bowl, beat the softened cream cheese until smooth and creamy. Add powdered sugar, vanilla extract, and lemon juice, mixing until fully combined and silky.
Sift in the cocoa powder and mix gently until incorporated. Add the melted white chocolate and blend until smooth.
Add Color and Structure
You can Add pink food coloring gradually until you reach your desired shade. Pour in the dissolved gelatin while mixing on low speed to ensure even distribution.
Fold in the Whipped Cream
Using a spatula, gently fold the whipped cream into the cheesecake mixture in two additions. Fold slowly to maintain a light, airy texture.
Important note: Overmixing at this stage can deflate the mixture.
Set the Cheesecake
Line a square pan with parchment paper or prepare silicone molds. Pour the mixture evenly and smooth the top. Refrigerate for at least 4 hours, or until fully set.
Visual cue: The surface should be firm to the touch and hold its shape when sliced.
Cut or Shape into Bites
Once set, remove from the pan and cut into small squares, or gently release from molds. For a truffle-style look, you can roll portions into balls while the mixture is well chilled.
Decorate
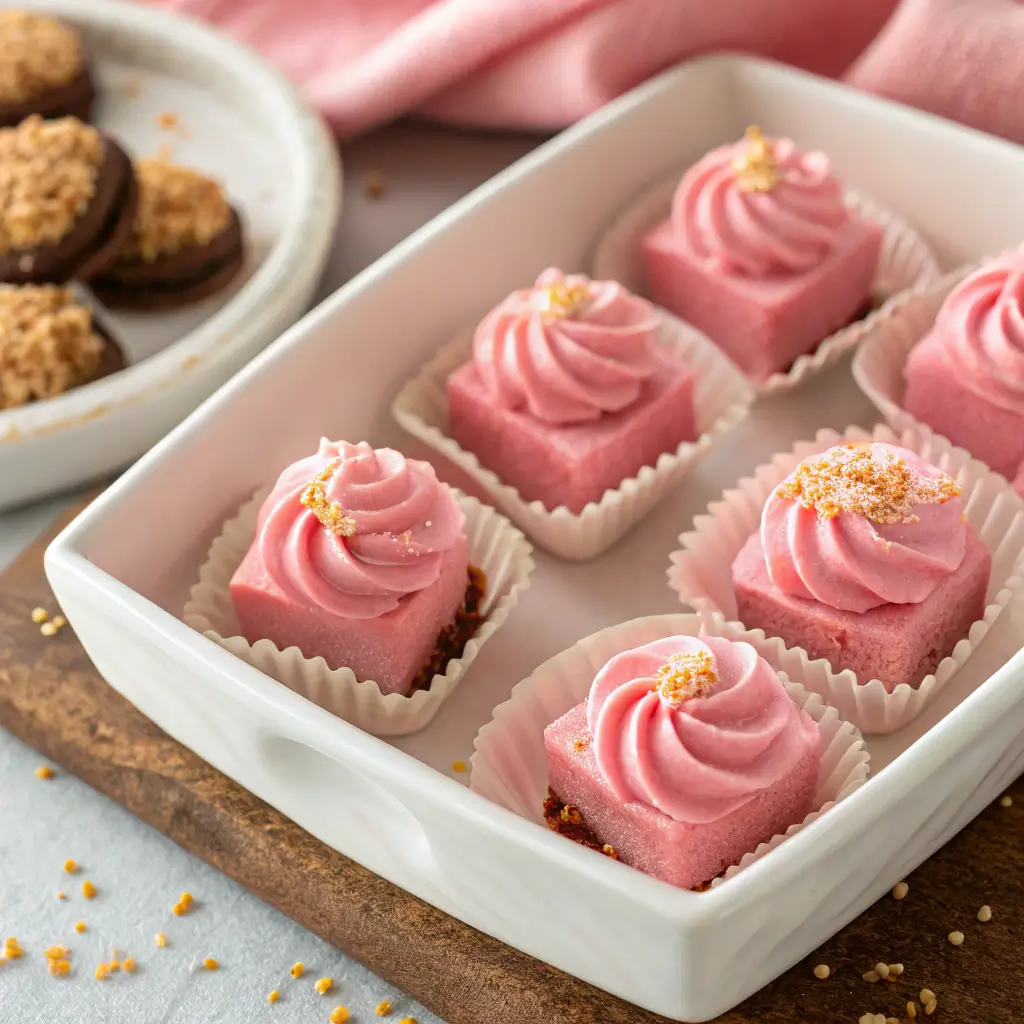
Dip the bites in melted white chocolate, roll in crumbs, or dust with strawberry powder for a polished finish. Chill again briefly to set decorations.
Expert Tips & Troubleshooting
- Too soft after chilling: Increase gelatin slightly or chill longer
- Grainy texture: Ensure cream cheese is fully softened before mixing
- Uneven color: Add food coloring gradually and mix thoroughly
- Sticky when cutting: Clean the knife between cuts and chill longer
Variations & Customizations
Pink Velvet Strawberry Cheesecake Bites
Add finely crushed freeze-dried strawberries to the mixture for extra flavor.
Chocolate-Coated Cheesecake Bites
Dip fully set bites into melted white or milk chocolate for a candy-like shell.
Mini Layered Bites
Create a biscuit crumb base and layer the cheesecake mixture on top for added texture.
Lighter Version
Reduce white chocolate slightly and increase whipped cream for a softer, mousse-like bite.
Serving & Presentation Ideas
Serve these cheesecake bites chilled on a decorative platter or tiered stand. They work beautifully for baby showers, birthdays, festive gatherings, or dessert boxes. Garnish with fresh berries or edible flowers for an elevated presentation. Because they are bite-sized, guests can enjoy them without utensils, making them ideal for events.
Storage & Make-Ahead Tips
- Refrigeration: Store in an airtight container for up to 4 days
- Freezing: Freeze plain cheesecake bites for up to 1 month
- Thawing: Thaw overnight in the refrigerator for best texture
- Make-ahead: Prepare and decorate a day in advance for stress-free serving
FAQ
Can I skip gelatin?
Gelatin helps the bites hold their shape. Without it, the texture will be softer and more mousse-like.
Can I use liquid food coloring?
Yes, but gel coloring is recommended to avoid thinning the mixture.
Are these overly sweet?
No. The balance of cream cheese, cocoa, and lemon keeps the sweetness smooth and controlled.
Conclusion
No-Bake Pink Velvet Cheesecake Bites are proof that elegant desserts don’t need to be complicated. With their creamy texture, delicate flavor, and beautiful color, they make a lasting impression with minimal effort. Whether you’re preparing them for a celebration or simply treating yourself, these cheesecake bites deliver consistency, style, and indulgence in every bite.
Once you try them, you’ll appreciate how easy they are to customize and how reliably they set. Keep this recipe on hand—it’s the kind of dessert that always feels like a good idea.