
Crispy Chicken Cutlet Recipe: Golden, Juicy, and Easy to Make
Introduction
Few dishes can match the universal appeal of a perfectly cooked chicken cutlet. With its golden-brown crust, juicy interior, and irresistible crunch, it’s a recipe that has found a home in kitchens around the world. Whether you serve it as a quick weeknight dinner, a sandwich filling, or alongside a fresh salad, chicken cutlets are a versatile and satisfying option for any occasion.
This recipe stands out because it’s simple, adaptable, and foolproof. By following the step-by-step method, you’ll learn how to achieve cutlets that are crispy on the outside without being greasy, and tender on the inside without drying out. With a few pantry staples—breadcrumbs, eggs, and seasonings—you can create a dish that feels restaurant-quality in under 30 minutes.
If you’re craving comfort food that pleases both kids and adults, this chicken cutlet recipe deserves a spot in your regular meal rotation.
A Little Background on Chicken Cutlets
The concept of breaded and fried meat isn’t new—it has roots in European cooking traditions. From Italian chicken Milanese to German schnitzel, and even the Japanese katsu, the technique of pounding meat thin, coating it in breadcrumbs, and pan-frying is beloved worldwide.
Chicken cutlets in particular gained popularity because they are lean, quick-cooking, and pair beautifully with a variety of sides. In many cultures, they represent comfort food at its best—crispy, juicy, and endlessly versatile.
Why You’ll Love This Recipe
- Quick and easy – ready in under 30 minutes.
- Crispy yet juicy – the perfect texture combination.
- Kid-approved – mild flavor that children love.
- Versatile – serve with pasta, salad, or inside a sandwich.
- Freezer-friendly – prep a batch and store for later use.
Ingredients & Equipment
For the Chicken Cutlets:
- 4 boneless, skinless chicken breasts
- 1 cup (120 g) all-purpose flour
- 2 large eggs
- 2 tbsp milk (optional, for egg wash)
- 1 tsp paprika
- 2 cups (200 g) breadcrumbs (panko for extra crunch, or regular)
- ½ cup (50 g) grated Parmesan cheese (optional, for added flavor)
- 1 tsp garlic powder
- 1 tsp salt
- ½ tsp black pepper
- ½ cup (120 ml) vegetable oil (or olive oil) for frying
Optional Garnishes:
- Lemon wedges
- Fresh parsley, chopped
Equipment Needed:
- Meat mallet or rolling pin
- Three shallow bowls (for dredging)
- Large skillet or frying pan
- Tongs
- Paper towels or wire rack for draining
Pro Tips:
- Pound chicken evenly to ½-inch thickness for consistent cooking.
- Use panko breadcrumbs for extra crunch.
- Combine breadcrumbs with Parmesan for a richer, more savory flavor.
Step-by-Step Instructions
1. Preparing the Chicken (5 minutes)
- Place each chicken breast between sheets of plastic wrap or parchment.
- Pound with a mallet until about ½-inch thick.
- Slice large pieces in half if needed for even portions.
Why this matters: Thinner cutlets cook faster and stay juicy.
2. Setting Up the Breading Station (5 minutes)
- 1 Bowl: Flour seasoned with salt and pepper.
- 2 Bowl: Eggs whisked with milk.
- 3 Bowl: Breadcrumbs mixed with garlic powder, paprika, and Parmesan.
3. Coating the Chicken (5 minutes)
- Dredge chicken in flour, shaking off excess.
- Dip into egg wash until coated.
- Press into breadcrumb mixture, ensuring full coverage.
Tip: Press breadcrumbs firmly into chicken for maximum crunch.
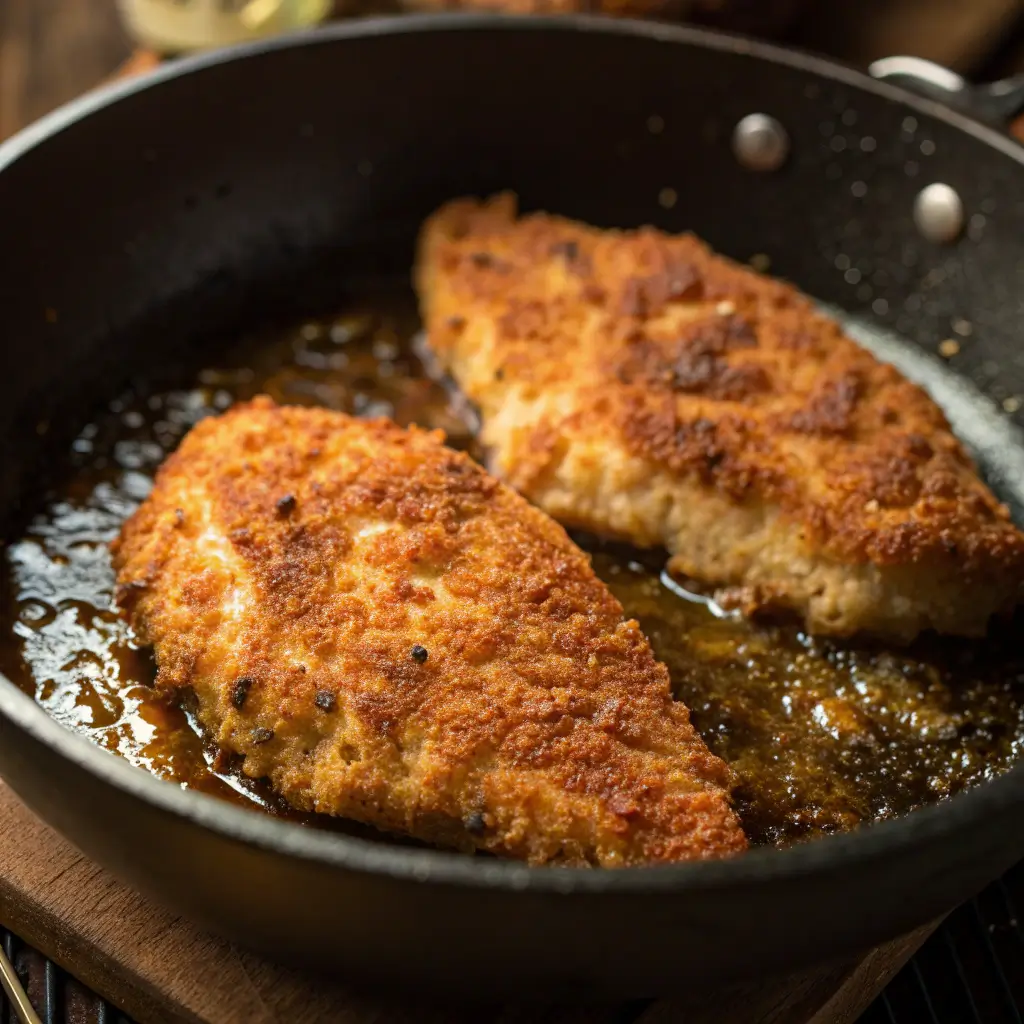
4. Frying the Cutlets (10 minutes)
- Heat oil in a skillet over medium-high heat.
- Fry chicken 3–4 minutes per side until golden brown and internal temperature reaches 165°F (74°C).
- Transfer to a paper towel-lined plate or wire rack.
5. Serving (2 minutes)
- Garnish with parsley and lemon wedges.
- Serve hot with your choice of sides.
Expert Tips & Troubleshooting
- Cutlet too oily? Make sure oil is hot before frying. If it’s not, chicken absorbs excess oil.
- Uneven browning? Don’t overcrowd the pan—fry in batches.
- Breadcrumbs falling off? Chill breaded chicken for 15 minutes before frying.
- Dry chicken? Don’t overcook; pull cutlets once they reach 165°F.
Variations & Customizations
- Chicken Parmesan – top with marinara and mozzarella, then bake until bubbly.
- Spicy Cutlets – add cayenne pepper or chili flakes to breadcrumbs.
- Herb-Crusted Cutlets – mix in Italian herbs like oregano, basil, or thyme.
- Gluten-Free Option – swap flour for cornstarch and breadcrumbs for crushed gluten-free crackers.
Serving & Presentation Ideas
- Serve with a side of pasta and tomato sauce for an Italian-inspired meal.
- Layer in a sandwich with lettuce, tomato, and mayo for a crispy chicken sandwich.
- Pair with mashed potatoes and gravy for a hearty dinner.
- Top with arugula and cherry tomatoes for a lighter, fresh option.
Storage & Make-Ahead Tips
- Refrigeration: Store in an airtight container for up to 3 days. Reheat in the oven at 350°F (175°C) for 10 minutes to maintain crispiness.
- Freezing: Freeze breaded, uncooked cutlets on a baking sheet, then transfer to a freezer bag. Cook directly from frozen, adding 2–3 minutes per side.
- Meal Prep: Bread chicken ahead of time and refrigerate raw cutlets up to 24 hours before frying.

Frequently Asked Questions
Q: Can I bake chicken cutlets instead of frying?
Yes! Bake at 400°F (200°C) for 20 minutes, flipping halfway, until golden brown. Spray with cooking oil for extra crispiness.
Q: Can I air fry chicken cutlets?
Definitely. Cook at 375°F (190°C) for 10–12 minutes, flipping halfway. This reduces oil but still gives crunch.
Q: What’s the best oil for frying cutlets?
Neutral oils like canola or vegetable oil work best. Olive oil is also an option for added flavor.
Conclusion
This Chicken Cutlet Recipe proves that classic dishes never go out of style. With its golden, crispy coating and juicy interior, it’s the kind of meal that everyone at the table will enjoy. From weeknight dinners to special occasions, it’s versatile, customizable, and guaranteed to satisfy.
The best part? You can easily adapt the recipe to suit your preferences—whether baked, pan-fried, or air-fried, these chicken cutlets are always a win. Try them once, and they’ll quickly become a go-to favorite in your kitchen.