
Homemade Dinner Rolls with Butter: Soft, Fluffy, and Irresistible
Introduction
Few things compare to the warmth and comfort of freshly baked bread. The smell that fills the kitchen, the steam that escapes when you break into a roll, and the taste of soft, buttery bread are pure magic. Homemade dinner rolls with butter are one of those timeless recipes that elevate any meal, whether it’s a casual weeknight dinner or a festive holiday feast.
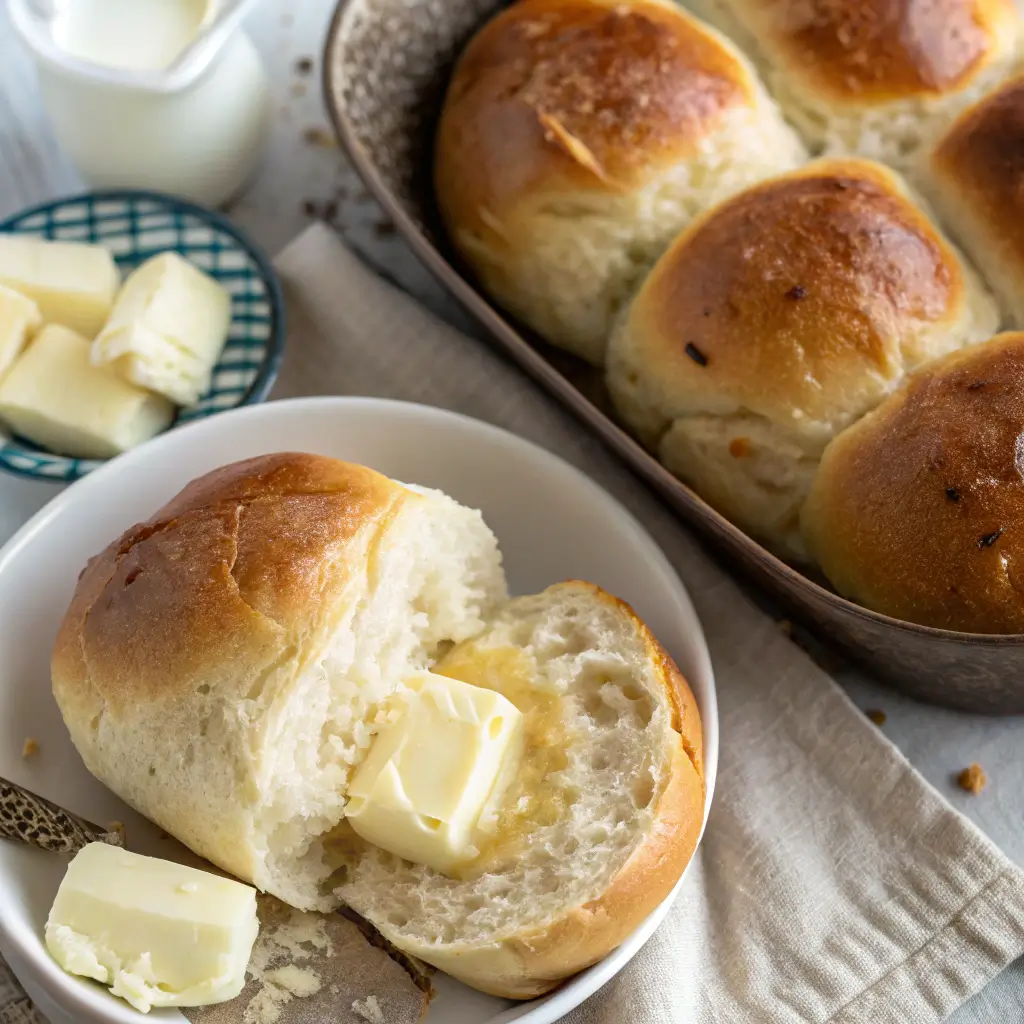
These rolls are tender, pillowy, and slightly golden on top. They can be enjoyed warm with a pat of butter, used to soak up gravy and sauces, or even transformed into mini sandwiches. While making bread from scratch might seem intimidating, this recipe is straightforward, approachable, and well worth the effort.
By the end of this guide, you’ll not only master soft and fluffy dinner rolls but also gain the confidence to bake them for any occasion.
The History of Dinner Rolls
Bread in various forms has been a staple for centuries, but dinner rolls as we know them today are thought to have originated in Europe, evolving from small, portion-sized breads served alongside meals. Rolls became especially popular in England and later made their way to American dining tables, where they became a beloved side dish. Today, dinner rolls are a universal comfort food, appearing at family gatherings, Sunday dinners, and holiday celebrations worldwide.
Why You’ll Love This Recipe
- Soft and fluffy texture – Pillowy rolls that melt in your mouth.
- Buttery flavor – Rich, golden, and irresistible.
- Perfect for any occasion – From everyday dinners to holiday spreads.
- Beginner-friendly – Clear steps make this recipe accessible to home bakers.
- Customizable – Shape them round, knot-style, or into pull-apart rolls.
Ingredients You’ll Need
- 4 cups (500 g) all-purpose flour, plus more for kneading
- 2 ¼ teaspoons (1 packet) active dry yeast
- 1 cup (240 ml) warm milk (about 110°F / 43°C)
- 3 tablespoons granulated sugar
- 1 teaspoon salt
- 4 tablespoons unsalted butter, softened (plus more for brushing)
- 1 large egg
Equipment
- Large mixing bowl
- Stand mixer with dough hook (optional but helpful)
- Measuring cups and spoons
- Baking sheet or 9×13-inch baking pan
- Clean kitchen towel or plastic wrap
- Pastry brush
Step-by-Step Instructions
Step 1: Activate the Yeast
In a small bowl, combine warm milk, sugar, and yeast. Let it sit for 5–10 minutes until foamy. This shows the yeast is active and ready.
Step 2: Make the Dough
In a large mixing bowl (or stand mixer), combine flour and salt. Add the yeast mixture, softened butter, and egg. Mix until the dough starts to come together. Knead for 8–10 minutes by hand or 5–6 minutes in a stand mixer until smooth and elastic.
Step 3: First Rise
Place the dough in a greased bowl, cover with a damp kitchen towel or plastic wrap, and let it rise in a warm place for 1–2 hours, or until doubled in size.
Step 4: Shape the Rolls
Punch down the dough to release air. Divide into 12–15 equal pieces and shape into smooth balls. Arrange them in a greased baking dish or spaced apart on a baking sheet.
Step 5: Second Rise
Cover again and let the rolls rise for 30–40 minutes until puffy.
Step 6: Bake
Preheat oven to 375°F (190°C). Bake for 18–22 minutes, or until golden brown on top.
Step 7: Butter Finish
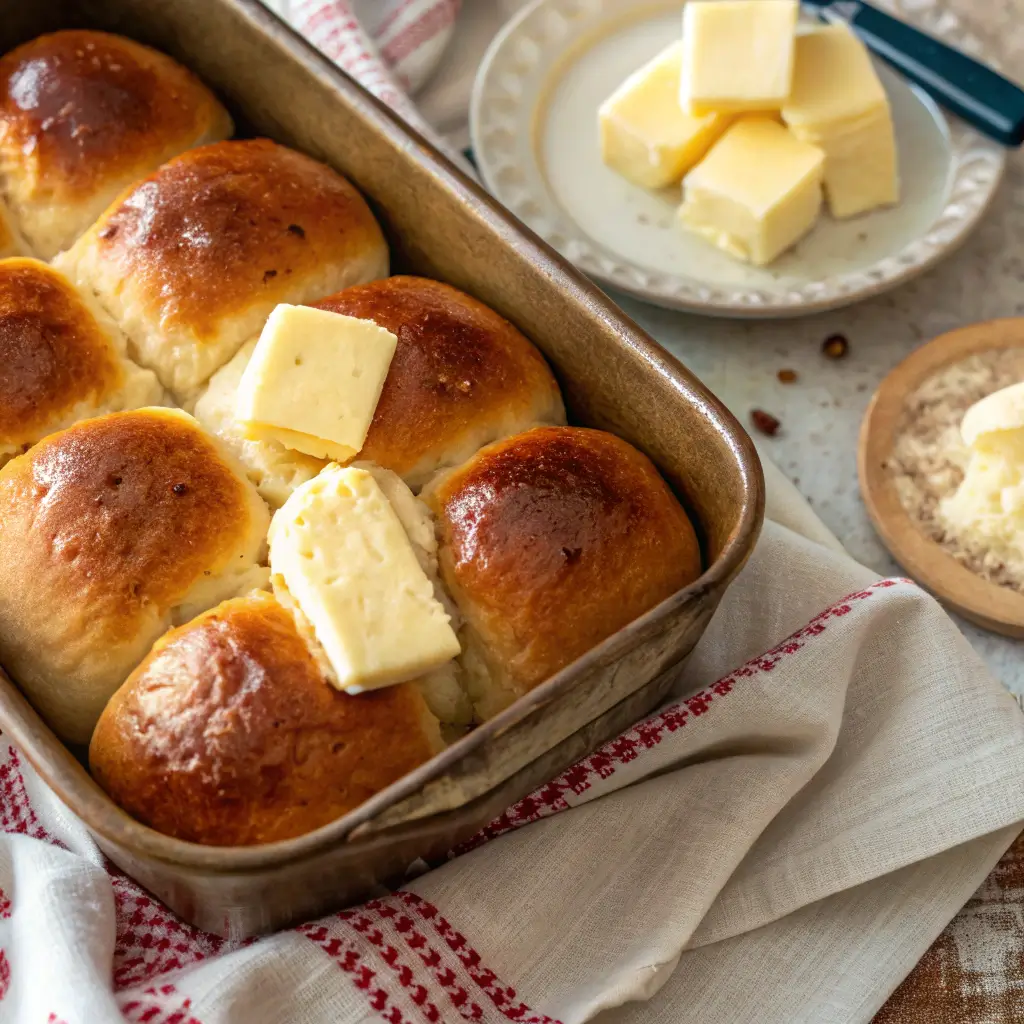
Brush warm rolls generously with melted butter before serving.
Flavor and Texture Profile
- Flavor – Rich, slightly sweet, and buttery.
- Texture – Soft, fluffy interiors with lightly golden tops.
- Aroma – Warm, yeasty, and inviting.
Tips for Success
- Temperature matters – Milk should be warm but not hot, or it may kill the yeast.
- Knead well – Proper kneading develops gluten, which creates structure and fluffiness.
- Don’t rush the rise – Allowing enough proofing time ensures light rolls.
- Shape evenly – Uniform rolls bake evenly.
- Butter generously – Brushing with butter adds flavor and a shiny finish.
Variations to Try
- Garlic herb rolls – Add minced garlic and herbs to the dough or butter topping.
- Cheesy rolls – Mix shredded cheese into the dough or sprinkle on top before baking.
- Whole wheat version – Replace half of the all-purpose flour with whole wheat flour.
- Pull-apart style – Arrange rolls close together in a baking dish so they bake into one another.
- Sweet twist – Add cinnamon and sugar for a dessert-style roll.
What to Serve with Dinner Rolls
Dinner rolls are versatile and complement countless meals, including:
- Roast chicken, turkey, or beef
- Soups and stews (perfect for dipping)
- Pasta dishes with creamy sauces
- Holiday spreads with multiple side dishes
- Breakfast sandwiches the next day
Nutritional Benefits
While indulgent, homemade rolls have benefits compared to store-bought versions:
- Fewer additives – No preservatives or artificial ingredients.
- Customizable – Adjust sugar, salt, or butter to your preference.
- Made with real ingredients – Fresh flour, yeast, and butter.
Storage and Reheating
- Room temperature – Store in an airtight container for 3 days.
- Freeze – Wrap cooled rolls in foil and store in a freezer bag for up to 2 months.
- Reheat – Warm in the oven at 300°F (150°C) for 10 minutes or microwave briefly with a damp paper towel.
Frequently Asked Questions
Q: Can I use instant yeast instead of active dry yeast?
Yes, instant yeast can be added directly to the dry ingredients without proofing.
Q: Can I make the dough ahead of time?
Yes, refrigerate the dough after the first rise. Shape and bake the next day.
Q: Can I double the recipe?
Absolutely. This recipe scales easily, but you may need two baking dishes.
Why This Recipe Works
This recipe balances simplicity and flavor. The combination of yeast activation, proper kneading, and two rises ensures soft, fluffy rolls every time. Butter both enriches the dough and adds a golden finish, creating the perfect dinner roll that pairs with nearly any meal.
Conclusion
Homemade dinner rolls with butter are a true kitchen treasure. With their soft interiors, golden tops, and buttery finish, they elevate any meal and bring comfort to the table. While store-bought rolls are convenient, nothing compares to the taste, aroma, and satisfaction of baking them yourself.
Whether for a holiday feast, a Sunday dinner, or just because you’re craving homemade bread, this recipe guarantees success. Bake a batch, serve them warm, and watch them disappear before your eyes.