
Homemade Cheesy Breadsticks Recipe – Easy, Cheesy & Irresistibly Soft
Introduction
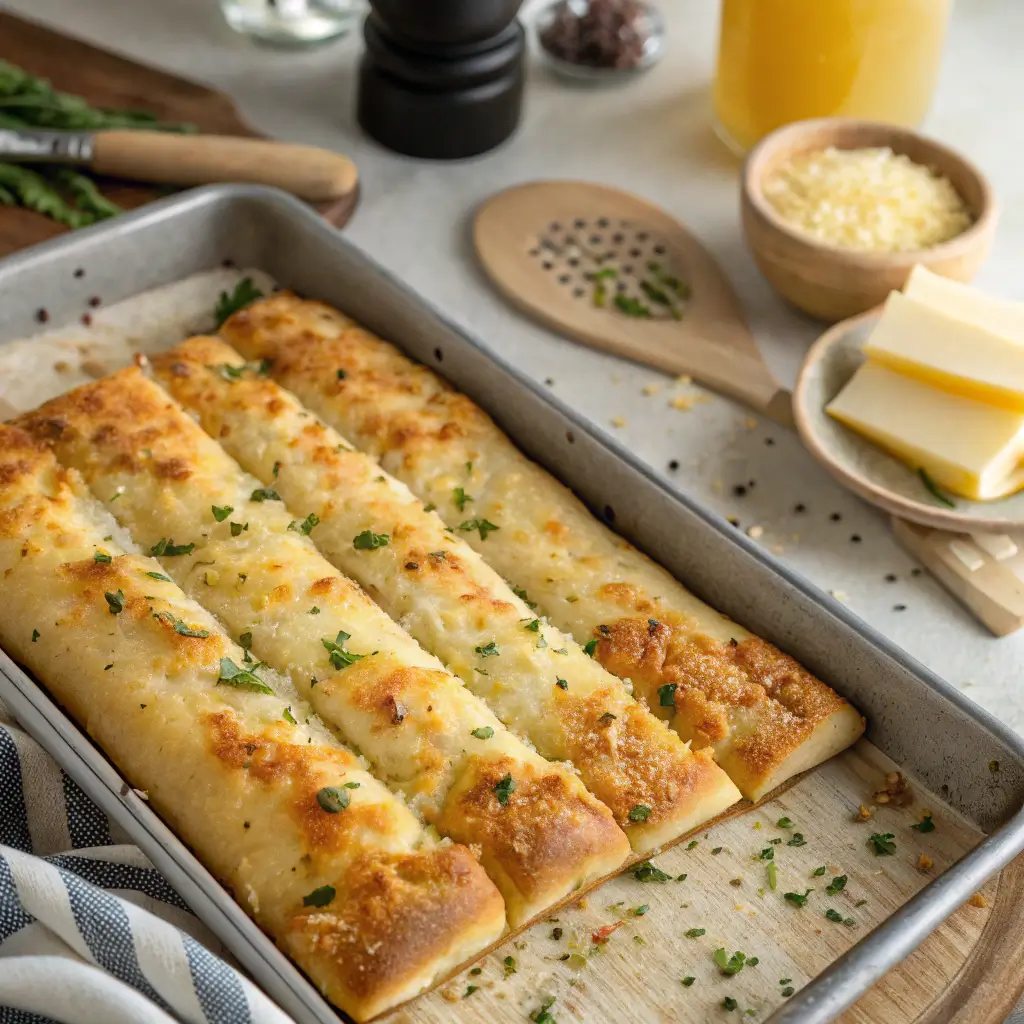
There are few comfort foods as universally loved as Homemade Cheesy Breadsticks. Warm, soft on the inside, lightly crisp on the outside, and covered with melted cheese, these breadsticks are the kind of recipe that disappears minutes after leaving the oven. Whether served as a side dish, an appetizer, or a snack on their own, they have a way of bringing people together around the table.
What makes this recipe special is the balance between simplicity and results. You don’t need professional baking skills or complicated ingredients to achieve bakery-style cheesy breadsticks at home. With basic pantry staples, a reliable dough method, and generous cheese coverage, you’ll get a fluffy texture and rich flavor every time. This recipe is perfect for family dinners, movie nights, parties, or whenever you’re craving something warm and satisfying.
Another advantage is flexibility. You can adjust the cheese, herbs, and thickness to match your preference. These breadsticks pair beautifully with soups, salads, pasta dishes, or dipping sauces, making them a versatile addition to almost any meal. Once you try them homemade, store-bought versions will never compare.
Background & Inspiration
Breadsticks have long been a staple in many cuisines, especially as an accompaniment to hearty meals. Traditionally simple and bread-focused, they evolved over time as home cooks and restaurants began adding butter, herbs, and cheese to enhance their appeal. Cheesy breadsticks, in particular, became popular for their indulgent nature and crowd-pleasing flavor.
The homemade version brings back control over texture and taste. Instead of overly dry or greasy results, baking them at home allows you to create breadsticks that are soft, aromatic, and perfectly cheesy. This recipe is inspired by classic comfort food principles: simple dough, proper resting time, and generous toppings. It’s proof that the best recipes are often built on basics done well.
Why You’ll Love This Recipe
- Soft and fluffy interior with a golden crust
- Loaded with melted cheese in every bite
- No special equipment required
- Perfect for dipping, sharing, and freezing
- Customizable with different cheeses and seasonings
Ingredients & Equipment
For the Dough
- All-purpose flour – 3 cups (375 g)
- Warm water – 1 cup (240 ml)
- Instant yeast – 2¼ teaspoons (7 g)
- Sugar – 1 tablespoon
- Salt – 1 teaspoon
- Olive oil – 2 tablespoons
For the Cheesy Topping
- Mozzarella cheese – 2 cups (200 g), shredded
- Cheddar cheese – ½ cup (60 g), shredded
- Unsalted butter – 2 tablespoons, melted
- Garlic powder – 1 teaspoon
- Dried oregano or Italian seasoning – 1 teaspoon
Optional Garnish
- Grated hard cheese – 2 tablespoons
- Fresh parsley – finely chopped
Equipment
- Large mixing bowl
- Baking sheet
- Parchment paper
- Rolling pin
- Pastry brush
- Sharp knife or pizza cutter
Pro Tip: Shred cheese yourself for better melting and texture. Pre-shredded cheese often contains additives that affect melt quality.
Step-by-Step Instructions
Prepare the Dough
In a large bowl, combine warm water, sugar, and yeast. Stir gently and let sit for 5 minutes until slightly foamy, which indicates the yeast is active. Add olive oil and salt, then gradually mix in the flour.
Stir until a rough dough forms, then knead by hand or with a mixer for about 8–10 minutes until smooth and elastic.
Visual cue: The dough should be soft, slightly tacky, and spring back when pressed.
Let the Dough Rise
Place the dough in a lightly oiled bowl, cover, and let rise in a warm place for 60 to 90 minutes, or until doubled in size.
Important note: A good rise is key to soft, airy breadsticks.
Shape the Breadsticks
Preheat the oven to 220°C / 425°F. Line a baking sheet with parchment paper.
Punch down the dough and roll it out into a rectangle about 1 cm (½ inch) thick. Transfer to the prepared baking sheet.
Brush the surface evenly with melted butter, then sprinkle garlic powder and dried herbs over the dough.
Add the Cheese
Evenly distribute the mozzarella and cheddar over the dough, covering edge to edge for maximum flavor.
Visual cue: The cheese layer should be generous but not piled too high.
Bake
Bake for 12 to 15 minutes, or until the cheese is fully melted and bubbly and the edges are golden brown.
For extra color, place under the broiler for 1 to 2 minutes, watching closely.
Slice and Serve
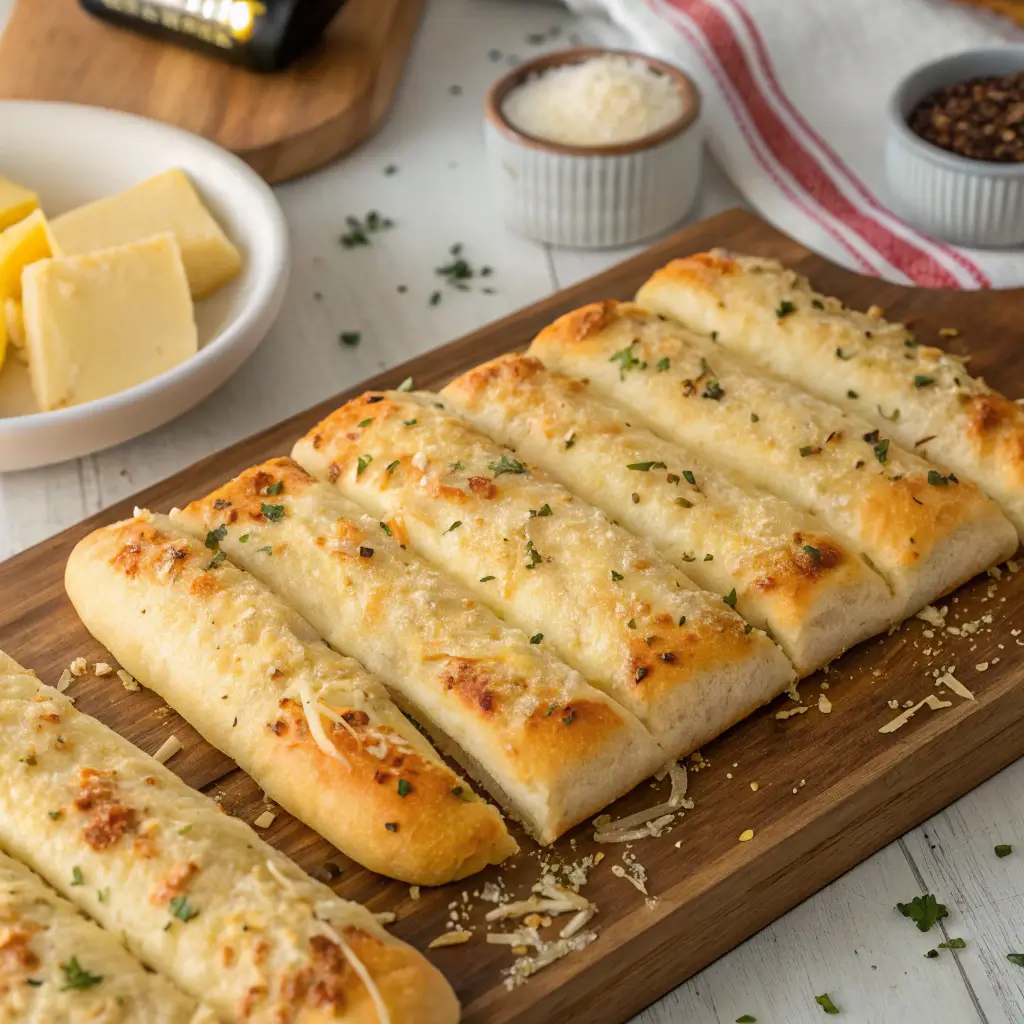
Remove from the oven and let cool for 2 minutes. Slice into breadsticks using a sharp knife or pizza cutter. Garnish with parsley or grated hard cheese if desired.
Expert Tips & Troubleshooting
- Dense breadsticks: Allow the dough to rise longer
- Too dry: Brush with extra melted butter after baking
- Cheese browning too fast: Cover loosely with foil
- Uneven baking: Rotate the baking sheet halfway through
Variations & Customizations
Extra Cheesy Breadsticks
Increase total cheese to 3 cups and add a blend of your favorite melting cheeses.
Herb-Focused Breadsticks
Add dried basil, thyme, or rosemary to the topping for deeper aroma.
Spicy Cheesy Breadsticks
Sprinkle chili flakes or mild paprika over the cheese before baking.
Stuffed Cheese Breadsticks
Fold the dough over the cheese, seal, and slice before baking for a stuffed version.
Serving & Presentation Ideas
Serve these breadsticks warm with dipping sauces such as tomato-based sauces, creamy dips, or herbed yogurt sauce. They pair wonderfully with soups, salads, and pasta dishes. For gatherings, arrange them on a wooden board with small bowls of dips for a casual, inviting presentation.
Storage & Make-Ahead Tips
- Room temperature: Best enjoyed fresh the same day
- Refrigeration: Store in an airtight container for up to 3 days
- Freezing: Freeze baked breadsticks for up to 2 months
- Reheating: Warm in the oven at 170°C / 340°F for 5–7 minutes
FAQ
Can I make the dough ahead of time?
Yes. Refrigerate the dough after the first rise for up to 24 hours, then bring to room temperature before shaping.
Can I use different cheeses?
Absolutely. Any good melting cheese works well, as long as it complements the dough.
Do I need yeast?
Yeast is essential for the soft, fluffy texture in this recipe.
Conclusion
Homemade Cheesy Breadsticks are one of those recipes that instantly become a household favorite. They’re warm, comforting, and packed with flavor, yet simple enough to make anytime. From the soft dough to the melted cheese topping, every step is designed to deliver reliable, delicious results.
Once you experience the texture and aroma of freshly baked cheesy breadsticks straight from your own oven, you’ll understand why homemade always wins. Try them once, customize them to your taste, and enjoy the satisfaction of sharing something truly comforting and delicious.