
Rainbow Birthday Cake Recipe – Bright, Colorful & Perfect for Celebrations
Introduction
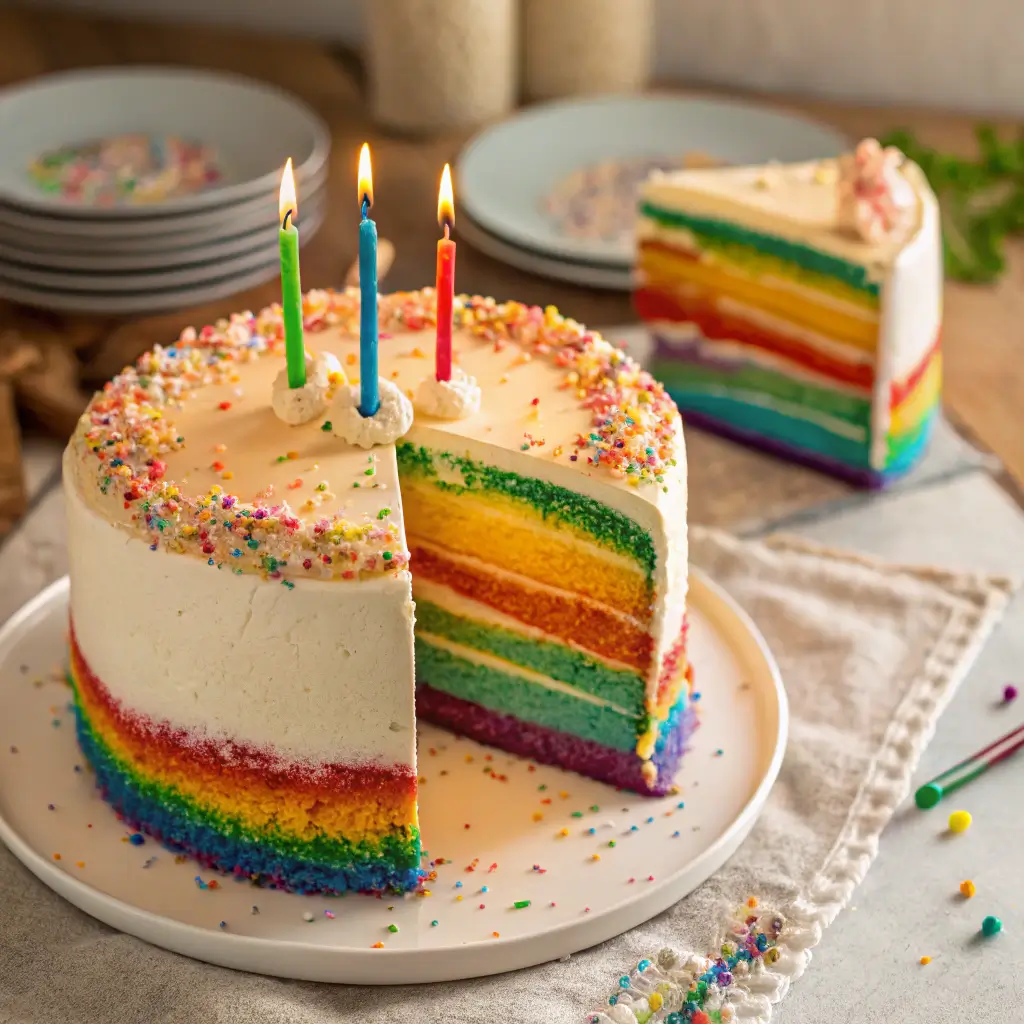
A Rainbow Birthday Cake is the ultimate show-stopping celebration dessert. From the outside, it may look like a simple frosted cake—but once sliced, vibrant layers of color are revealed, creating a magical surprise effect that instantly brings smiles. This cake is joyful, playful, and perfect for birthdays, kids’ parties, and any event that calls for something extra special.
What makes a rainbow cake truly memorable is the contrast between its clean, frosted exterior and its bold, colorful interior. Each layer is soft, fluffy, and lightly sweetened, creating the perfect base for creamy frosting. Despite its impressive appearance, this cake is completely achievable at home with clear steps, a little patience, and the right technique.
This recipe walks you through every detail—from preparing evenly baked layers to assembling and decorating the cake for maximum visual impact. Whether you’re baking for a child’s birthday or simply love colorful desserts, this rainbow birthday cake is guaranteed to be the centerpiece of the celebration.
What Makes a Rainbow Cake Special?
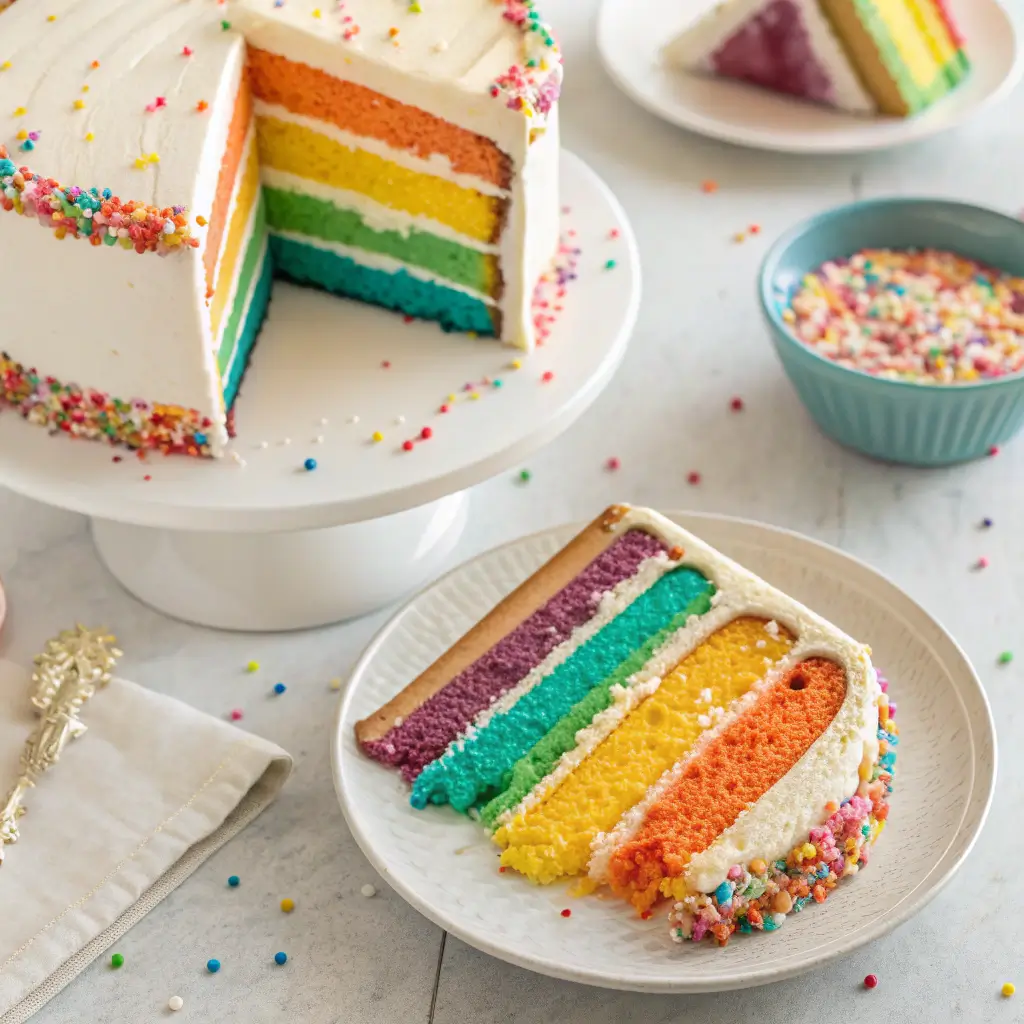
A rainbow cake stands out because it transforms a classic vanilla cake into something visually spectacular. By dividing the batter and coloring it into multiple layers—typically red, orange, yellow, green, blue, and purple—you create a vibrant stacked effect when the cake is sliced.
The key is balance. The cake must remain soft and moist while holding its shape to support multiple layers. The frosting acts as both structure and decoration, ensuring clean slices and a smooth finish.
The result is a cake that tastes classic but looks extraordinary.
Why You’ll Love This Recipe
- Bright, eye-catching rainbow layers
- Soft, fluffy vanilla cake base
- Smooth, creamy frosting
- Perfect for birthdays and celebrations
- Customizable colors and decorations
- Fun baking project with impressive results
Ingredients and Equipment
For the Vanilla Cake Layers
- 3 cups (375 g) all-purpose flour
- 2 ½ teaspoons baking powder
- ½ teaspoon salt
- 1 cup (225 g) unsalted butter, softened
- 2 cups (400 g) granulated sugar
- 4 large eggs, room temperature
- 1 tablespoon pure vanilla extract
- 1 ¼ cups (300 ml) whole milk, room temperature
- Gel food coloring (red, orange, yellow, green, blue, purple)
For the Buttercream Frosting
- 1 ½ cups (340 g) unsalted butter, softened
- 5 cups (600 g) powdered sugar, sifted
- 3–4 tablespoons milk
- 1 tablespoon vanilla extract
- Pinch of salt
Essential Equipment
- Six 8-inch (20 cm) round cake pans (or reuse pans in batches)
- Mixing bowls
- Electric hand mixer or stand mixer
- Rubber spatula
- Wire cooling rack
- Offset spatula
Gel food coloring is recommended because it provides vibrant color without thinning the batter.
Step-by-Step Instructions
Step 1: Prepare the Oven and Pans
Preheat the oven to 350°F (175°C). Grease and line each cake pan with parchment paper. If you only have two or three pans, bake in batches while keeping remaining batter covered.
Step 2: Mix the Dry Ingredients
In a medium bowl, whisk together flour, baking powder, and salt. This ensures even distribution of leavening for uniform rising.
Step 3: Cream Butter and Sugar
In a large bowl, beat butter and sugar on medium speed for 3–4 minutes until pale and fluffy. This step incorporates air and creates a tender cake texture.
Step 4: Add Eggs and Vanilla
Add eggs one at a time, mixing well after each addition. Stir in vanilla extract and scrape down the sides of the bowl.
Step 5: Combine Wet and Dry Ingredients
Reduce mixer speed to low. Add dry ingredients in three parts, alternating with milk. Begin and end with dry ingredients. Mix just until smooth—do not overmix.
Step 6: Divide and Color the Batter
Divide the batter evenly into six bowls. Add gel food coloring to each bowl, mixing until the color is vibrant and uniform.
Use approximately equal amounts of batter per bowl for even layers.
Step 7: Bake the Layers
Pour each colored batter into prepared pans. Bake for 18–22 minutes, or until a toothpick inserted in the center comes out clean.
Allow layers to cool in pans for 10 minutes, then transfer to a wire rack to cool completely.
Step 8: Prepare the Buttercream Frosting
Beat butter until creamy. Gradually add powdered sugar on low speed. Add vanilla, salt, and milk, then beat on high for 2–3 minutes until light and fluffy.
The frosting should be smooth and spreadable.
Step 9: Assemble the Rainbow Cake
Place the first layer (purple works well as a base) on a cake plate. Spread a thin, even layer of frosting on top.
Continue stacking layers in rainbow order, adding frosting between each layer.
Apply a thin crumb coat over the entire cake and refrigerate for 20–30 minutes to set.
Finish with a final smooth layer of frosting on top and sides.
Expert Tips for Perfect Rainbow Layers
- Use a kitchen scale to divide batter evenly.
- Allow layers to cool completely before stacking.
- Apply a crumb coat to keep frosting clean and smooth.
- Chill between frosting steps for better structure.
- Use an offset spatula for professional-looking edges.
If layers dome slightly while baking, trim gently with a serrated knife for flat stacking.
Creative Decoration Ideas
You can keep the outside simple with white frosting for a surprise interior. Alternatively, decorate with colorful sprinkles, piped borders, or rainbow candy.
For an extra festive touch, add a rainbow sprinkle mix around the base or top of the cake. You can also tint some frosting and pipe rosettes in matching colors.
Serving and Presentation Ideas
Slice the cake carefully with a clean, sharp knife to reveal distinct rainbow layers. Wipe the knife between slices for neat presentation.
This cake pairs well with milk, lemonade, or light party beverages. Because it’s visually striking, it works beautifully as a centerpiece on a decorated dessert table.
Storage and Make-Ahead Tips
Store the frosted cake in an airtight container at room temperature for up to 2 days, or refrigerate for up to 5 days.
Cake layers can be baked in advance, wrapped tightly, and frozen for up to 2 months. Thaw completely before assembling.
Frequently Asked Questions
Can I make this cake with fewer colors?
Yes. You can create a three-layer pastel version or any color combination you prefer.
Will food coloring change the flavor?
Gel food coloring does not noticeably affect flavor when used in moderate amounts.
Can I use a boxed cake mix?
Yes, but from-scratch batter gives better texture and flavor.
Is this cake suitable for cupcakes?
Absolutely. Divide colored batter into cupcake liners for rainbow cupcakes.
Conclusion
This Rainbow Birthday Cake Recipe transforms a simple vanilla cake into a vibrant celebration centerpiece. With soft, colorful layers and creamy frosting, it delivers both visual excitement and classic flavor in every slice.
Fun to bake and unforgettable when served, this rainbow cake is guaranteed to make any birthday brighter and more joyful 🎂🌈✨