
Easy Chocolate Peppermint Bark Recipe: A Festive Holiday Treat
Introduction
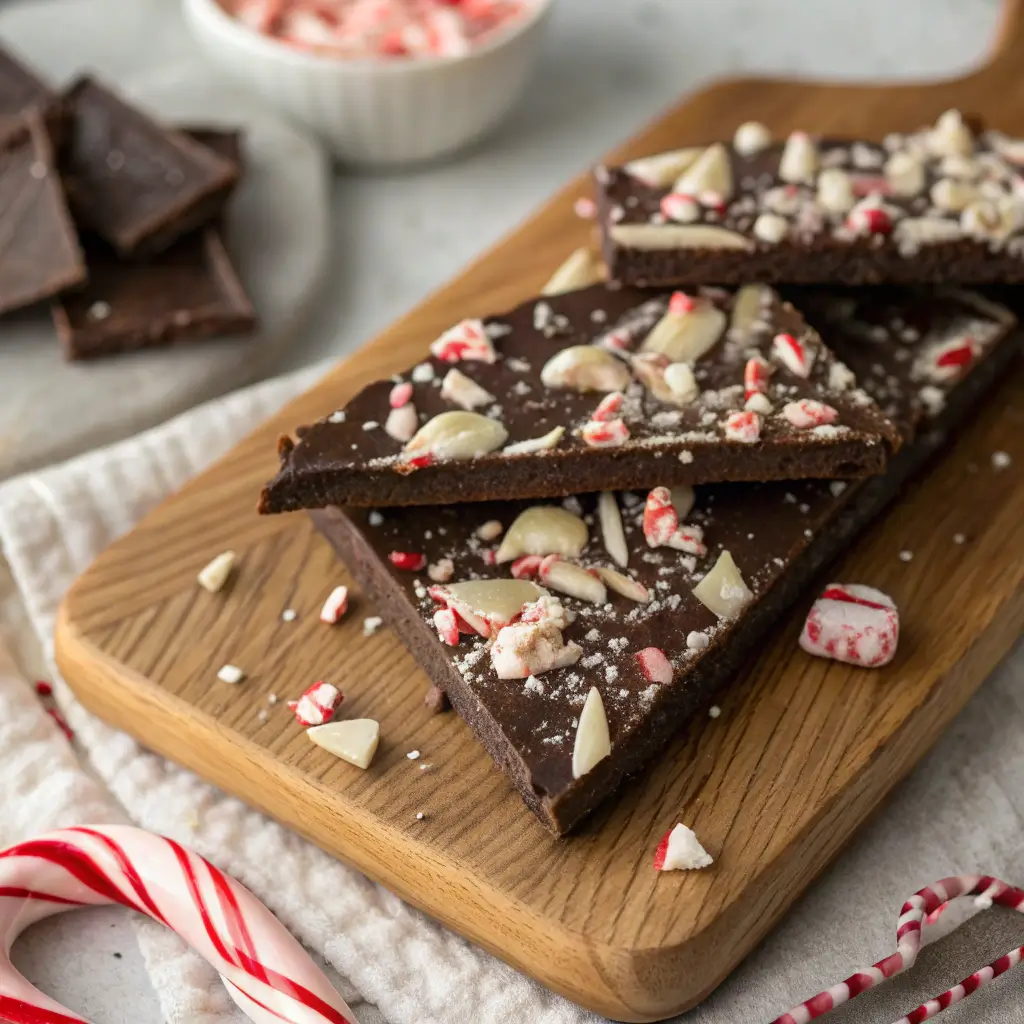
When the holiday season rolls around, few treats capture the spirit of the festivities quite like Chocolate Peppermint Bark. With its glossy layers of rich chocolate and a sprinkle of crushed peppermint candy, this dessert is as beautiful as it is delicious. It’s a holiday staple that requires only a few ingredients and minimal effort, making it perfect for both experienced bakers and beginners looking for a festive recipe.
What makes this recipe truly special is its simplicity. Unlike elaborate holiday desserts that require hours in the kitchen, peppermint bark comes together quickly — no baking required. It’s the ideal sweet to prepare for holiday gift baskets, cookie exchanges, or a last-minute dessert platter. Not to mention, the combination of smooth chocolate and refreshing peppermint makes it a flavor pairing that everyone loves.
In this guide, we’ll take you step by step through making your own homemade chocolate peppermint bark, with tips for variations, storage, and presentation so you can create a treat that looks as good as it tastes.
A Bit of Background: The Story of Peppermint Bark
Peppermint bark may feel like a modern creation, but it has deep ties to traditional holiday candy-making. The idea of combining peppermint candies with chocolate likely stems from the popularity of candy canes, which were first made in the 17th century and became a Christmas icon by the 20th century. By the mid-1900s, confectioners began experimenting with crushed candy canes mixed into chocolate bars, leading to what we now recognize as peppermint bark.
Today, it’s a holiday classic found in many specialty shops and gift tins. The homemade version, however, is often fresher, more flavorful, and customizable. Plus, making it at home lets you play with different chocolate varieties and toppings, ensuring your bark is exactly the way you like it.
Why You’ll Love This Recipe
- Quick and easy: No baking required, and ready in less than an hour.
- Festive and beautiful: A colorful treat that doubles as edible holiday décor.
- Perfect for gifting: Package in tins, jars, or gift bags for homemade presents.
- Customizable: Use dark, milk, or white chocolate, or mix them for a marbled effect.
- Kid-friendly activity: Fun for little helpers to sprinkle on crushed peppermint.
Ingredients & Equipment
Ingredients:
- 12 ounces (340 g) semisweet or dark chocolate, chopped or in chips
- 12 ounces (340 g) white chocolate, chopped or in chips
- ½ teaspoon peppermint extract (optional, for extra flavor)
- ½ cup (75 g) crushed candy canes or peppermint candies
Equipment:
- Heatproof mixing bowls
- Saucepan for double-boiler method (or microwave)
- Rubber spatula
- Baking sheet
- Parchment paper or silicone baking mat
Pro Tip: Always use good-quality chocolate for the best results. Avoid “candy melts” for this recipe, as they lack the rich, smooth flavor of real chocolate.
Step-by-Step Instructions
1. Prepare the Pan
Line a baking sheet with parchment paper or a silicone mat. This prevents the chocolate from sticking and makes it easy to lift out later.
2. Melt the Dark Chocolate
Using a double boiler (or microwave in 30-second intervals), melt the semisweet or dark chocolate until smooth and glossy. Stir in peppermint extract if using. Pour onto the prepared sheet and spread evenly into a rectangle about ¼ inch thick. Place in the refrigerator for 10–15 minutes to set.
3. Melt the White Chocolate
Repeat the process with the white chocolate, ensuring it melts smoothly without scorching. Let it cool slightly so it doesn’t melt the dark chocolate layer when poured.
4. Layer the White Chocolate
Pour the melted white chocolate over the chilled dark chocolate layer. Spread gently with a spatula to cover evenly.
5. Add Peppermint Topping
Immediately sprinkle crushed candy canes or peppermint candies over the white chocolate. Press lightly so they stick.
6. Chill and Break
Refrigerate the bark for at least 30 minutes, or until fully set. Once hardened, lift it from the pan and break into rustic pieces.
Expert Tips & Troubleshooting
- Avoid chocolate separation: Allow the first layer to set but not get rock-hard before adding the second layer, so they bond well.
- Smooth melt: Stir constantly when melting chocolate to prevent scorching.
- Better crunch: Crush peppermint candies just before using to keep them crisp.
- Uniform pieces: Score the bark lightly with a knife before it fully sets for neater breaks.
Variations & Customizations
- Swirled Bark: Instead of layering, pour both chocolates side by side and swirl with a knife for a marbled look.
- Nutty Twist: Add chopped almonds, pistachios, or hazelnuts for crunch.
- Extra Festive: Sprinkle with red and green sprinkles for holiday flair.
- Flavored Chocolates: Try orange or raspberry-infused chocolate for a fun twist.
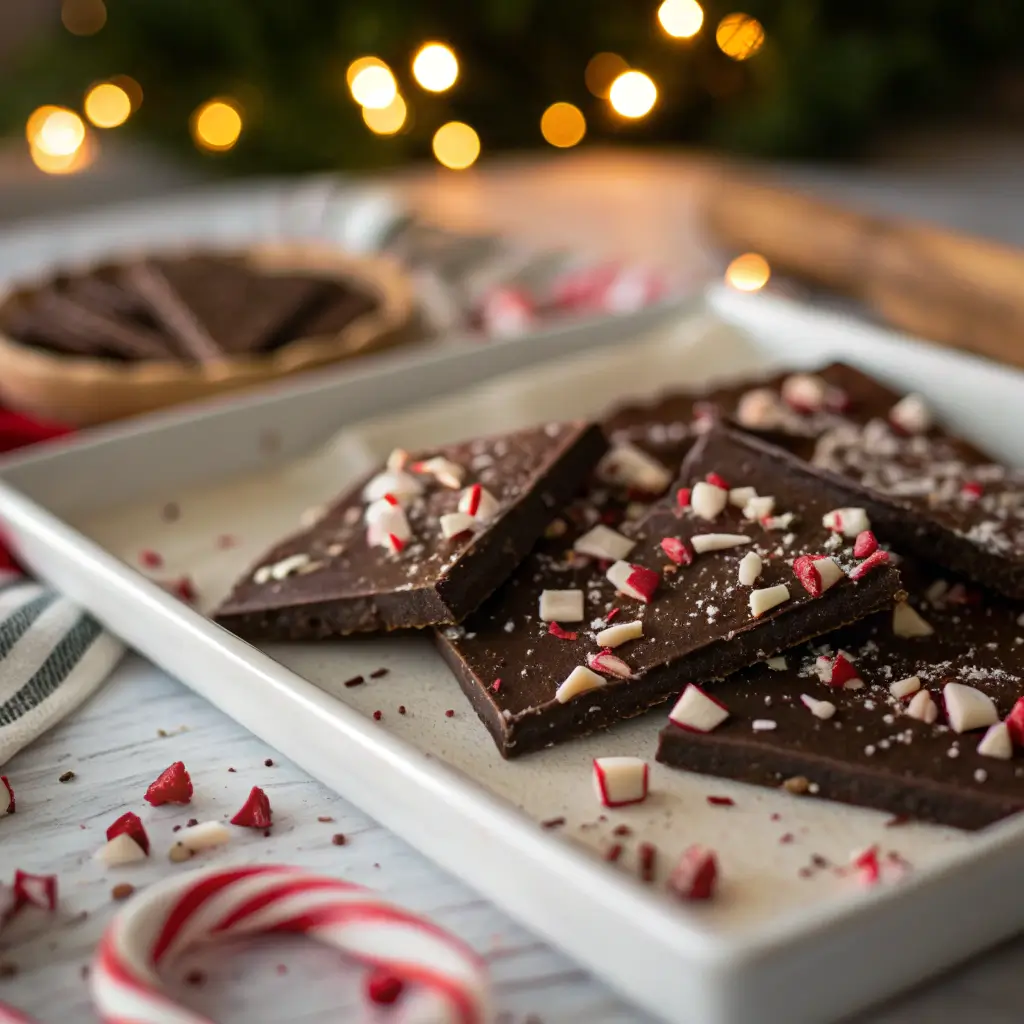
Serving & Presentation Ideas
- Holiday Platters: Arrange on a tray alongside cookies, fudge, and truffles.
- Gift Giving: Package in clear bags tied with ribbon or in festive tins.
- Hot Cocoa Pairing: Serve bark pieces alongside mugs of hot chocolate.
- Table Décor: Use as edible place settings by wrapping individual pieces.
Storage & Make-Ahead Tips
- Room Temperature: Store in an airtight container for up to 2 weeks in a cool, dry place.
- Refrigerator: Keeps up to 3 weeks, but may develop condensation when brought to room temperature.
- Freezer: Freeze for up to 2 months. Place parchment between layers to prevent sticking.
Frequently Asked Questions
Q: Can I use only one type of chocolate?
Yes! Use all dark chocolate or all white chocolate if you prefer, though the layered effect is both tasty and visually appealing.
Q: Do I have to use peppermint extract?
No, the crushed candies provide enough peppermint flavor on their own. The extract simply enhances it.
Q: How do I keep my bark shiny?
For extra shine and snap, temper the chocolate before layering. While optional, it gives a professional finish.
Conclusion
Chocolate Peppermint Bark is the perfect holiday recipe — simple, festive, and endlessly versatile. With just a few ingredients and under an hour of time, you can create a dessert that looks store-bought but tastes even better. Whether you’re gifting it, serving it at a holiday party, or enjoying it with your family, this bark is guaranteed to spread seasonal cheer.
So grab some chocolate, crush those candy canes, and get ready to make a batch of holiday magic. One bite of this homemade bark, and you’ll see why it’s a tradition that never goes out of style.