
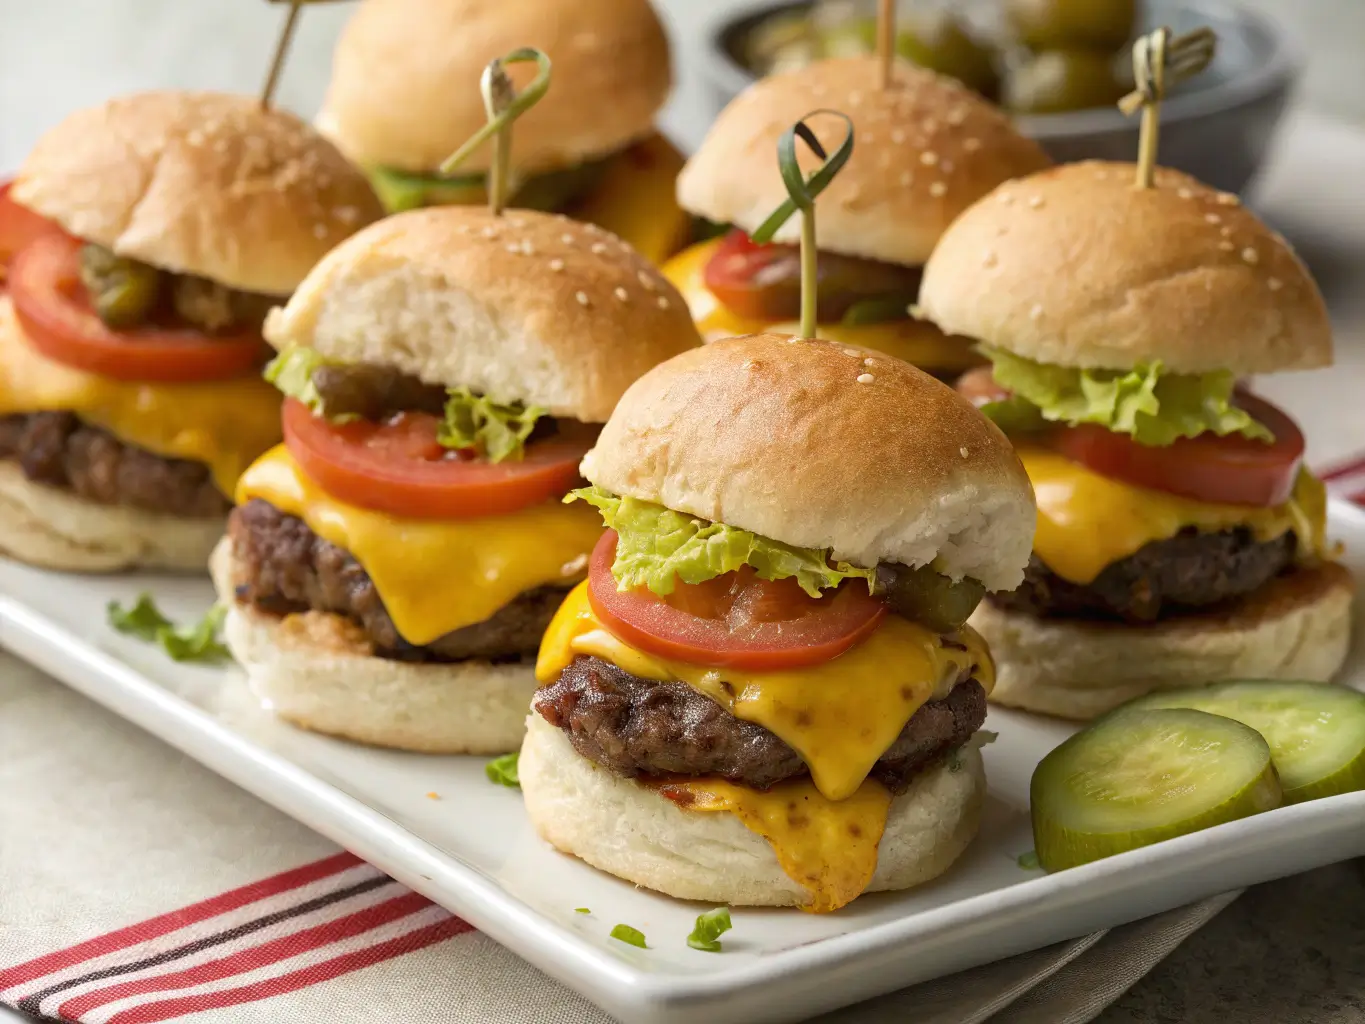
Easy Cheesy Cheeseburger Sliders: The Ultimate Crowd-Pleasing Party Food
Looking for a quick, delicious, and irresistible dish that will disappear in minutes? These Easy Cheesy Cheeseburger Sliders are the perfect solution! Packed with juicy beef, melty cheese, and a buttery, savory topping, these sliders are a guaranteed hit at game-day parties, family dinners, or potlucks. Best of all, they come together in just 30 minutes with minimal effort—no fancy skills required!
In this guide, you’ll learn:
How to make perfectly juicy cheeseburger sliders every time.
Secret tips for maximizing flavor with minimal ingredients.
Easy variations to customize your sliders (spicy, BBQ, or veggie-friendly!).
How to store and reheat leftovers for quick meals later.
Expert tricks to prevent soggy buns and dry meat.
Let’s dive in and make the cheesiest, most addictive sliders you’ve ever tasted!
A Brief History of Sliders: From Diners to Game-Day Favorites
Sliders have a rich history that dates back to 1940s American diners, where short-order cooks would serve small, greasy burgers on tiny buns—perfect for sliding across the counter to hungry customers. The name “slider” stuck because these mini burgers were so easy to slide down your throat in just a few bites.
Over time, sliders evolved from simple diner fare into party favorites, especially when baked in a batch with melty cheese and savory toppings. Today, they’re a staple at tailgates, potlucks, and family gatherings because they’re easy to make, easy to eat, and always a crowd-pleaser.
Our Easy Cheesy Cheeseburger Sliders take this concept to the next level with a buttery garlic-parmesan glaze that soaks into the buns, making every bite irresistible. Plus, they’re versatile—swap the fillings to create endless flavor combinations!
Why You’ll Love This Recipe
Quick & Easy – Ready in 30 minutes with minimal prep. No complicated techniques—just simple, delicious results.
Feeds a Crowd – Perfect for parties, game days, or busy weeknights. One batch makes 12 sliders, enough for a hungry family or group of friends.
Customizable – Swap fillings for BBQ chicken, Philly cheesesteak, or veggie options (more variations below!).
Kid-Friendly – Picky eaters? These sliders are always a hit with children (and adults!).
Budget-Friendly – Made with affordable ingredients you likely already have in your pantry.
Leftover-Friendly – Stores well and reheats perfectly for quick meals later.
Ingredients & Equipment
For the Sliders:
- 1 lb (450g) ground beef (80/20 for best juiciness—leaner beef can dry out)
- 1 tsp garlic powder (adds depth of flavor)
- ½ tsp black pepper (freshly cracked is best)
- 1 tsp onion powder (enhances savory taste)
- 1 tsp Worcestershire sauce (secret umami boost!)
- ½ tsp salt (adjust to taste)
- 12 slider buns (Hawaiian rolls add sweetness, but potato or brioche buns work too)
- 6 slices American cheese (melts perfectly, but cheddar or pepper jack work too)
For the Buttery Topping:
- ¼ cup (½ stick) unsalted butter, melted (salted butter works in a pinch)
- 1 tbsp grated Parmesan cheese (adds a savory kick)
- ½ tsp garlic powder (doubles down on garlic flavor)
- ½ tsp dried parsley (for color and freshness)
- 1 tsp sesame seeds (optional) (adds a nice crunch)
Equipment:
- 9×13-inch baking dish (for assembling and baking)
- Skillet (for browning beef)
- Pastry brush (for evenly spreading the butter topping)
- Aluminum foil (to prevent over-browning)
Pro Tip: If you don’t have slider buns, cut regular burger buns into smaller squares—they’ll work just as well!
Step-by-Step Instructions
1. Prep the Beef Filling
- In a skillet over medium heat, cook the ground beef until fully browned (about 5–7 minutes).
- Drain excess fat (this prevents greasiness).
- Stir in garlic powder, onion powder, Worcestershire sauce, salt, and pepper. Mix well and set aside.
2. Assemble the Sliders
- Slice the slider buns in half horizontally (keep them connected for easy serving).
- Place the bottom half in the baking dish.
- Spread the cooked beef mixture evenly over the buns.
- Layer cheese slices on top (tear to fit if needed).
- Cover with the top half of the buns.
Pro Tip: For extra cheesiness, add a second layer of cheese between the beef and top bun!
3. Add the Buttery Topping
- In a bowl, mix melted butter, Parmesan, garlic powder, and parsley.
- Brush generously over the top buns (this creates a golden, flavorful crust).
- Sprinkle with sesame seeds (optional but recommended for texture).
4. Bake to Perfection
- Cover with foil and bake at 350°F (175°C) for 10 minutes (this melts the cheese).
- Uncover and bake 5 more minutes until the tops are golden and crispy.
Pro Tip: Let sliders rest 2–3 minutes before slicing—this helps them hold together better!
Expert Tips & Troubleshooting
Too dry?
- Add a splash of beef broth or a dollop of mayo to the beef mixture before baking.
- Use 80/20 ground beef for juicier results. Too greasy?
- Drain excess fat thoroughly after cooking the beef.
- Blot the beef with a paper towel if needed. Buns too soggy?
- Lightly toast the buns before assembling.
- Don’t over-sauce—brush butter topping lightly but evenly. Cheese not melting properly?
- Cover with foil during the first bake to trap heat.
- Use American cheese (it melts better than cheddar).
Delicious Variations to Try
🌶 Spicy Jalapeño Sliders
- Add pickled jalapeños and pepper jack cheese.
- Drizzle with sriracha mayo before serving.
🍗 BBQ Chicken Sliders
- Replace beef with shredded rotisserie chicken.
- Toss with BBQ sauce and top with cheddar cheese.
🍄 Mushroom Swiss Sliders
- Sauté mushrooms and onions until caramelized.
- Use Swiss cheese for a gourmet twist.
🥬 Veggie-Friendly Sliders
- Swap beef for plant-based crumbles or grilled portobello mushrooms.
- Add avocado slices for creaminess.
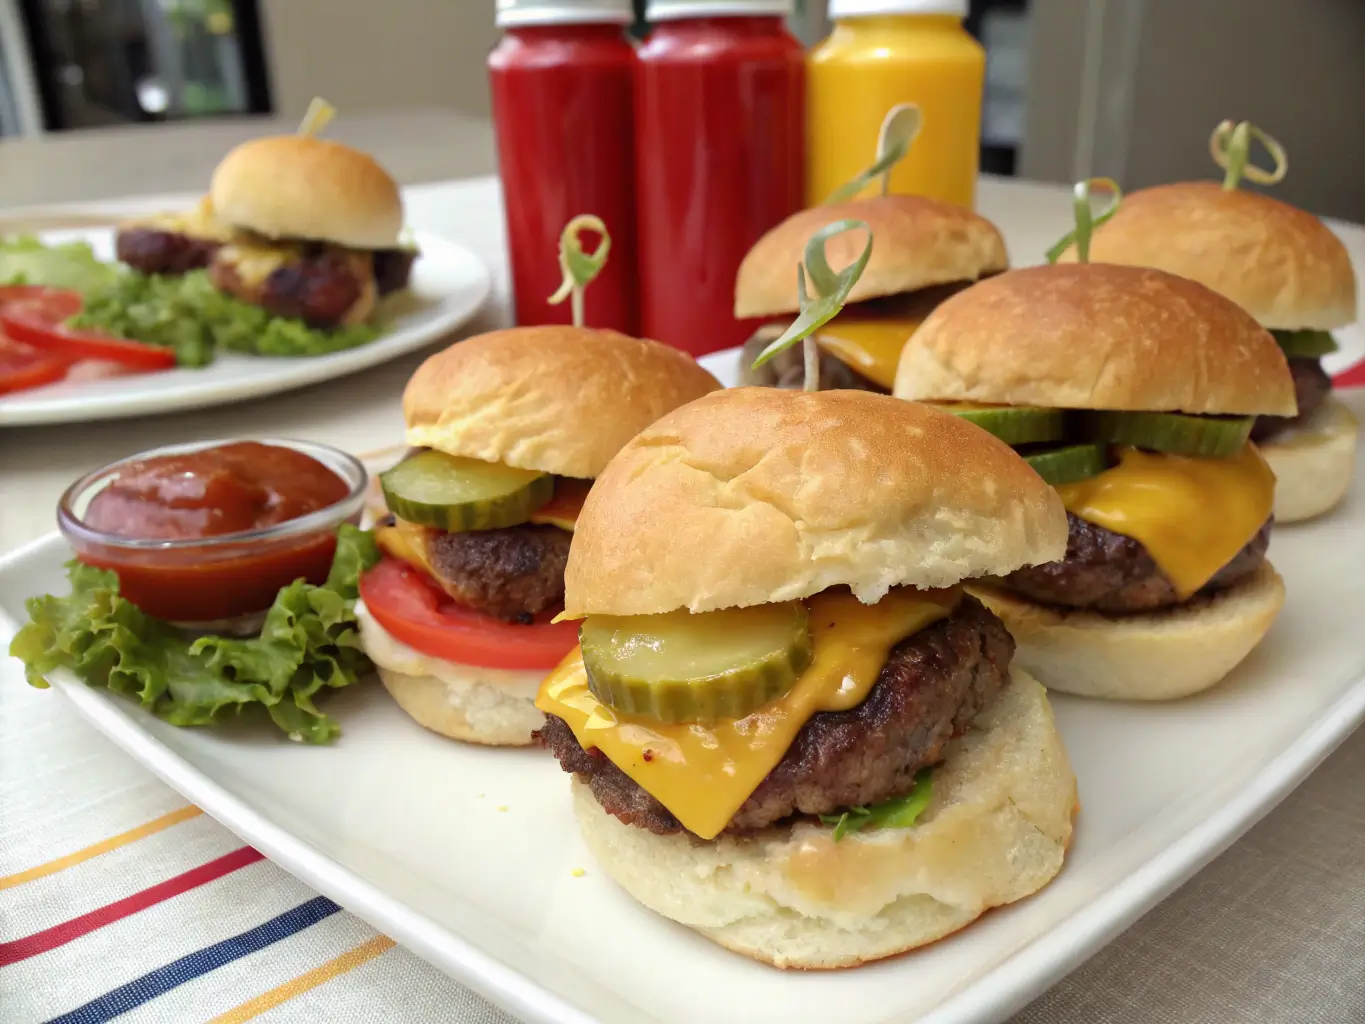
Serving & Presentation Ideas
- Pair with:
- Crispy French fries or tater tots.
- A simple side salad with ranch dressing.
- Pickles and coleslaw for a classic burger experience.
- Garnish with:
- Extra melted cheese.
- Fresh chopped parsley or green onions.
- A drizzle of garlic aioli or spicy ketchup.
Pro Tip: Serve on a wooden board for a rustic, party-friendly presentation!
Storage & Make-Ahead Tips
- Fridge: Store leftovers (covered) for up to 3 days.
- Freezer: Wrap tightly and freeze for 1 month (reheat in oven at 350°F until warm).
- Make ahead: Assemble (without baking) and refrigerate overnight—bake when ready to serve!
FAQs
Q: Can I use different cheese?
A: Yes! Cheddar, pepper jack, mozzarella, or Swiss all work—just note that some melt better than others.
Q: Can I make these in an air fryer?
A: Yes! Bake at 320°F (160°C) for 8–10 minutes (covered with foil).
Q: Can I use ground turkey instead of beef?
A: Absolutely! Just add a little extra seasoning since turkey is milder.
Final Thoughts
These Easy Cheesy Cheeseburger Sliders are the ultimate no-fuss, flavor-packed meal that everyone will love. Whether you’re feeding a crowd or just craving something indulgent, this recipe delivers every time.
Ready to try it? Grab your ingredients and get baking—then come back and tell us how yours turned out in the comments! 🍔🧀🔥