
Candy Explosion Birthday Cake – The Ultimate Surprise Piñata Cake
Introduction
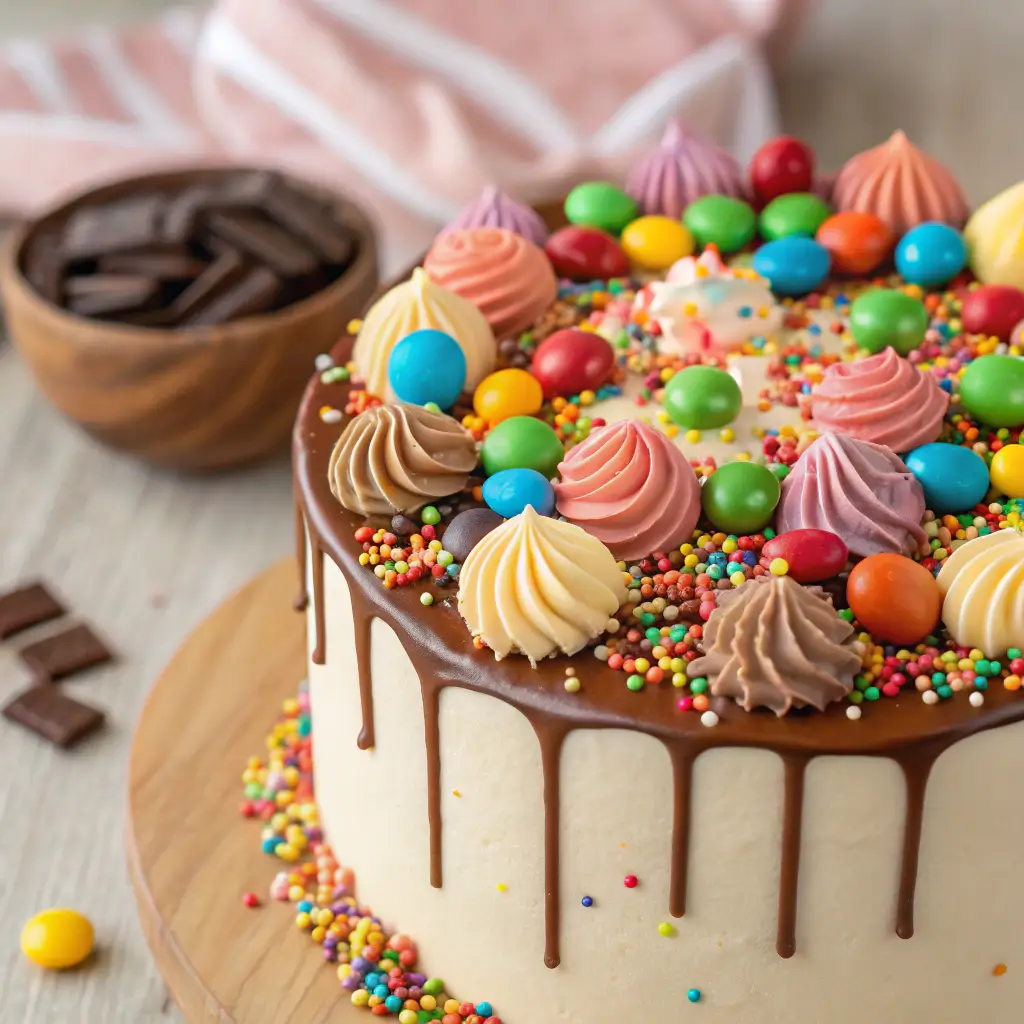
A Candy Explosion Birthday Cake is the definition of fun, excitement, and celebration. From the outside, it looks like a beautifully decorated cake—but once sliced, a cascade of colorful candies spills out from the center, creating a magical surprise moment that everyone remembers. It’s playful, interactive, and perfect for kids’ birthdays, themed parties, or any celebration that calls for something unforgettable.
This cake isn’t just about appearance. Beneath the candy-filled center are soft, moist cake layers and creamy frosting that hold everything together. The secret lies in creating a hollow middle section—often called a “piñata cake”—that hides the candy surprise until the big reveal.
Despite its dramatic effect, this cake is surprisingly manageable to make at home. With careful layering, steady assembly, and a little patience, you can create a candy explosion birthday cake that looks impressive and tastes delicious.
What Is a Candy Explosion Cake?
A candy explosion cake, sometimes called a piñata cake, features a hollow center filled with candy. When the cake is cut, the candy spills out like an explosion of color. It combines the classic appeal of a layered birthday cake with a fun, interactive twist.
The outer layers are typically vanilla or chocolate cake, frosted smoothly and decorated with sprinkles, drips, or colorful piping. The magic happens inside—where a hidden candy compartment creates that wow factor.
Why You’ll Love This Recipe
- Exciting candy-filled surprise center
- Soft, fluffy cake layers
- Creamy, stable frosting for structure
- Perfect for kids’ parties and celebrations
- Customizable candy and color themes
- Show-stopping presentation
Ingredients and Equipment
For the Vanilla Cake Layers
- 3 cups (375 g) all-purpose flour
- 2 ½ teaspoons baking powder
- ½ teaspoon salt
- 1 cup (225 g) unsalted butter, softened
- 2 cups (400 g) granulated sugar
- 4 large eggs, room temperature
- 1 tablespoon pure vanilla extract
- 1 ¼ cups (300 ml) whole milk, room temperature
For the Buttercream Frosting
- 2 cups (450 g) unsalted butter, softened
- 6 cups (720 g) powdered sugar, sifted
- 4–5 tablespoons milk
- 1 tablespoon vanilla extract
- Pinch of salt
For the Candy Filling
- 1–2 cups assorted small candies (chocolate pieces, mini candies, colorful sweets)
For Decoration (Optional)
- Chocolate drip (melted chocolate + cream)
- Sprinkles
- Extra candy for topping
Essential Equipment
- Three 8-inch (20 cm) round cake pans
- Mixing bowls
- Electric mixer
- Round cookie cutter (for cutting center hole)
- Offset spatula
Small, lightweight candies work best for the center so they flow easily when sliced.
Step-by-Step Instructions
Step 1: Prepare the Oven and Pans
Preheat the oven to 350°F (175°C). Grease and line cake pans with parchment paper.
Step 2: Mix the Dry Ingredients
Whisk together flour, baking powder, and salt in a medium bowl.
Step 3: Cream Butter and Sugar
Beat butter and sugar on medium speed for 3–4 minutes until light and fluffy.
Step 4: Add Eggs and Vanilla
Add eggs one at a time, mixing well after each addition. Stir in vanilla extract.
Step 5: Combine Wet and Dry Ingredients
Add dry ingredients in three additions, alternating with milk. Mix until just smooth.
Step 6: Bake the Cake Layers
Divide batter evenly among pans. Bake for 25–30 minutes, or until a toothpick inserted in the center comes out clean.
Cool completely before assembling.
Step 7: Prepare the Frosting
Beat butter until creamy. Gradually add powdered sugar. Add vanilla, salt, and milk. Beat until fluffy and smooth.
Step 8: Create the Candy Chamber
Place one cake layer on a serving plate—this will be the base and remains whole.
Using a round cookie cutter or small bowl, cut a hole in the center of the second and third layers. Carefully remove the middle sections, creating a ring shape.
Step 9: Assemble the Cake
Spread frosting on the base layer. Place one hollow layer on top and frost lightly. Add the second hollow layer and frost again.
Fill the center cavity with candy—do not overfill.
Place the final top layer (either whole or hollow with top intact) on top. Frost the entire cake smoothly.
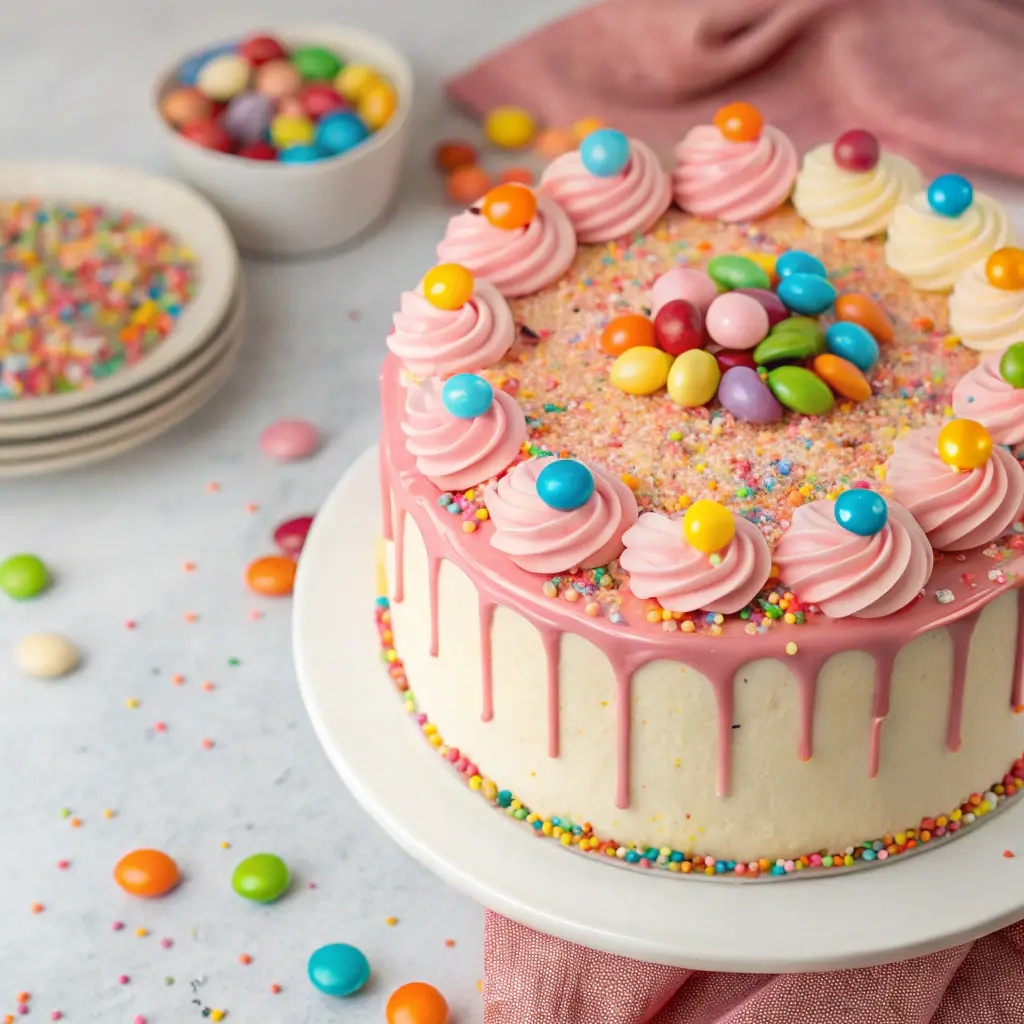
Step 10: Decorate the Outside
Add chocolate drip along the edges if desired. Decorate with sprinkles, colorful candies, or piped frosting swirls.
Keep the exterior bright and festive to hint at the fun inside.
Expert Tips for a Perfect Candy Explosion
- Chill layers before cutting for cleaner holes.
- Leave at least 1 inch of cake around the cavity walls for stability.
- Do not overfill candy to avoid cracking the top layer.
- Apply a crumb coat and chill before final frosting.
- Use small candies that flow easily when sliced.
If the cake feels unstable, refrigerate briefly before serving.
Creative Variations
You can theme the candy explosion to match party colors—use only pink candies, rainbow sweets, or chocolate varieties. For extra drama, add a colorful sprinkle mix inside the candy chamber.
You can also tint the cake layers in bright colors for an even bigger surprise when sliced.
For a chocolate version, replace ½ cup flour with cocoa powder in the batter.
Serving and Presentation
Slice carefully using a sharp knife. When you cut through the center, watch as the candy spills out for a dramatic reveal.
Serve immediately to enjoy the visual effect. This cake pairs perfectly with milk, juice, or party drinks.
It works beautifully as the highlight of a birthday dessert table.
Storage and Make-Ahead Tips
Store the assembled cake in an airtight container at room temperature for up to 2 days, or refrigerate for up to 5 days.
Cake layers can be baked ahead and frozen for up to 2 months. Assemble and fill the candy chamber the day of serving for best results.
Frequently Asked Questions
Can I use different cake flavors?
Yes. Chocolate, funfetti, or even colorful layers work well.
What candies work best?
Small, lightweight candies that won’t melt quickly are ideal.
Will the candy get soft inside the cake?
If assembled shortly before serving, the candy stays crisp.
Can I make it smaller?
Yes. Use 6-inch pans and adjust candy quantity accordingly.
Conclusion
This Candy Explosion Birthday Cake transforms a classic layered cake into an exciting celebration centerpiece. With its hidden candy-filled center and colorful decorations, it creates a magical surprise that guests will never forget.
Fun to assemble and even more fun to slice, this cake brings joy, color, and excitement to any birthday celebration 🎂✨🍬