
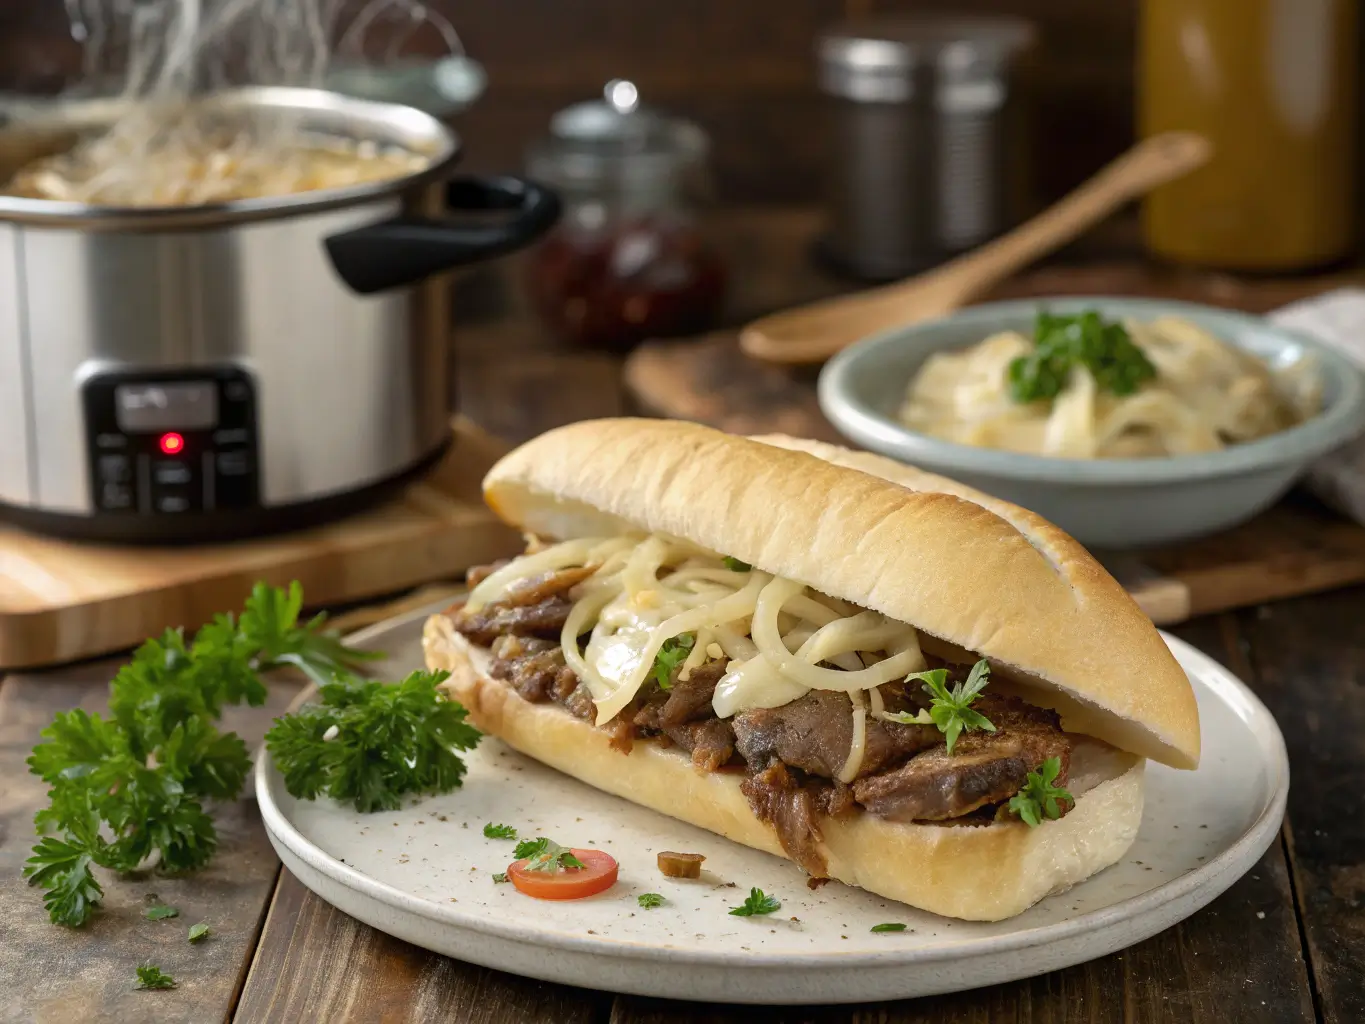
Ultimate Crockpot Philly Cheesesteak: A Slow-Cooker Masterpiece for Effortless Comfort Food
Few sandwiches capture America’s culinary spirit quite like the Philly cheesesteak. That perfect combination of tender beef, caramelized onions, and melty cheese tucked into a crusty roll has satisfied hungry appetites for nearly a century. But between thinly slicing meat and constant stovetop attention, making authentic cheesesteaks at home can feel daunting.
That’s where this Crockpot Philly Cheesesteak recipe changes everything. By letting your slow cooker work its magic, you’ll achieve fall-apart tender beef infused with deep, savory flavors – no knife skills or babysitting required. Whether you’re meal prepping for the week, feeding a game-day crowd, or just craving ultimate comfort food, this foolproof, family-friendly recipe delivers all the iconic taste with revolutionary ease.
The Fascinating Evolution of an American Classic
To fully appreciate our slow-cooker adaptation, let’s explore how this sandwich became a national treasure. The Philly cheesesteak’s origin story begins in 1930s South Philadelphia, where hot dog vendor Pat Olivieri decided to grill some beef from his butcher brother and pile it onto an Italian roll. According to legend, a passing taxi driver caught the irresistible aroma and requested one, launching an immediate local sensation.
By the 1940s, two rival cheesesteak institutions – Pat’s King of Steaks and Geno’s Steaks – turned the sandwich into a cultural icon through their additions of melted cheese (originally provolone, later Cheez Whiz) and fried onions. Today, passionate debates continue over “authentic” preparation, but our Crockpot version honors the spirit of the original while adapting it for modern convenience and deeper, more developed flavors.
Why This Recipe Beats Traditional Methods
After extensive testing, we’ve crafted the ultimate slow-cooker Philly cheesesteak because:
Unmatched Tenderness – 8 hours of low heat breaks down tough fibers better than quick frying
Flavor Infusion – Beef slowly absorbs all the savory seasonings and aromatics
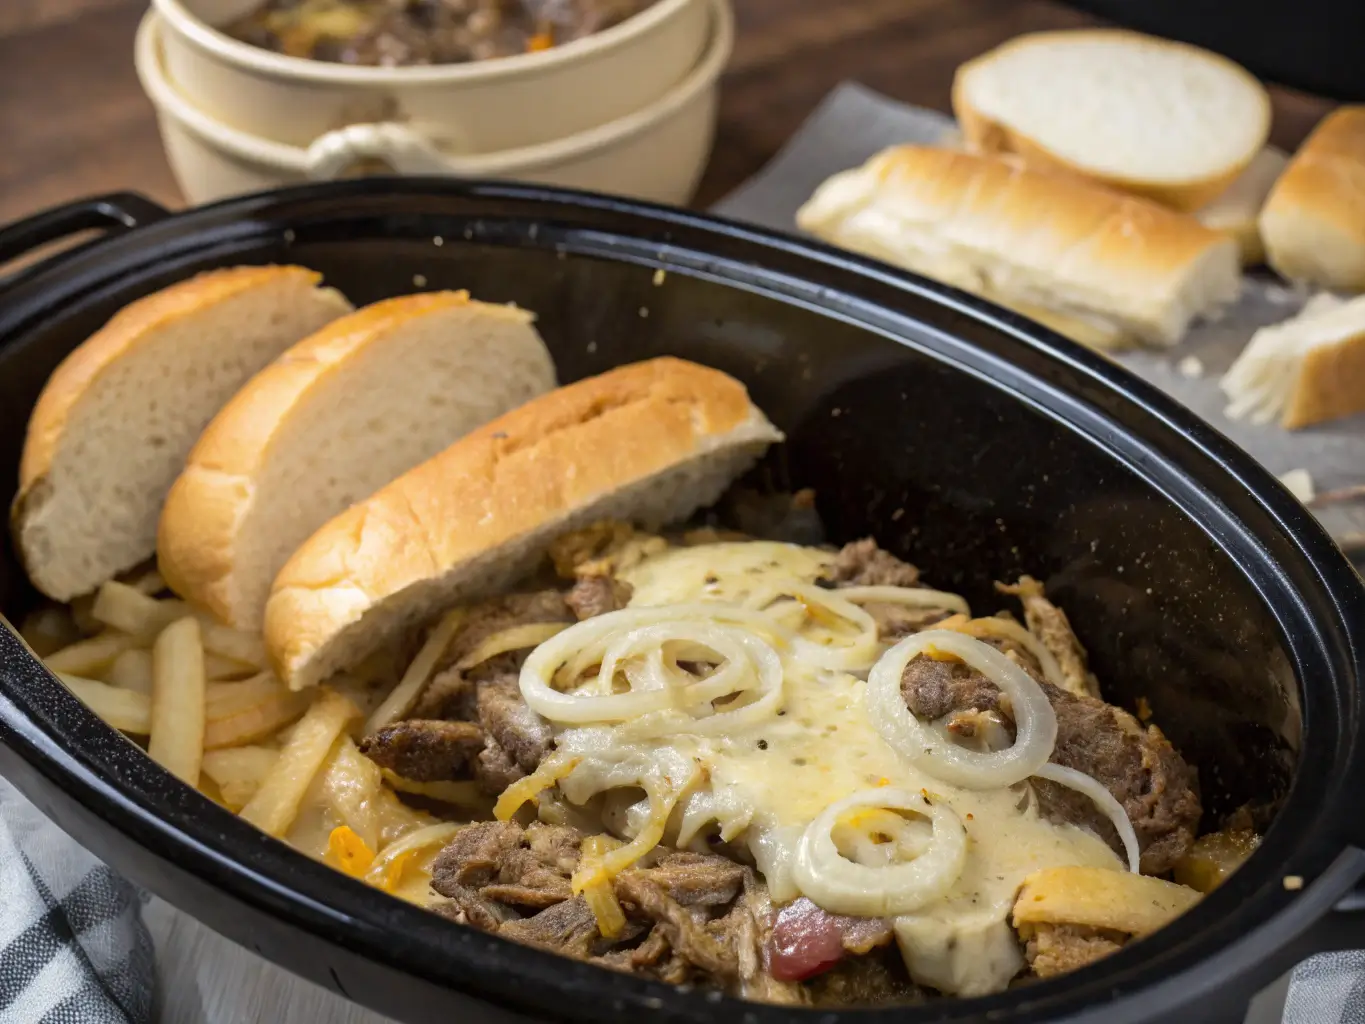
Effortless Process – Simply layer ingredients and let the Crockpot work
Adaptable Foundation – Easily adjust for dietary needs or creative variations
Crowd-Pleasing Volume – One batch feeds 6-8 people with minimal work
Meal Prep Friendly – Tastes even better as leftovers throughout the week
Unlike stovetop versions requiring constant attention, this method guarantees perfectly juicy, flavorful meat every time – ideal for busy home cooks.
Selecting Your Ingredients for Maximum Flavor
The Beef: Choosing and Preparing Your Star Ingredient
- Chuck roast (2-3 lbs) – Our top pick for its marbling that transforms into melt-in-your-mouth strands
- Top sirloin (alternative) – Leaner but still becomes tender with slow cooking
- Preparation options:
- Traditional style: Partially freeze for 30 minutes, then slice thinly against the grain
- Shredded style: Cook whole and pull apart later for ultra-tender texture
The Aromatics: Building Flavor Layers
- 2 large yellow onions – Slowly caramelize into sweet perfection
- 3-4 garlic cloves – Minced for aromatic depth
- Bell peppers (optional but recommended) – 1 green and 1 red for color and subtle sweetness
The Seasonings: Savory Perfection
- 1 tbsp Worcestershire sauce – For umami richness
- 1 tsp each: Salt, black pepper, smoked paprika, onion powder, garlic powder
- 1/2 cup low-sodium beef broth – Keeps everything moist without watering down flavors
The Cheese: The Melty Crown
- Provolone (8 slices) – Classic choice with excellent meltability
- American cheese (alternative) – Creamier texture for cheese lovers
- Cheez Whiz (authentic option) – For traditionalists (add at serving)
The Bread: Structural Integrity
- 6 fresh hoagie rolls – Look for sturdy ones with slight crustiness
- Butter or mayo – For toasting the rolls to golden perfection
Pro Equipment Tip: For best results, use a 6-quart or larger slow cooker to prevent overcrowding.
Mastering the Cooking Process: Step-by-Step Perfection
1. The Flavor Foundation (5 minutes prep)
- If opting for pre-sliced beef, pat dry with paper towels for better browning
- Whisk together all dry seasonings in a small bowl for even distribution
2. Layering for Success (10 minutes active time)
- First layer: Place beef in slow cooker (sliced or whole)
- Second layer: Scatter onions, peppers, and garlic evenly
- Third layer: Sprinkle seasoning mix over everything
- Liquid addition: Pour Worcestershire and broth around edges
Critical Tip: Resist stirring! This allows onions to caramelize properly on top.
3. The Slow Transformation (7-8 hours unattended)
- Low heat (recommended): 7-8 hours for most tender results
- High heat (faster option): 4-5 hours if needed (check tenderness)
- Last hour: If using whole roast, shred with two forks and mix into juices
4. The Cheesy Finale (5 minutes before serving)
- Arrange cheese slices over hot beef
- Cover for 3-5 minutes until perfectly melted
- For extra decadence, briefly broil the topped beef
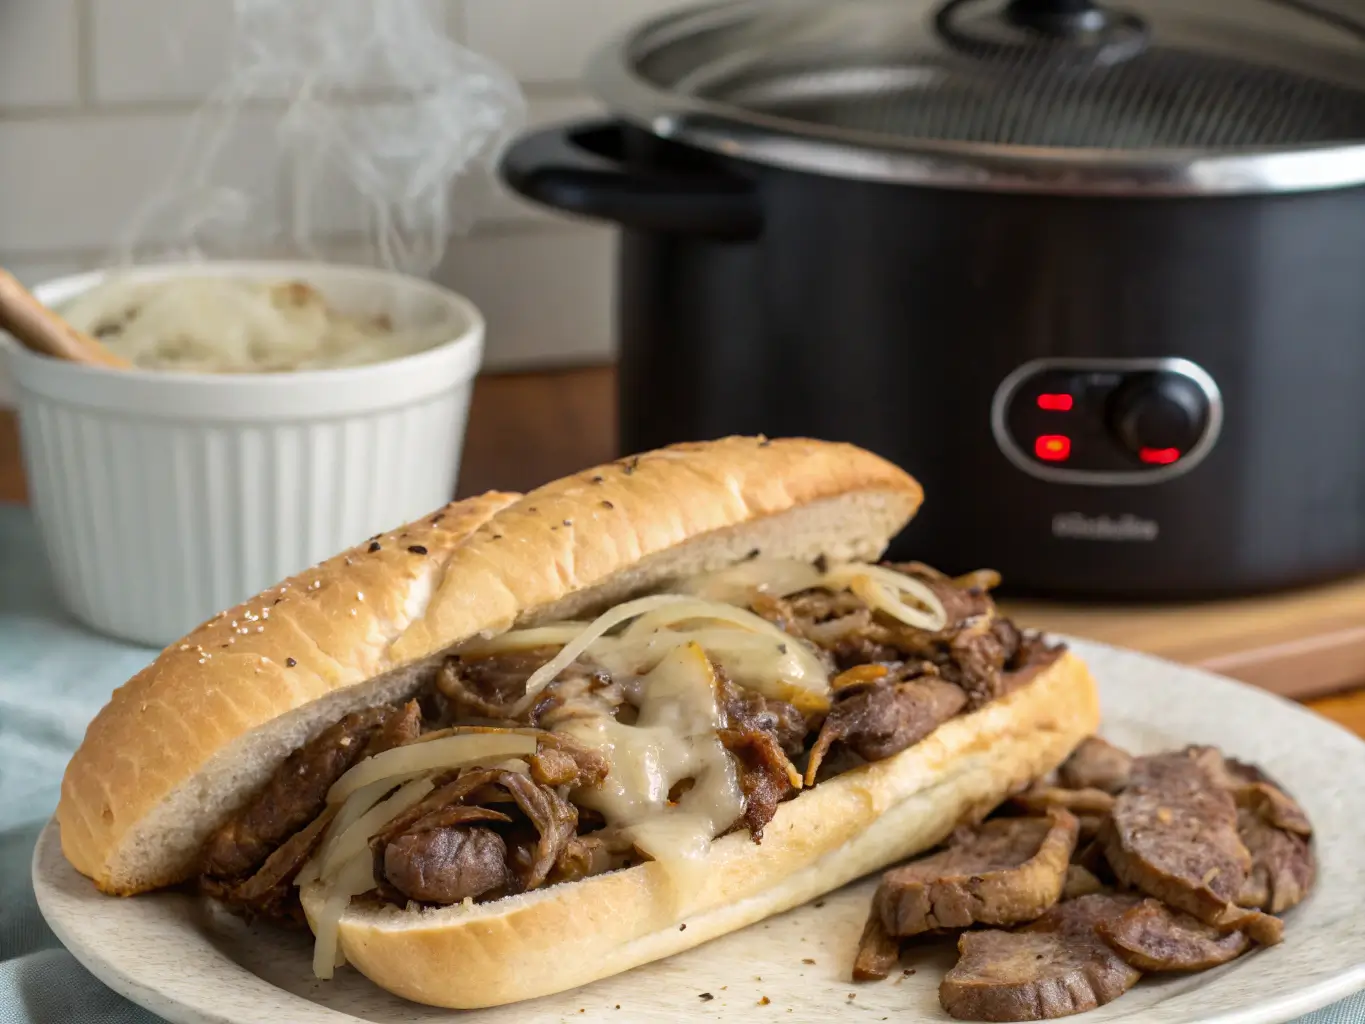
5. Building the Perfect Sandwich
- Lightly toast rolls under broiler or in skillet
- Pile high with cheesy beef mixture
- Optional garnish: chopped parsley, pepperoncini, or hot sauce
Professional Techniques for Next-Level Results
Flavor Boosting Secrets
- Searing option: Brown beef in batches before slow cooking for deeper flavor
- Umami boost: Add 1 tbsp tomato paste with the broth
- Herb infusion: Include 2 sprigs fresh thyme or rosemary during cooking
Texture Perfecting Tips
- For firmer beef: Use top sirloin and slice before cooking
- For ultra-tender: Choose chuck roast and shred after cooking
- Crispy elements: Top with fried onions or toasted breadcrumbs
Common Issues Solved
- Too watery? Remove lid last 30 minutes or thicken with cornstarch slurry
- Bland flavor? Adjust salt and add extra Worcestershire
- Dry meat? Ensure adequate liquid and don’t overcook
Creative Variations to Explore
Protein Alternatives
- Chicken Philly: Substitute boneless thighs for a lighter version
- Portobello Mushrooms: Marinated for vegetarian option
- Beyond Meat: Plant-based crumbles for vegan adaptation
Flavor Twists
- Southwest Style: Add cumin, chili powder, and jalapeños
- Italian Inspired: Mix in basil, oregano, and mozzarella
- Breakfast Version: Top with fried eggs for hearty mornings
Dietary Adaptations
- Keto/Low-Carb: Serve over cauliflower rice or in lettuce wraps
- Gluten-Free: Use quality GF rolls or portobello “buns”
- Dairy-Free: Vegan cheese alternatives work well
Serving Suggestions for Every Occasion
Classic Pairings
- Sides: Crispy steak fries, onion rings, or roasted potatoes
- Salads: Simple wedge or tangy coleslaw for contrast
- Dips: Au jus for dunking or spicy mayo
Creative Presentations
- Sliders: Perfect for parties on mini rolls
- Stuffed Peppers: Fill halved bell peppers with the mixture
- Casserole: Layer with potatoes and extra cheese
Meal Planning Ideas
- Sunday Prep: Make a double batch for easy lunches
- Freezer Friendly: Portion cooled beef for quick future meals
- Next-Day Transformations:
- Cheesesteak omelets
- Loaded baked potatoes
- Pizza topping
Storage and Food Safety Guidelines
Refrigeration
- Store in airtight container for up to 4 days
- Separate beef from rolls until ready to serve
Freezing Instructions
- Portion cooled beef (without cheese) in freezer bags
- Good for 2-3 months
- Thaw overnight in refrigerator before reheating
Reheating Methods
- Slow Cooker: Add 1/4 cup broth and heat on LOW 1-2 hours
- Skillet: Medium heat with a splash of broth
- Microwave: Covered at 50% power in intervals
Expert Answers to Common Questions
Q: Can I prepare this overnight?
A: Absolutely! Layer ingredients (except cheese) and refrigerate the insert overnight. In the morning, place in cooker and add 30 minutes to cooking time.
Q: What’s the best way to thinly slice beef for this recipe?
A: Partially freeze for 30-45 minutes until firm but not solid. Use a very sharp knife to slice across the grain.
Q: How can I make this in an Instant Pot?
A: Use Pressure Cook mode for 45 minutes with natural release. Shred, then add cheese on Sauté mode.
Q: Why does my cheese sometimes get stringy?
A: Overheating can cause separation. Add cheese just before serving and don’t overcook.

Final Thoughts: Why This Recipe Will Become Your New Favorite
This Crockpot Philly Cheesesteak represents the perfect marriage of tradition and innovation. By honoring the soul of the original while adapting to modern kitchens, we’ve created a foolproof path to cheesesteak perfection that fits real life. Whether you’re a busy parent, meal prep enthusiast, or simply appreciate brilliant flavor with minimal effort, this recipe delivers.
The magic lies in how 8 hours of patient cooking transforms humble ingredients into something extraordinary. Each component – from the slowly caramelized onions to the beef that literally falls apart at the touch of a fork – comes together in harmonious perfection.
We encourage you to make it your own. Try different cheeses, adjust the seasonings to your taste, or explore the many variations. Then come back and tell us about your experience! What creative twists did you discover? How did your family react? Your insights might inspire the next great cheesesteak innovation.
Ready to revolutionize your comfort food game? Gather your ingredients and let your slow cooker work its magic tonight!