
Chocolate Peanut Butter Swirl Bars: The Ultimate No-Fuss Dessert
Introduction
Few dessert pairings are as iconic as chocolate and peanut butter. Rich, fudgy chocolate meets creamy, nutty peanut butter in these Chocolate Peanut Butter Swirl Bars, creating a treat that’s indulgent yet surprisingly easy to make. Unlike layer cakes or intricate pastries, these bars come together in a single pan with simple pantry ingredients, making them perfect for both novice and experienced bakers.
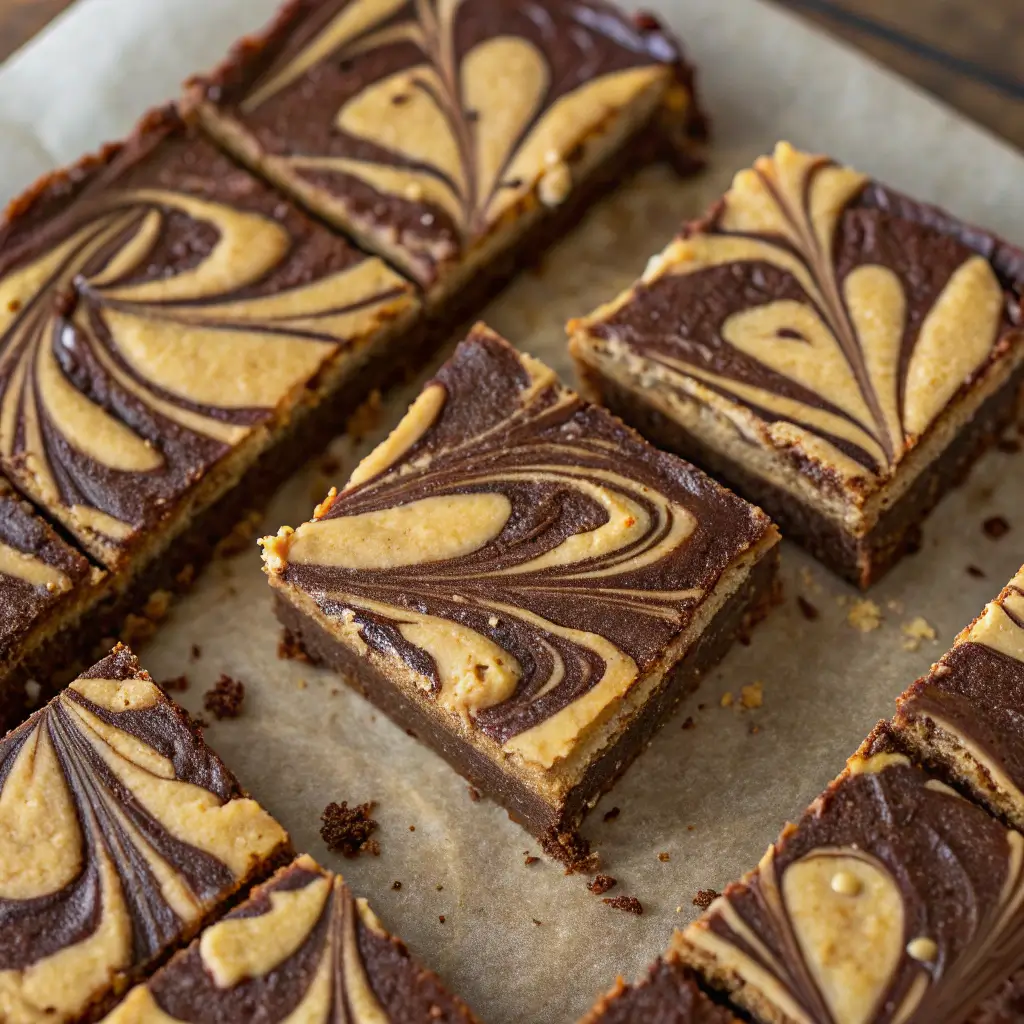
The magic of this recipe lies in the swirl: thick ribbons of peanut butter running through a dense, brownie-like chocolate base. Every bite brings a balance of sweet and salty flavors, chewy edges, and soft centers. They’re the type of dessert that feels both nostalgic and gourmet, equally suited for family snacking or party platters.
These bars are also highly customizable, freezer-friendly, and a guaranteed crowd-pleaser. If you’re searching for a no-fail dessert that looks as good as it tastes, these Chocolate Peanut Butter Swirl Bars should be at the top of your baking list.
A Little Background: Chocolate & Peanut Butter Through the Years
The love affair between chocolate and peanut butter dates back to the early 1900s, when confectioners began experimenting with nut butters and cocoa in candies. By the mid-20th century, the pairing was cemented as one of America’s favorite flavor combinations, appearing in cookies, cakes, and candy bars.
Swirled desserts became especially popular during the 1950s and 60s, when home bakers embraced marble cakes and other visually appealing bakes. These swirl bars are a natural extension of that tradition, combining the classic look of a marbled bake with the unbeatable taste of chocolate and peanut butter. Today, this combination continues to dominate dessert menus, proving that simple, balanced flavors never go out of style.
Why You’ll Love This Recipe
- Beginner-Friendly: Straightforward steps that anyone can follow.
- Perfect Flavor Balance: Sweet chocolate contrasts beautifully with salty peanut butter.
- Visually Stunning: Gorgeous swirls make them look bakery-made with little effort.
- Make-Ahead Friendly: Bake a batch in advance, freeze, and thaw when needed.
- Versatile: Easy to adapt with nuts, chocolate chips, or flavor add-ins.
Ingredients & Equipment
For the Chocolate Batter
- 1 cup (125 g) all-purpose flour
- ½ cup (45 g) unsweetened cocoa powder
- ½ tsp baking powder
- ¼ tsp salt
- ½ cup (115 g) unsalted butter, melted
- 1 cup (200 g) granulated sugar
- 2 large eggs, room temperature
- 1 tsp pure vanilla extract
For the Peanut Butter Swirl
- ½ cup (120 g) creamy peanut butter
- ¼ cup (30 g) powdered sugar
- 2 tbsp unsalted butter, softened
- 1 egg yolk (for richness)
Equipment Needed
- 8×8-inch (20×20 cm) baking pan
- Parchment paper
- Whisk or hand mixer
- Mixing bowls
- Rubber spatula
- Butter knife (for swirling)
Pro Tips on Ingredients
- Peanut Butter: Use creamy for smooth swirls or crunchy for added texture.
- Cocoa Powder: Natural unsweetened yields classic chocolate flavor; Dutch-process gives a darker, richer taste.
- Butter: Melted butter ensures a fudgy base rather than a cake-like texture.
Step-by-Step Instructions
1. Prepare the Pan & Oven
- Preheat your oven to 350°F (175°C).
- Line your pan with parchment paper, leaving an overhang on the sides for easy lifting later.
2. Make the Chocolate Batter
- Combine Dry Ingredients: Whisk together flour, cocoa powder, baking powder, and salt in a medium bowl.
- Mix Wet Ingredients: In a large bowl, whisk melted butter and sugar until smooth and glossy. Add eggs and vanilla, beating until incorporated.
- Bring It Together: Fold the dry mixture into the wet mixture gently until no streaks remain. The batter should be thick and fudgy—avoid overmixing.
3. Make the Peanut Butter Swirl
- In a smaller bowl, combine peanut butter, powdered sugar, softened butter, and egg yolk.
- Stir until smooth and slightly thick but spreadable.
4. Assemble the Bars
- Spread two-thirds of the chocolate batter evenly in the prepared pan.
- Drop spoonfuls of the peanut butter mixture across the surface.
- Add dollops of the remaining chocolate batter on top.
- Use a butter knife to gently swirl the two mixtures together. Limit yourself to 6–8 swirls for the best marbled effect.
5. Bake
- Bake for 25–30 minutes, or until a toothpick inserted in the center comes out with moist crumbs (not wet batter).
- Allow bars to cool in the pan for 15 minutes, then lift them out with the parchment overhang.
- Cool completely before slicing for neat edges.
Expert Tips & Troubleshooting
- Dry Bars? This usually means overbaking—check at the 25-minute mark.
- Flat Bars? Make sure your baking powder is fresh. Expired leavening agents can cause dense results.
- Messy Swirls? Resist overworking the knife—simple figure-eight motions work best.
- Sticking to the Pan? Always line with parchment for easy release.
- Overly Sweet? Reduce the sugar in the chocolate batter to ¾ cup (150 g).
Variations & Customizations
- Nutty Crunch: Sprinkle chopped peanuts, walnuts, or almonds over the top before baking.
- Double Chocolate: Fold chocolate chips into the chocolate batter for gooey bites.
- Salted Caramel Drizzle: Add a drizzle of caramel sauce before serving for an extra decadent touch.
- Mocha Swirl Bars: Add 1 tsp espresso powder to the chocolate batter for coffee-chocolate depth.
- Gluten-Free: Substitute flour with a 1:1 gluten-free blend.
Serving & Presentation Ideas
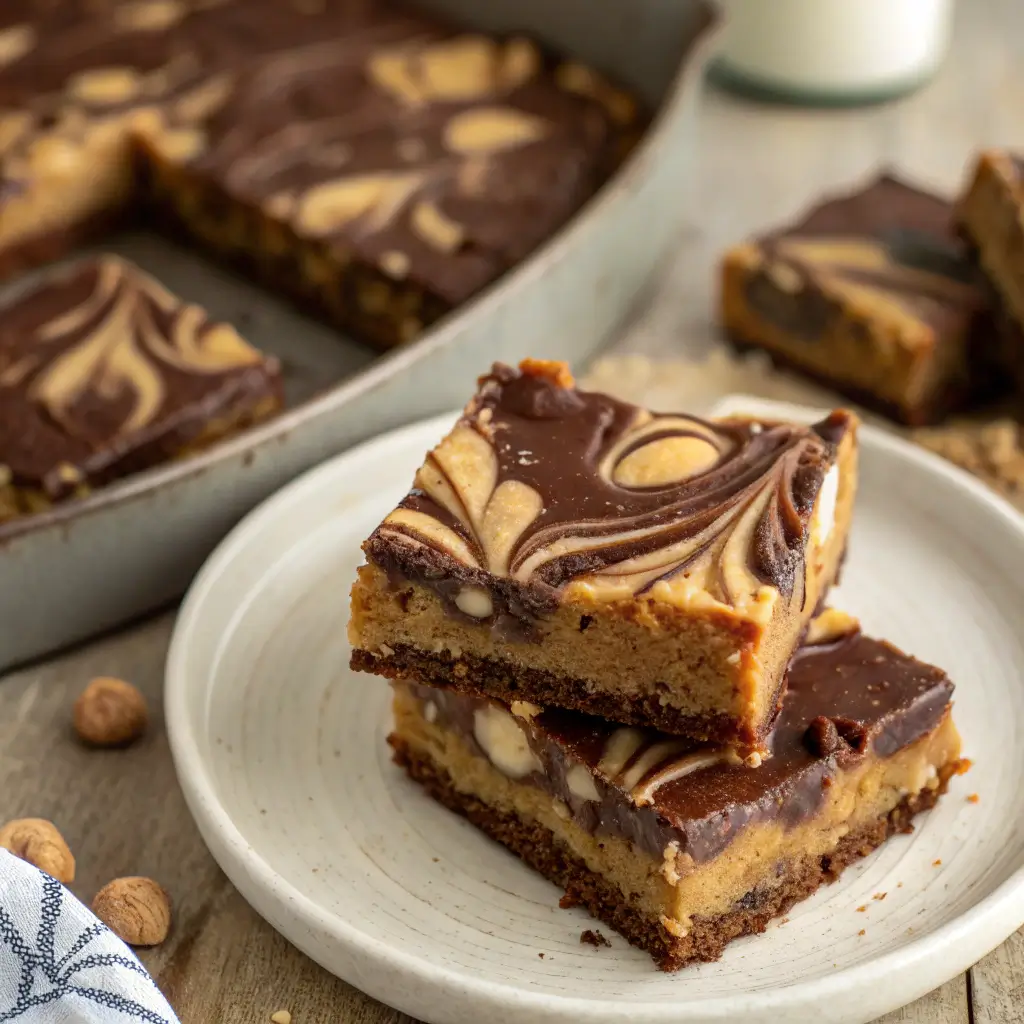
- Classic Squares: Slice into even bars for a casual dessert or lunchbox treat.
- Elegant Triangles: Cut squares diagonally and plate with a drizzle of melted chocolate.
- Party Platter: Arrange mini bite-sized bars on a tray with fresh fruit.
- Ice Cream Pairing: Warm a bar slightly and serve with vanilla or chocolate ice cream.
- Decorative Touch: Dust with powdered sugar or cocoa powder before serving.
Storage & Make-Ahead Tips
- Room Temperature: Store in an airtight container for up to 3 days.
- Refrigerator: Keeps well for up to 1 week; let bars come to room temperature before serving.
- Freezer-Friendly: Wrap individual bars in plastic wrap and freeze for up to 2 months. Thaw overnight on the counter for best results.
- Make-Ahead: Bake a day ahead and keep unfrosted in the pan, covered tightly with foil, until ready to cut and serve.
Frequently Asked Questions
1. Can I double the recipe?
Yes! Use a 9×13-inch pan and extend the baking time by 5–7 minutes.
2. Can I use natural peanut butter?
You can, but it may create looser swirls. Stir well before using and expect a slightly different texture.
3. How do I get neat, bakery-style cuts?
Wait until the bars are completely cool. Use a sharp knife dipped in hot water and wiped clean between slices.
4. Can I make them vegan?
Yes. Replace butter with coconut oil or vegan margarine, eggs with flaxseed eggs, and use plant-based chocolate.
Conclusion
These Chocolate Peanut Butter Swirl Bars bring together two timeless flavors in one easy, crowd-pleasing recipe. With their fudgy texture, creamy swirls, and eye-catching design, they’re perfect for both everyday snacking and special occasions. Best of all, the recipe is simple enough for beginner bakers yet flexible enough for endless creative variations.
So grab your ingredients, preheat your oven, and get ready to swirl up a batch of these irresistible bars. Whether you serve them at a casual get-together or a festive event, they’re guaranteed to disappear fast. Don’t be surprised if friends and family ask you to make them again and again!