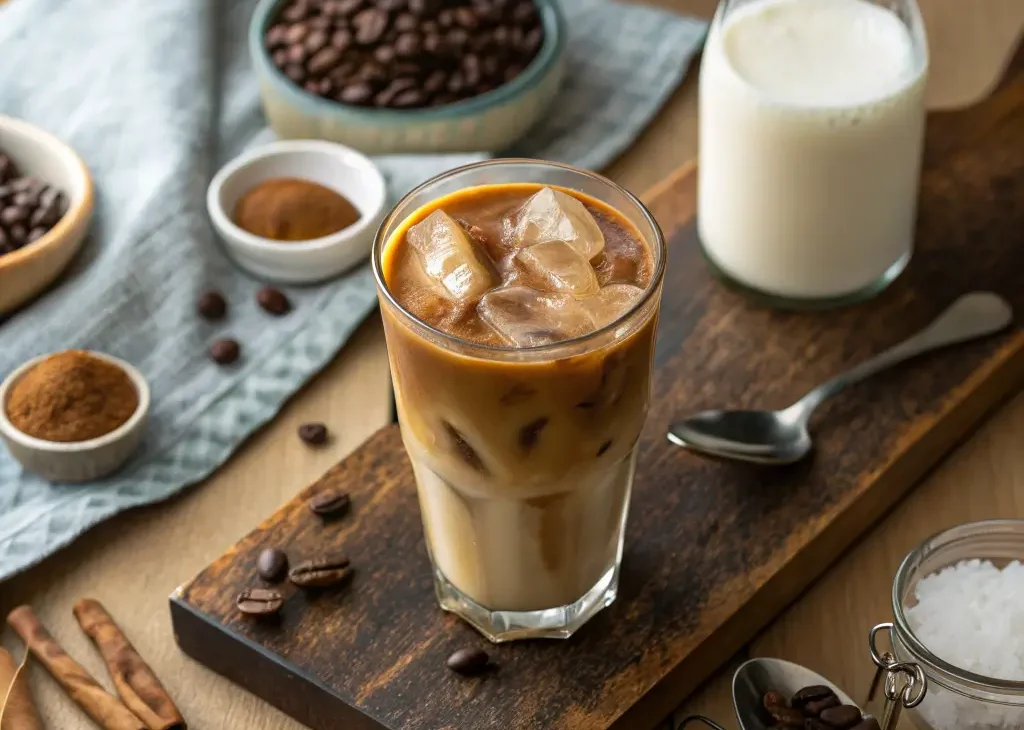
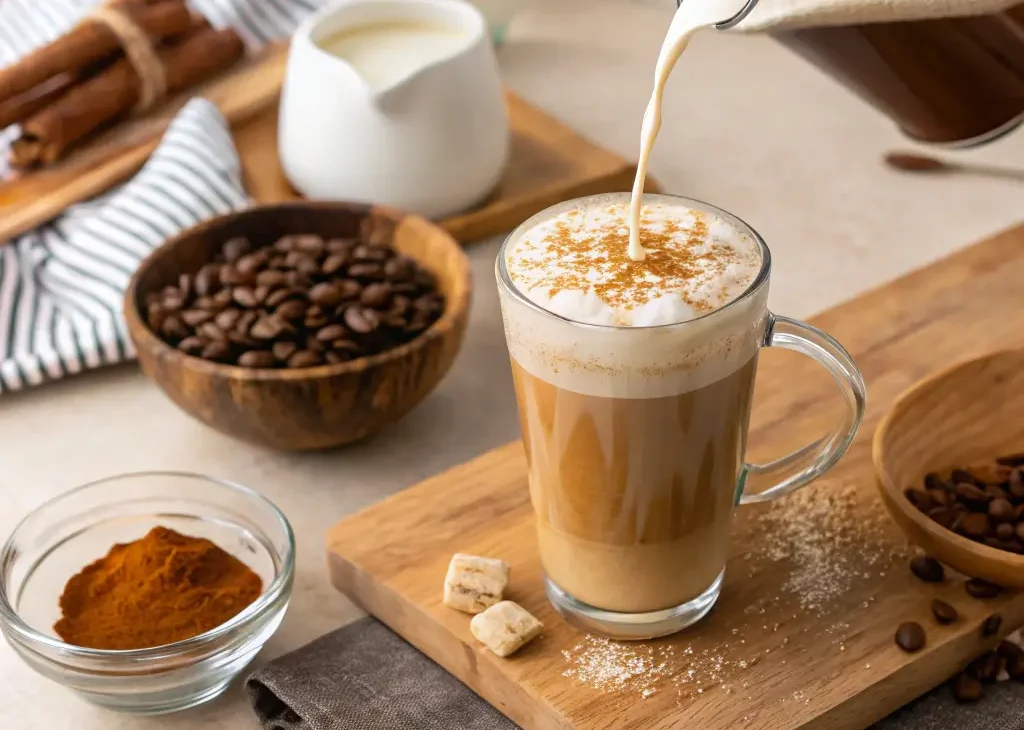
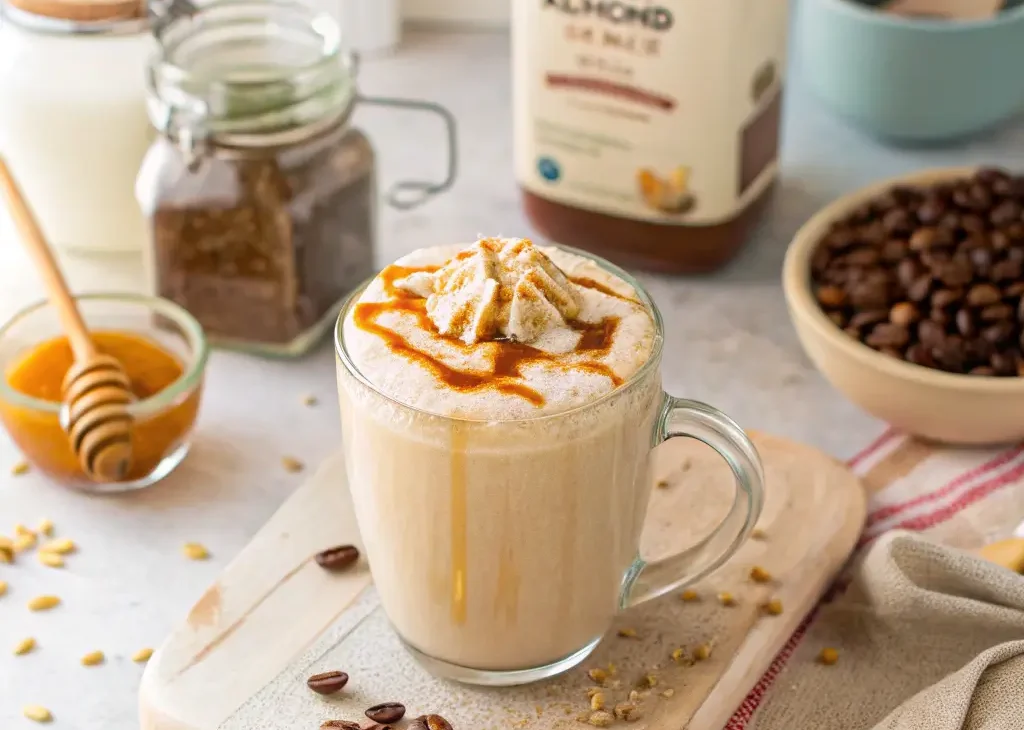
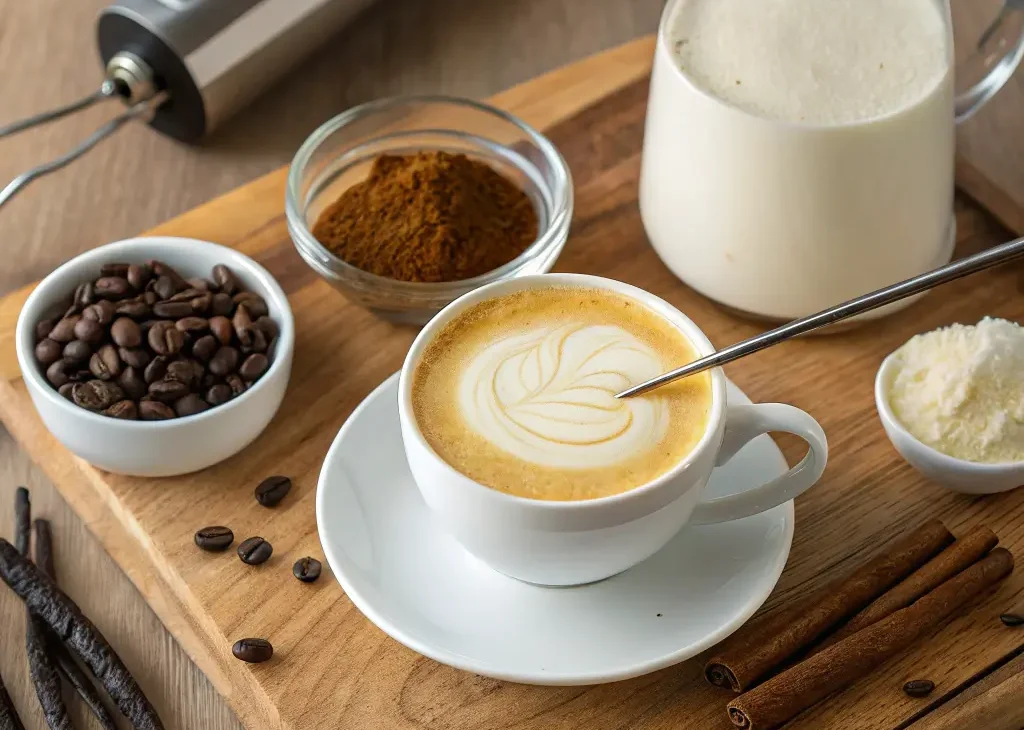
Espresso Milk Drink Recipe – Starbucks Style
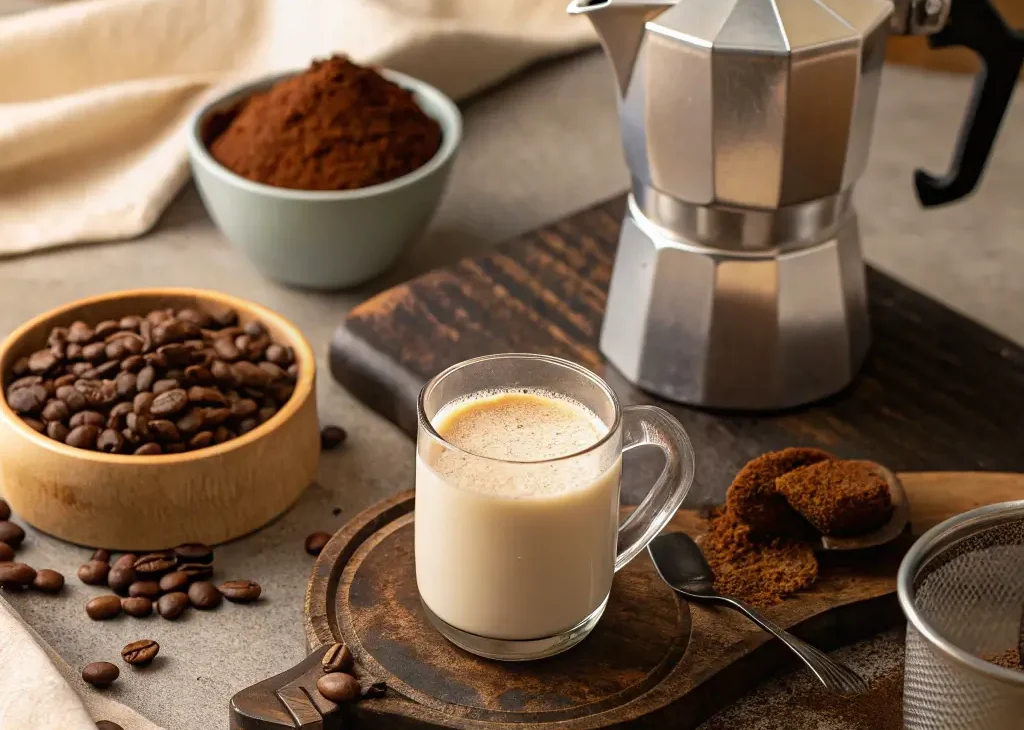
Espresso Milk Drink Recipe – Starbucks Style (Simple, Smooth & Classic) Introduction An espresso milk drink is the foundation of almost every café favorite. Simple, smooth, and perfectly balanced, it …