
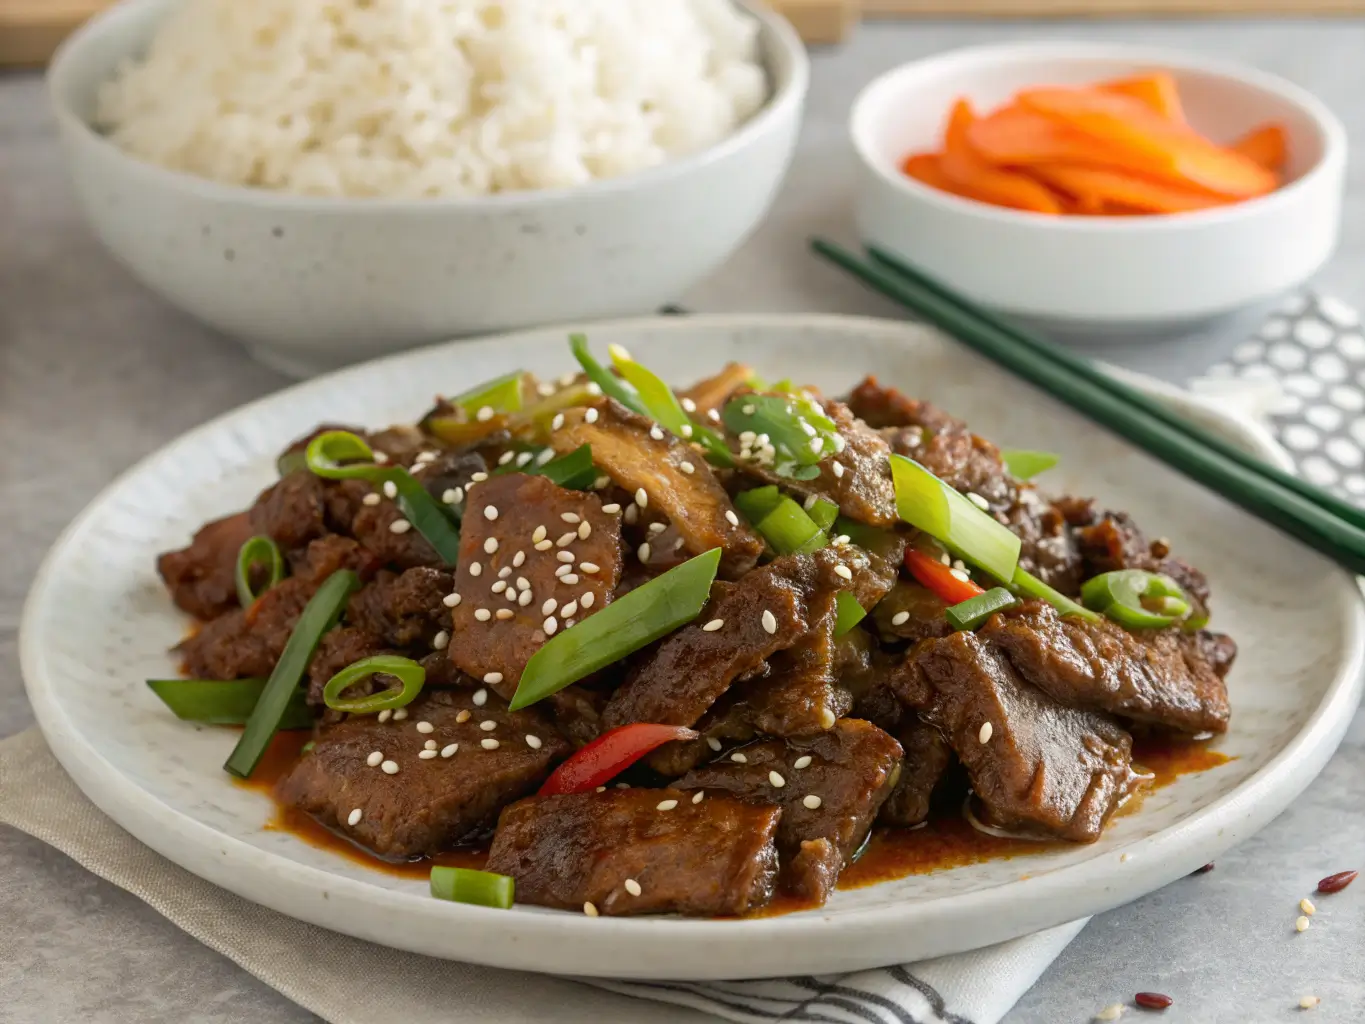
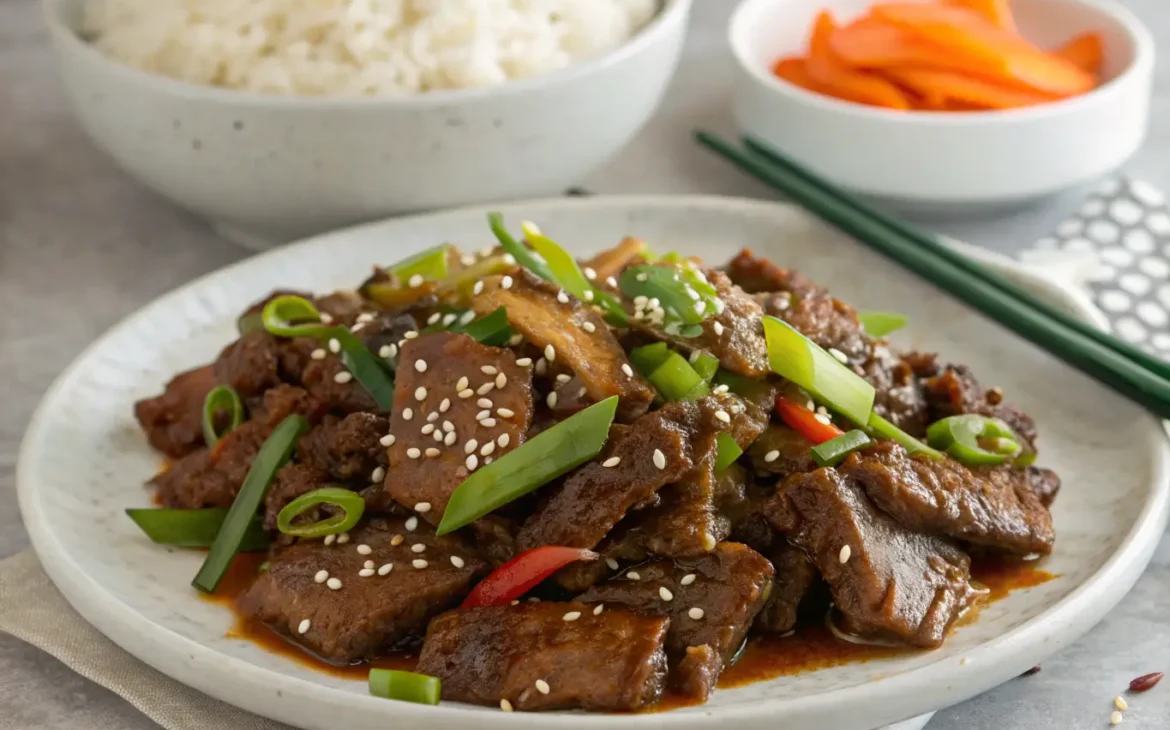
Mongolian Beef Recipe: A Restaurant-Quality Dish Made Easy at Home
There’s something irresistible about tender strips of beef coated in a glossy, sweet-and-savory sauce with just the right amount of garlic and ginger. This Mongolian Beef recipe brings the flavors of your favorite Chinese takeout straight to your kitchen—with crispier beef, better-balanced sauce, and none of the greasy heaviness. Best of all, it’s ready in under 30 minutes, making it perfect for busy weeknights or last-minute dinner guests.
In this guide, we’ll walk you through every step to ensure perfect results every time, along with expert tips, variations, and answers to common questions. Whether you’re a stir-fry novice or a seasoned home cook, this recipe will become a go-to in your rotation.
The Origins of Mongolian Beef: A Chinese-American Classic
Despite its name, Mongolian Beef isn’t a traditional Mongolian dish. Instead, it’s a Chinese-American creation that gained popularity in the U.S. through restaurants like P.F. Chang’s. The name likely comes from the bold, savory-sweet flavors reminiscent of Mongolian barbecue, though true Mongolian cuisine relies more on mutton, dairy, and simple preparations.
This version is a quick stir-fry, designed for maximum flavor with minimal effort. The combination of crispy beef, aromatic garlic and ginger, and a sticky glaze makes it a universally loved dish—one that’s easy to customize based on your preferences.
Why This Mongolian Beef Recipe Stands Out
- Restaurant-Quality at Home – Skip the takeout and enjoy crispier, fresher beef with a perfectly balanced sauce.
- Faster Than Delivery – Ready in 20 minutes, making it ideal for busy nights.
- Meal-Prep Friendly – Stores and reheats beautifully for quick lunches.
- Customizable Heat & Sweetness – Adjust spice levels or reduce sugar to suit your taste.
- Versatile Protein Options – Works great with chicken, tofu, or even mushrooms for a vegetarian twist.
Ingredients & Equipment: What You’ll Need
For the Beef:
- 1 lb (450g) flank steak or sirloin – Sliced thinly against the grain for maximum tenderness.
- ¼ cup (30g) cornstarch – The secret to ultra-crispy beef.
- 2 tbsp neutral oil – Vegetable, canola, or peanut oil works best for high-heat cooking.
For the Sauce:
- ½ cup (120ml) low-sodium soy sauce – Provides depth without overwhelming saltiness.
- ½ cup (120ml) water or beef broth – Thins the sauce slightly for better coating.
- ⅓ cup (75g) packed brown sugar – Adds caramelized sweetness (adjust to taste).
- 1 tbsp minced garlic (about 3 cloves) – Essential for aromatic depth.
- 1 tbsp minced ginger – Adds a warm, slightly spicy note.
- ½ tsp red pepper flakes – For a mild kick (increase for more heat).
- 2 green onions, sliced – For freshness and garnish.
Optional Enhancements:
- 1 tsp sesame oil – Adds nutty richness (stir in at the end).
- 1 tbsp hoisin sauce – Deepens umami flavor.
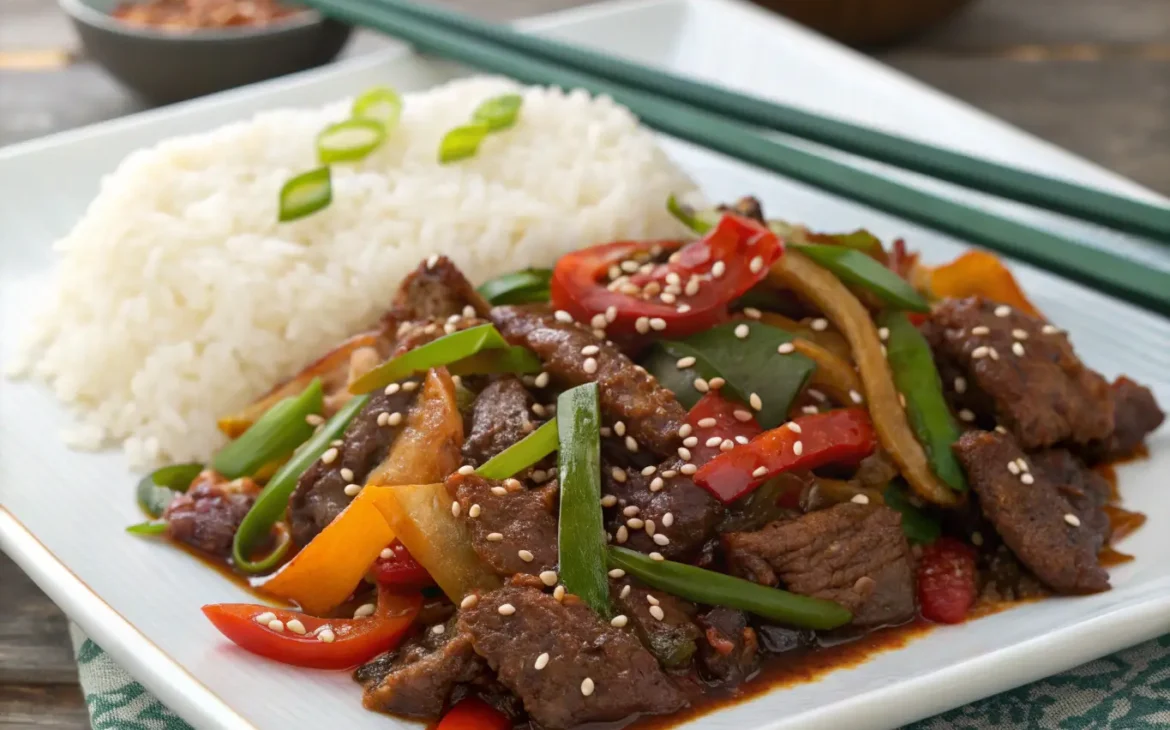
- A bell pepper, sliced – For extra crunch and color.
Equipment:
- Large skillet or wok – Ensures even cooking and proper sauce reduction.
- Tongs or chopsticks – For easy flipping and stirring.
- Mixing bowls – For coating beef and mixing sauce.
Pro Tip: For easier slicing, freeze the beef for 20 minutes before cutting. This firms it up, allowing for paper-thin strips.
Step-by-Step Instructions for Perfect Mongolian Beef
1. Preparing the Beef
- Slice Against the Grain – Cutting flank steak perpendicular to the muscle fibers ensures tenderness. Aim for ¼-inch thick strips.
- Pat Dry – Excess moisture prevents crispiness, so blot the beef with paper towels.
- Coat with Cornstarch – Toss the beef in cornstarch until evenly coated, shaking off excess.
2. Making the Sauce
In a bowl, whisk together:
- Soy sauce
- Water or broth
- Brown sugar
- Minced garlic and ginger
- Red pepper flakes
Set aside. (If using hoisin or sesame oil, add them now.)
3. Cooking the Beef
- Heat Oil – Use medium-high heat until the oil shimmers (about 1 minute).
- Sear in Batches – Overcrowding the pan steams the beef instead of crisping it. Cook each batch for 1–2 minutes per side until golden. Transfer to a plate.
4. Simmering the Sauce
- Pour Sauce into Skillet – Let it simmer 2–3 minutes until slightly thickened.
- Add Beef Back In – Toss to coat evenly and cook another minute.
5. Garnishing & Serving
- Sprinkle with green onions.
- For extra flair, add sesame seeds or a drizzle of chili oil.
Serving Suggestion: Pair with steamed jasmine rice, fried rice, or noodles. For veggies, try stir-fried broccoli or snap peas.
Expert Tips for the Best Results
- Crispier Beef – Let the coated beef sit for 5 minutes before frying so the cornstarch adheres better.
- Avoid Chewy Meat – Always slice against the grain and don’t overcook.
- Sauce Too Thin? Mix 1 tsp cornstarch + 1 tbsp water, then stir into the simmering sauce.
- Low-Sodium Option – Use coconut aminos instead of soy sauce.
Variations to Try
- Spicy Mongolian Beef – Add 1 tbsp Sriracha or Sichuan peppercorns.
- Pineapple Mongolian Beef – Stir in ½ cup diced pineapple for sweetness.
- Vegetarian Version – Use tofu or mushrooms + vegetable broth.
Storage & Reheating Tips
- Fridge: Store in an airtight container for up to 3 days.
- Reheat: Gently warm in a skillet with a splash of water to refresh the sauce.
- Freeze: Freeze (without rice) for up to 1 month.
FAQ Section
Q: Can I use a different cut of beef?
A: Sirloin or ribeye work, but flank steak is ideal for tenderness.
Q: How do I make it gluten-free?
A: Substitute tamari or coconut aminos for soy sauce.
Q: Can I reduce the sugar?
A: Yes! Use 2 tbsp brown sugar + 1 tbsp rice vinegar for balance.
Final Thoughts
This Mongolian Beef recipe proves that homemade takeout can be even better than the restaurant version—crispier, fresher, and fully customizable. Whether you’re meal-prepping or cooking for a crowd, this dish delivers every time.
Ready to try it? Share your results with #HomemadeMongolianBeef!